
The 1602 LCD display is a versatile and affordable component that adds a visual interface to your Raspberry Pi projects. Whether you're building a weather station, a home automation system, or simply experimenting with electronics, integrating a 1602 LCD can enhance the functionality and user experience of your projects. In this guide, we'll walk you through the steps to connect and program a 1602 LCD display with your Raspberry Pi.
What You’ll Need
- Raspberry Pi (any model with GPIO pins)
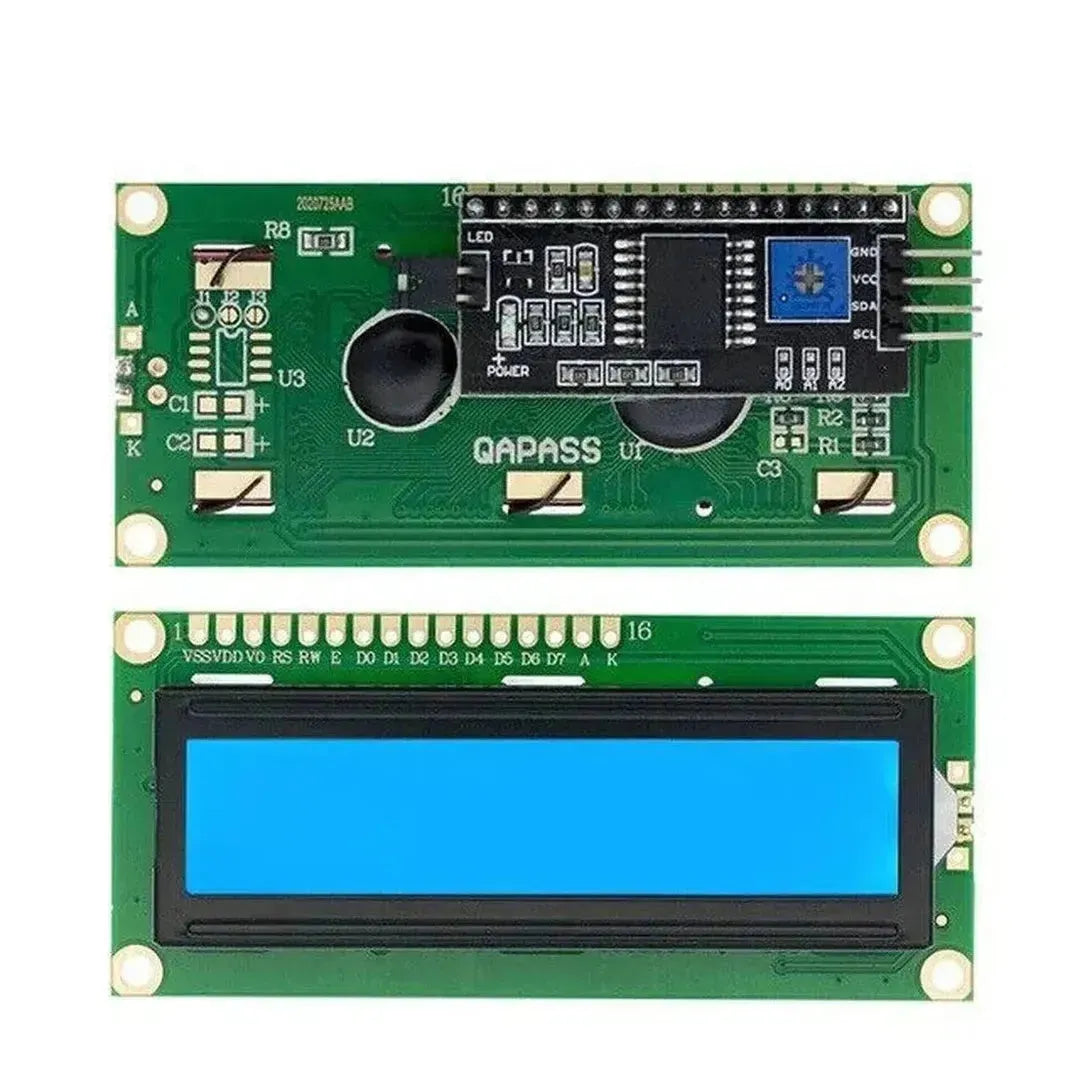
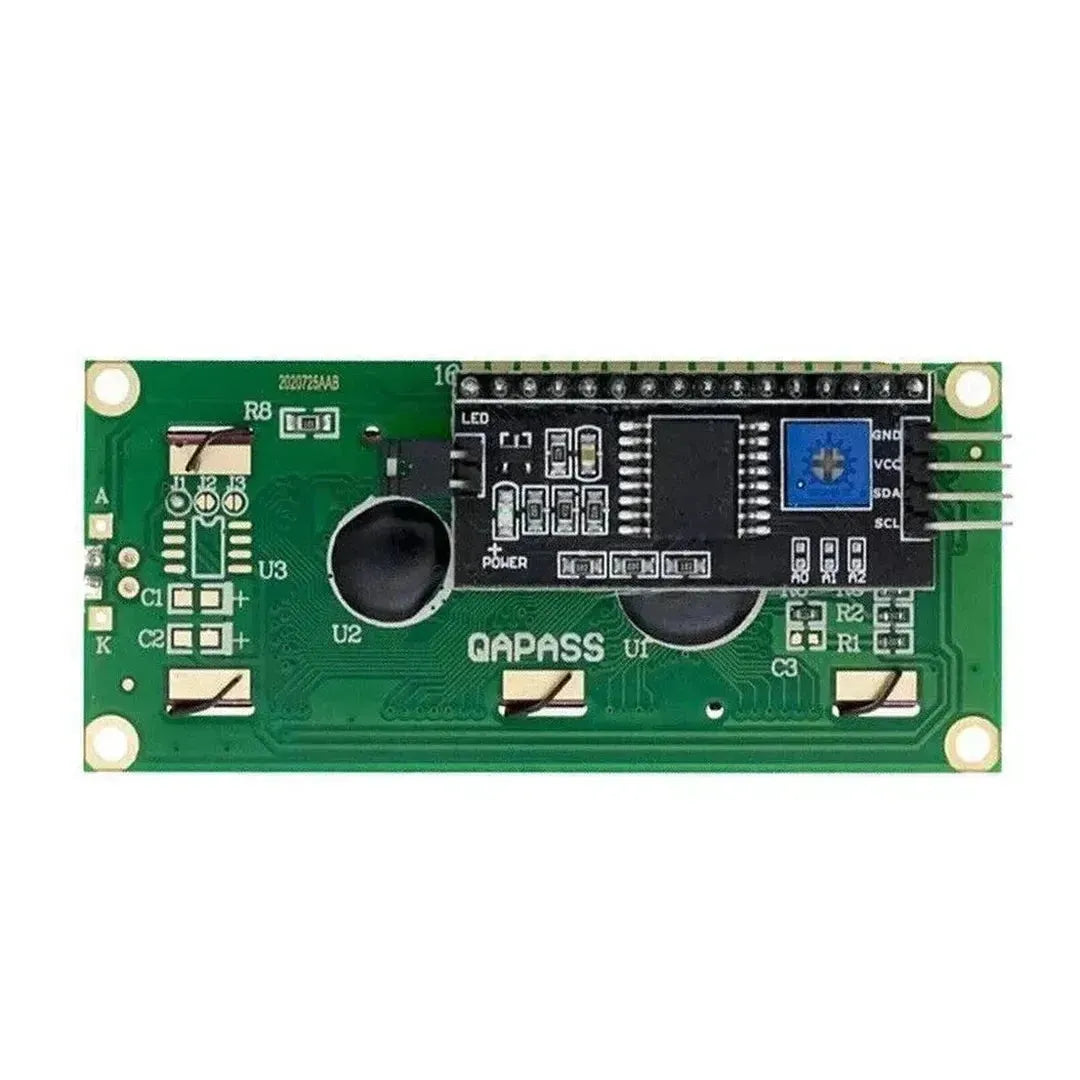
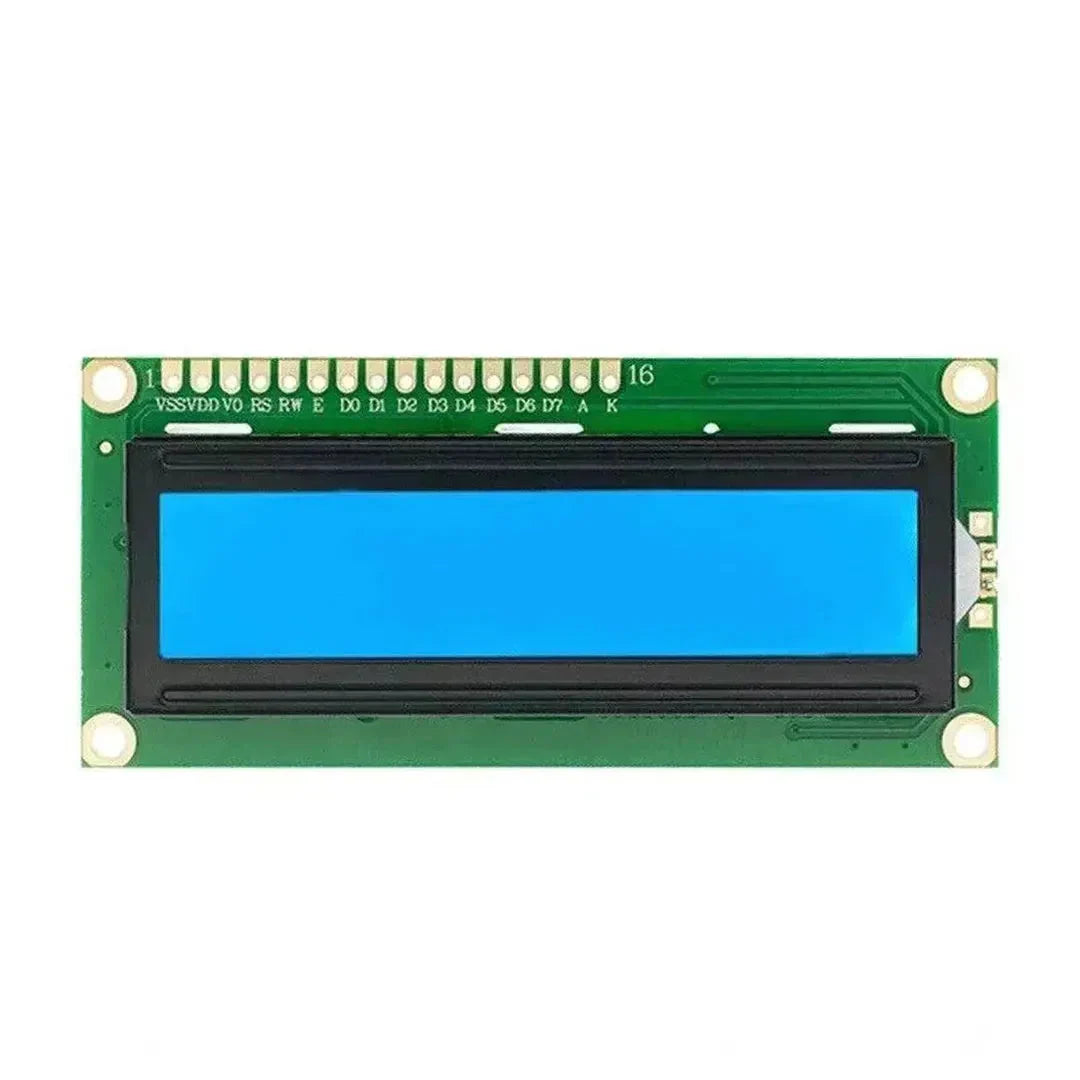
- 1602 LCD display with I2C module
- Connecting wires (jumper wires)
- Breadboard (optional, for easier connections)
- Power supply for the Raspberry Pi
- SD card with Raspberry Pi OS installed
Connecting the 1602 LCD to the Raspberry Pi
To simplify the wiring process, it's recommended to use a 1602 LCD with an I2C module. This minimizes the number of connections required, using only four pins: VCC, GND, SDA, and SCL.
-
Power Connections:
- Connect the VCC pin of the LCD to the 5V pin on the Raspberry Pi.
- Connect the GND pin of the LCD to one of the GND pins on the Raspberry Pi.
-
I2C Connections:
- Connect the SDA pin of the LCD to the SDA pin (GPIO 2) on the Raspberry Pi.
- Connect the SCL pin of the LCD to the SCL pin (GPIO 3) on the Raspberry Pi.
Enabling I2C on the Raspberry Pi
Before you can communicate with the LCD, you need to enable the I2C interface on your Raspberry Pi:
- Open a terminal on your Raspberry Pi.
- Run the configuration tool by typing:
sudo raspi-config
- Navigate to Interfacing Options.
- Select I2C and enable it.
- Exit the configuration tool and reboot your Raspberry Pi:
sudo reboot
Installing Necessary Libraries
To control the LCD, you'll need to install the lcd library for Python. This library simplifies the process of sending commands and data to the LCD.
sudo apt-get update
sudo apt-get install python3-smbus python3-dev
pip3 install RPLCD
Writing the Python Script
Once the libraries are installed, you can create a Python script to display text on the LCD. Here’s a simple example:
from RPLCD.i2c import CharLCD
from time import sleep

# Initialize the LCD using the I2C interface
lcd = CharLCD('PCF8574', 0x27)

try:
    while True:
        lcd.write_string('Hello, World!')
        sleep(2)
        lcd.clear()
        lcd.write_string('Raspberry Pi')
        sleep(2)
        lcd.clear()
except KeyboardInterrupt:
    lcd.clear()
Understanding the Script
-
Importing Libraries: The script imports the necessary classes from the
RPLCDlibrary and thesleepfunction from thetimemodule. -
Initializing the LCD: The
CharLCDclass is initialized with the I2C interface and the address of the LCD. Common I2C addresses are0x27or0x3F. - Displaying Text: The script enters a loop where it displays "Hello, World!" for 2 seconds, clears the screen, then displays "Raspberry Pi" for another 2 seconds.
-
Graceful Exit: If you terminate the script using
Ctrl+C, the LCD will be cleared to ensure no residual text remains.
Finding the LCD’s I2C Address
If you're unsure about the I2C address of your LCD, you can use the i2cdetect tool to scan for connected I2C devices:
sudo apt-get install i2c-tools
i2cdetect -y 1
The command will display a grid with detected I2C addresses. Look for the address where your LCD is connected (commonly 0x27 or 0x3F).
Enhancing Your Project
With the basic setup in place, you can expand your project by displaying dynamic information such as sensor readings, system status, or even scrolling text. Experiment with different libraries and functions to unlock the full potential of your 1602 LCD.
Troubleshooting Tips
- Blank Screen: Ensure that the LCD is receiving power and that the connections are secure. Verify the I2C address and update the script accordingly.
- Incorrect Display: Double-check the wiring, especially the SDA and SCL connections. Ensure that the contrast potentiometer on the LCD is adjusted correctly.
- Library Issues: Make sure all necessary libraries are installed and up to date. Refer to the library documentation for additional configuration options.
Conclusion
Integrating a 1602 LCD display with your Raspberry Pi opens up a world of possibilities for interactive and informative projects. With straightforward connections and accessible libraries, you can quickly add a visual interface to enhance your creations. Whether you're a beginner or an experienced maker, the 1602 LCD is a valuable addition to your Raspberry Pi toolkit.


