The HC-SR04 ultrasonic sensor is a popular, cost-effective tool for measuring distance in various DIY and professional projects. When paired with a Raspberry Pi, it opens up a world of possibilities for creating applications like obstacle detection, level measurement, and even interactive installations. This blog post will guide you through the process of setting up and using the HC-SR04 sensor with your Raspberry Pi.
What is the HC-SR04 Ultrasonic Sensor?
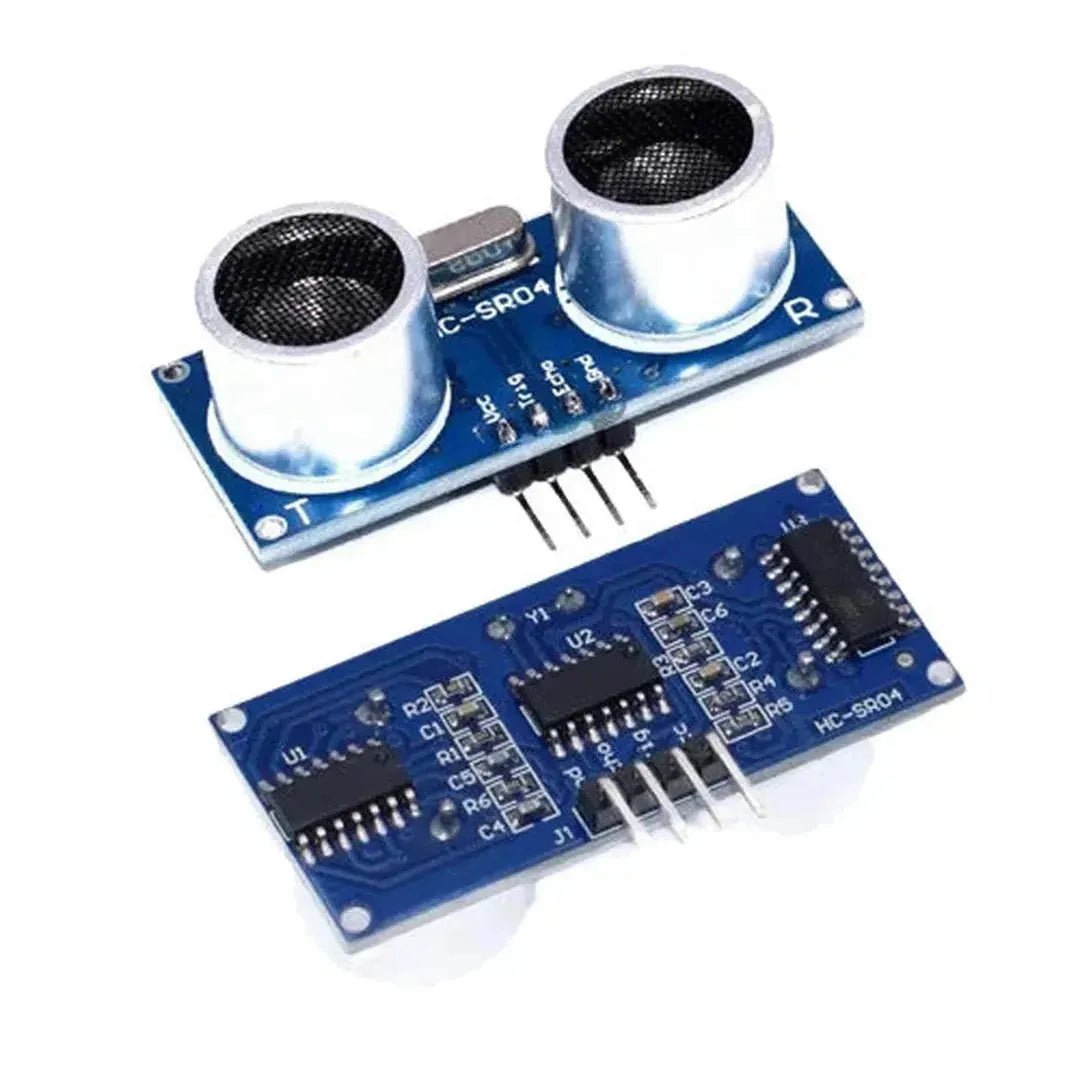
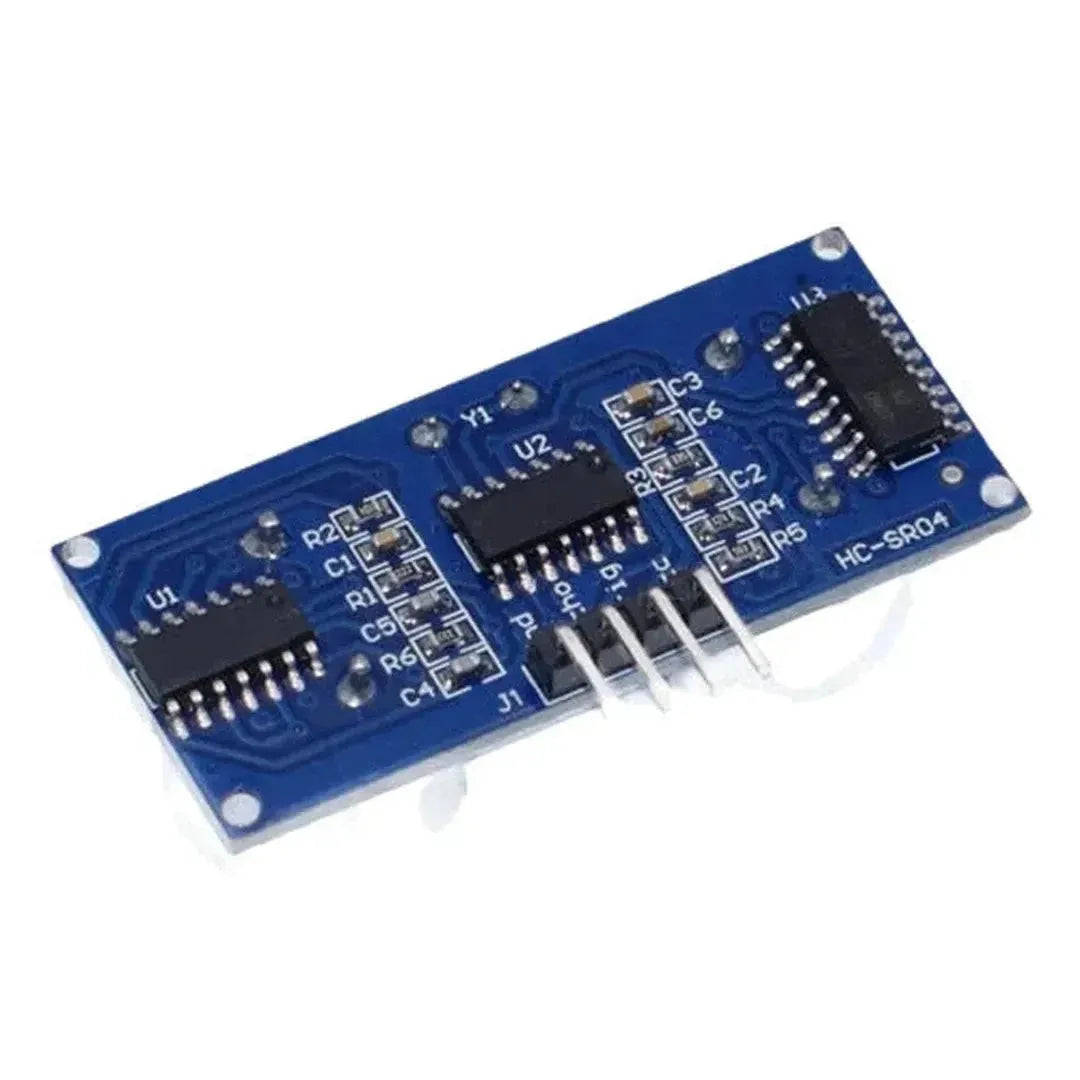
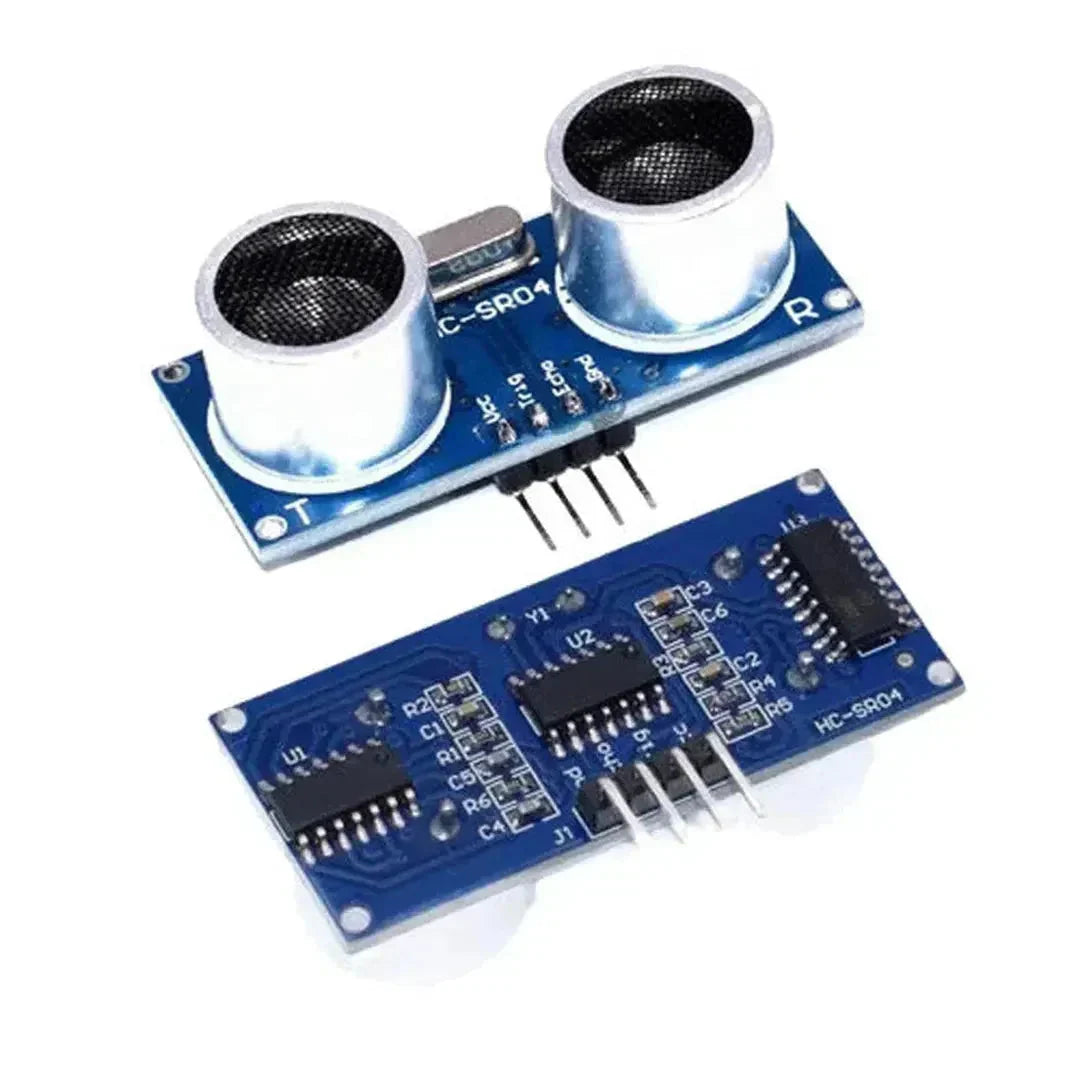
The HC-SR04 is an ultrasonic sensor module that measures distance by emitting ultrasonic waves and calculating the time it takes for the echo to return. It operates at 5V and is known for its accuracy and reliability in short to medium-range distance measurements, typically between 2 cm and 400 cm.
Components You’ll Need
- Raspberry Pi (any model with GPIO pins, such as Raspberry Pi 4)
- HC-SR04 Ultrasonic Sensor
- Jumper Wires
- Breadboard
- 10kΩ Resistor (for voltage division)
- Optional: LED and resistor for visual feedback
Wiring the HC-SR04 to the Raspberry Pi
Connecting the HC-SR04 to the Raspberry Pi requires careful handling, especially since the Raspberry Pi GPIO pins operate at 3.3V and the HC-SR04 operates at 5V. To prevent damage to your Pi, it’s essential to use a voltage divider on the Echo pin.
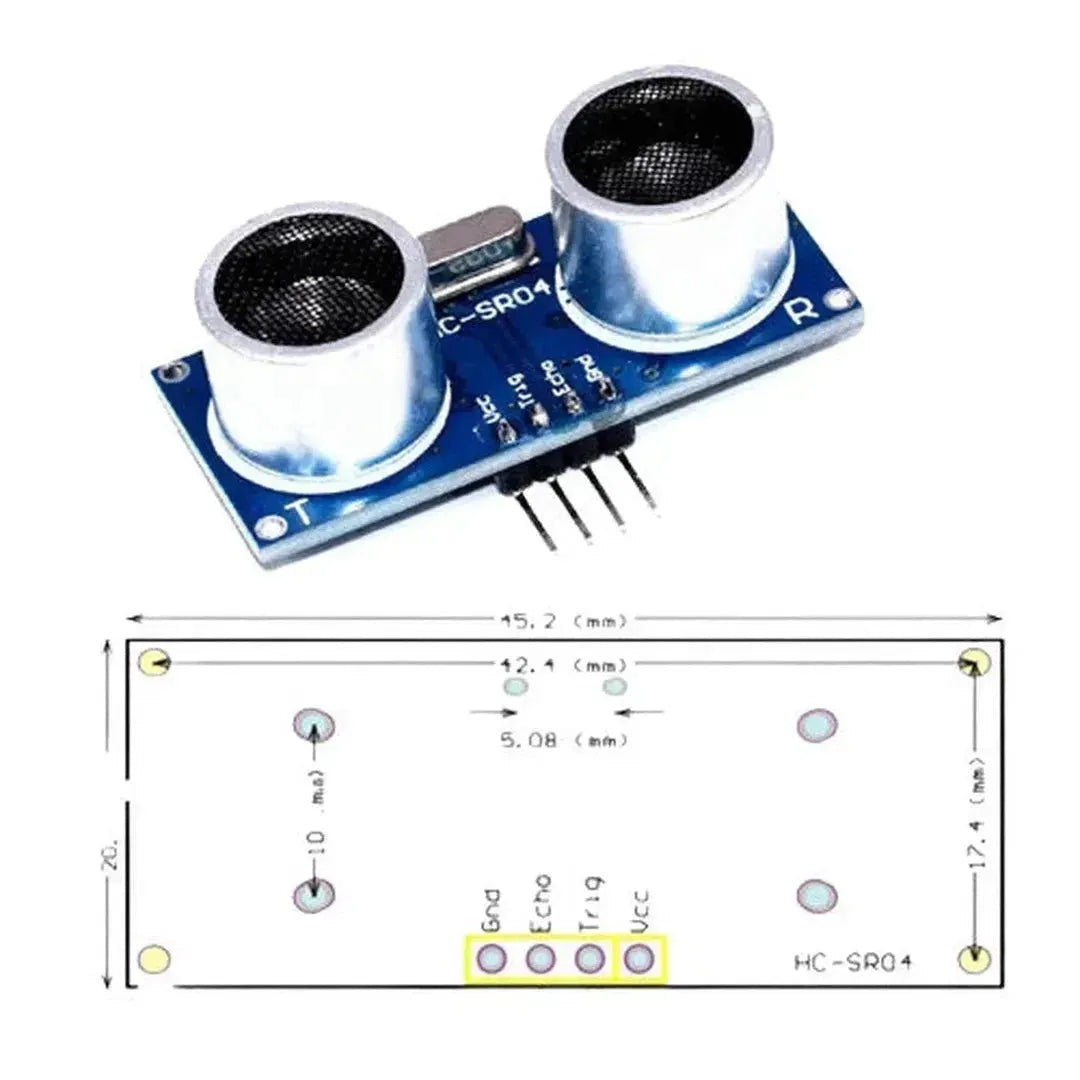
Pin Connections
- VCC of HC-SR04 to 5V pin on Raspberry Pi
- GND of HC-SR04 to GND on Raspberry Pi
- Trig pin of HC-SR04 to a GPIO pin on Raspberry Pi (e.g., GPIO23)
- Echo pin of HC-SR04 to Raspberry Pi through a voltage divider
Setting Up the Voltage Divider
To safely connect the Echo pin to the Raspberry Pi, use a voltage divider with a 10kΩ resistor and a 20kΩ resistor. This will step down the 5V signal to approximately 3.3V.
# Example schematic for voltage divider
# HC-SR04 Echo pin ---- 10kΩ ----> Raspberry Pi GPIO (Echo)
#                             |
#                           20kΩ
#                             |
#                           GND
Installing Necessary Libraries
Before writing the code, ensure your Raspberry Pi is up to date and has the necessary libraries installed.
sudo apt-get update
sudo apt-get upgrade
sudo apt-get install python3-rpi.gpio
Writing the Python Script
Below is a simple Python script to interface with the HC-SR04 sensor. This script sends a trigger pulse, waits for the echo, and calculates the distance based on the time taken for the echo to return.
import RPi.GPIO as GPIO
import time

# GPIO Mode (BOARD / BCM)
GPIO.setmode(GPIO.BCM)

# Set GPIO Pins
TRIG = 23
ECHO = 24

print("Distance Measurement In Progress")

# Set GPIO direction (IN / OUT)
GPIO.setup(TRIG, GPIO.OUT)
GPIO.setup(ECHO, GPIO.IN)

def distance():
    # Set TRIG to LOW
    GPIO.output(TRIG, False)
    time.sleep(2)

    # Send 10us pulse to TRIG
    GPIO.output(TRIG, True)
    time.sleep(0.00001)
    GPIO.output(TRIG, False)

    start_time = time.time()
    stop_time = time.time()

    # Save StartTime
    while GPIO.input(ECHO) == 0:
        start_time = time.time()

    # Save Time of Arrival
    while GPIO.input(ECHO) == 1:
        stop_time = time.time()

    # Time difference between start and arrival
    time_elapsed = stop_time - start_time
    # Multiply with speed of sound (34300 cm/s)
    # and divide by 2, because there and back
    distance = (time_elapsed * 34300) / 2

    return distance

if __name__ == '__main__':
    try:
        while True:
            dist = distance()
            print("Measured Distance = %.1f cm" % dist)
            time.sleep(1)
    except KeyboardInterrupt:
        print("Measurement stopped by User")
        GPIO.cleanup()
Running the Script
Make sure your wiring is correct and then run the script using Python 3:
python3 hc-sr04.py
You should see the measured distance in centimeters printed to the console. If you’re using an LED for visual feedback, you can modify the script to light up the LED when an object is within a certain range.
Enhancing Your Project
Once you have the basic distance measurements working, consider integrating additional features:
- LED Indicators: Use LEDs to indicate different distance ranges.
- LCD Display: Show the distance on an LCD screen.
- Data Logging: Record distance measurements over time for analysis.
- Alert Systems: Trigger alarms or notifications when objects are too close.
Troubleshooting Common Issues
Working with sensors and GPIO can sometimes be challenging. Here are some common issues and how to address them:
- Incorrect Wiring: Double-check all connections, especially the voltage divider on the Echo pin.
- Noisy Measurements: Ensure your setup is stable and consider adding capacitors to filter noise.
- GPIO Conflicts: Make sure no other scripts or services are using the same GPIO pins.
-
Permissions: Run your scripts with appropriate permissions, using
sudoif necessary.
Conclusion
The HC-SR04 ultrasonic sensor is a versatile and reliable component that, when combined with the Raspberry Pi, can serve a multitude of applications from simple distance measurement to complex automation systems. By following the steps outlined in this guide, you should be able to set up and start experimenting with the HC-SR04 on your Raspberry Pi. Happy tinkering!


