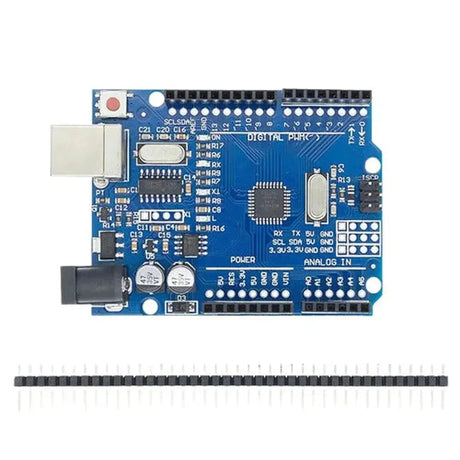
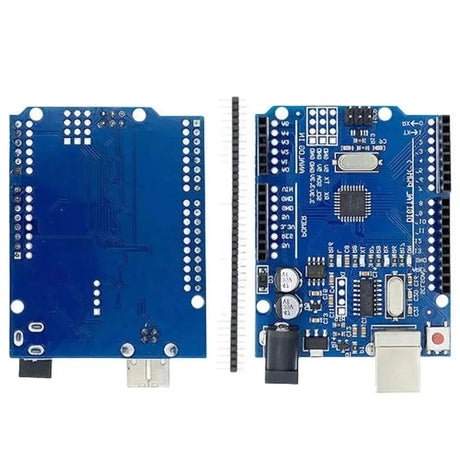
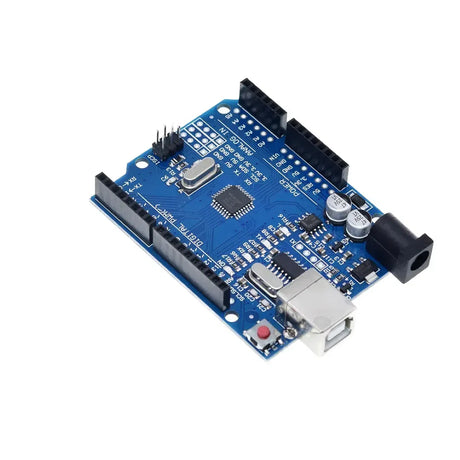
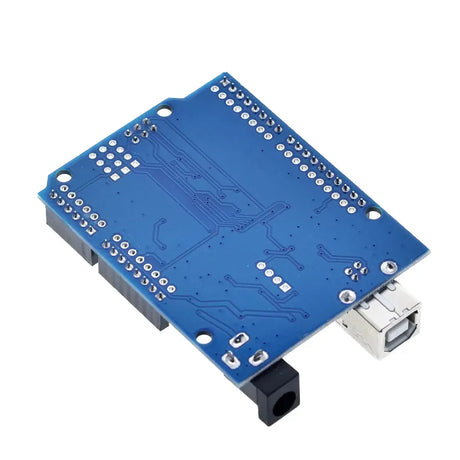
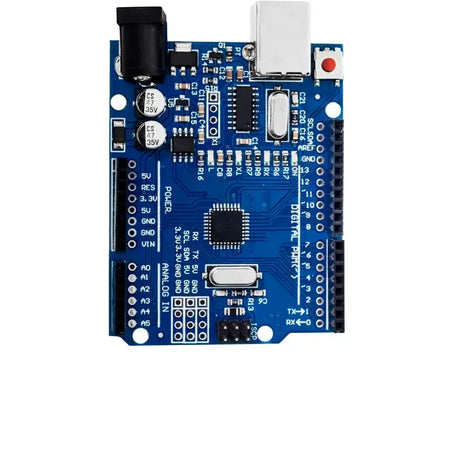
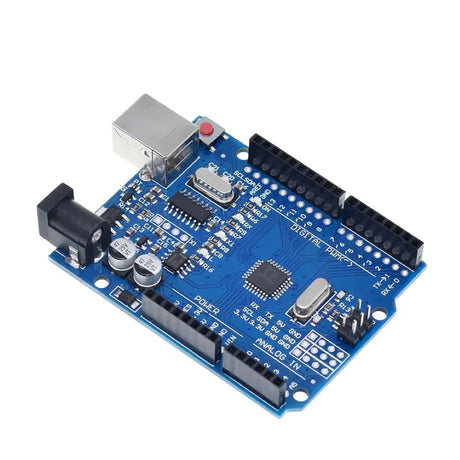
Uploading your sketches to an Arduino board is a fundamental step in bringing your projects to life. However, encountering issues during this process can be frustrating, especially for beginners. If you've ever found yourself staring at an error message, wondering, "Why is my Arduino sketch not uploading?" you're not alone. This blog post delves into the common reasons behind upload failures and provides actionable solutions to get you back on track.
1. Check Your Board Selection
One of the most common mistakes is selecting the wrong board in the Arduino IDE. The IDE needs to know the exact type of Arduino you're using to communicate effectively.
Tools > Board > [Your Arduino Model]Ensure you’ve selected the correct model, such as Arduino Uno, Mega, Nano, etc. Mismatched board selections can prevent successful uploads.
2. Verify the Correct Port
Your computer assigns a specific COM port to your Arduino. If this port is incorrectly selected, the IDE won’t communicate with the board.
- Connect your Arduino to your computer via USB.
- Open the Arduino IDE.
- Navigate to Tools > Port.
- Select the port that corresponds to your Arduino. On Windows, it might look like
COM3, while on macOS/Linux, it could be/dev/ttyUSB0or similar.
If you're unsure which port to select, disconnect and reconnect your Arduino and observe which port appears or disappears.
3. Install or Update Drivers
Some Arduino boards, especially clones, require specific drivers to function correctly.
- Official Arduino Boards: Typically, drivers are included with the IDE installation.
- CH340/CP210x Chips: Many clone boards use these chips and require separate driver installations.
Visit the manufacturer's website to download and install the necessary drivers. After installation, restart your computer and try uploading again.
4. Inspect the USB Cable and Connection
Sometimes, the issue is as simple as a faulty USB cable or a loose connection.
- Use a different USB cable to rule out damage.
- Try connecting to a different USB port on your computer.
- Ensure the Arduino is firmly connected, and there are no intermittent connections.
5. Reset the Arduino Board
Manually resetting the Arduino can help establish communication, especially if the board is stuck in a faulty state.
- Press the reset button on the Arduino just before initiating the upload in the IDE.
- Timing is crucial; you might need to press the button right when the IDE starts uploading.
6. Check for Bootloader Issues
The bootloader is a small program on the Arduino that allows the IDE to upload sketches. If it's corrupted or missing, uploads will fail.
To fix bootloader issues:
- Use another Arduino as an ISP (In-System Programmer).
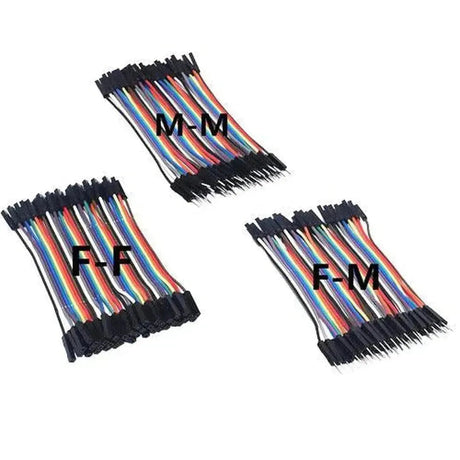
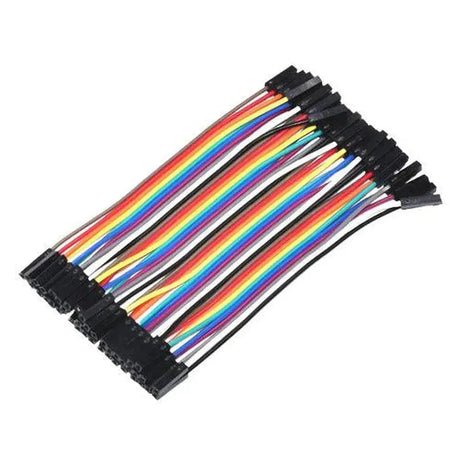
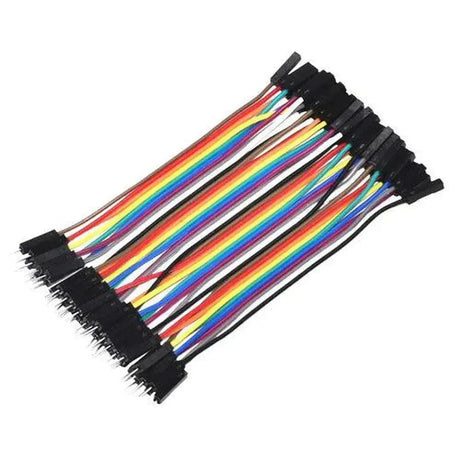
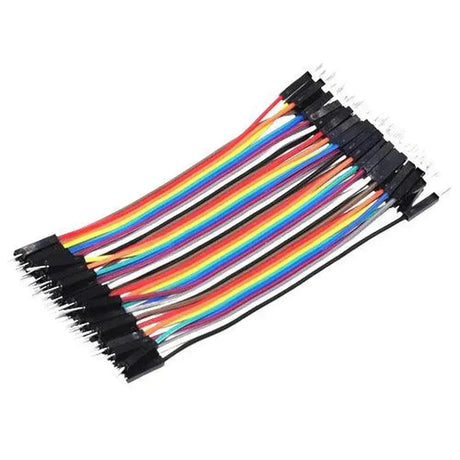
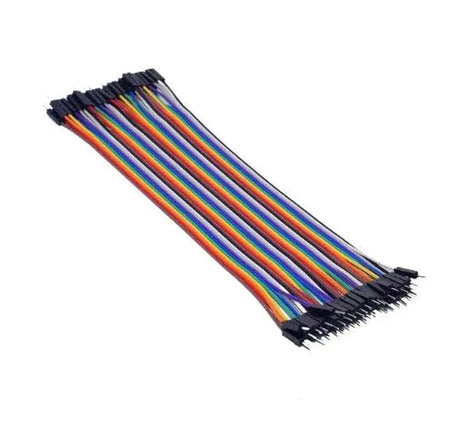
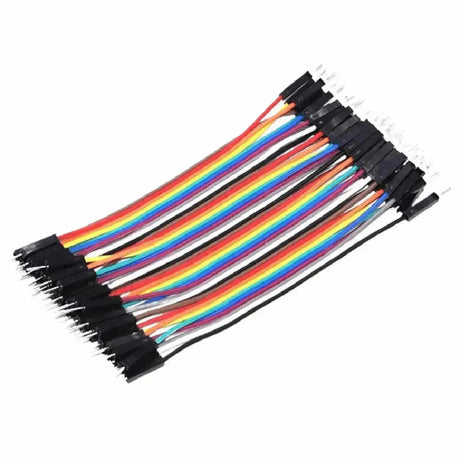
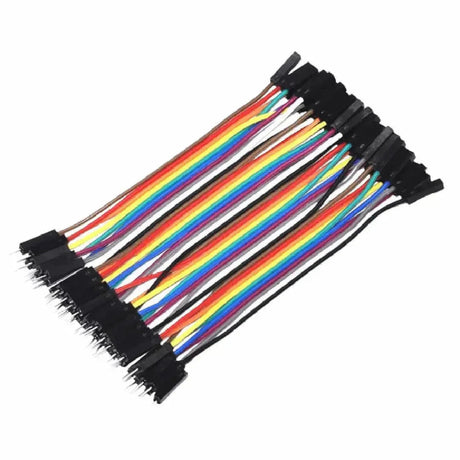
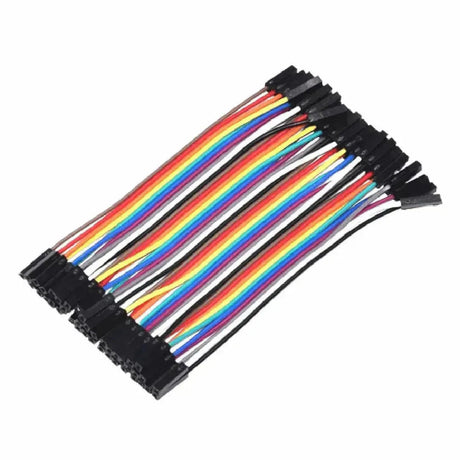
- Connect the two boards via jumper wires:
// Example connections:
ISP Arduino Pinout:
10 - RESET
11 - MOSI
12 - MISO
13 - SCK
Then, in the IDE:
Tools > Programmer > Arduino as ISP
Tools > Burn Bootloader
7. Ensure No Compilation Errors
Sometimes, the issue isn't with the connection but with the sketch itself. Compilation errors prevent the sketch from uploading successfully.
- Review the error messages in the IDE's output pane.
- Ensure all libraries are correctly installed and included.
- Check for syntax errors or incompatible code.
8. Close Conflicting Applications
Other programs might be using the same serial port, preventing the IDE from accessing it.
- Close applications like serial monitors, Bluetooth managers, or other IDEs.
- Sometimes, background services can hold onto the port. Restarting your computer can help.
9. Update the Arduino IDE
Running an outdated version of the Arduino IDE can lead to compatibility issues, especially with newer boards.
- Visit the official Arduino website to download the latest version.
- Install the update and try uploading your sketch again.
10. Power Supply Considerations
Your project’s power requirements can sometimes interfere with the upload process.
- If you're powering external components from the Arduino, ensure they aren't drawing too much current.
- Disconnect shields or peripherals and attempt to upload with only the Arduino connected.
11. Examine Shield and Peripheral Connections
Improperly connected shields or peripherals can block the communication pins needed for uploading.
- Remove all shields and external devices.
- Attempt to upload the sketch. If successful, reconnect peripherals one by one to identify the culprit.
12. Use Verbose Output for Debugging
The Arduino IDE offers verbose output options that provide detailed information during the upload process.
- Go to File > Preferences.
- Check the boxes for Show verbose output during compilation and upload.
- Attempt to upload again and review the detailed logs for clues.
Conclusion
Encountering upload issues with your Arduino sketches can be a stumbling block, but understanding the common causes can help you troubleshoot effectively. From verifying board and port selections to inspecting hardware connections and updating software, these steps cover the most frequent problems developers face. By methodically addressing each potential issue, you'll be better equipped to diagnose and resolve upload failures, ensuring your Arduino projects move forward smoothly.
Remember, persistence is key in electronics projects. Don't get discouraged by upload errors—they're often just minor hurdles on the path to creating something amazing with your Arduino.

