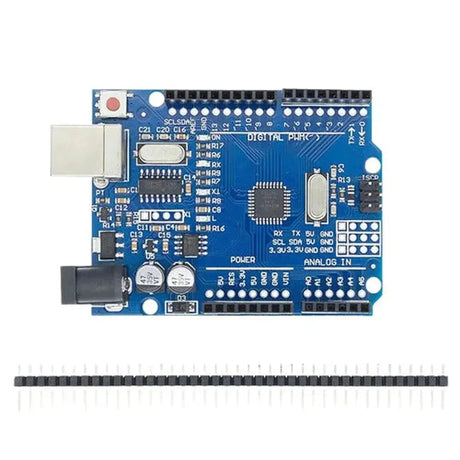
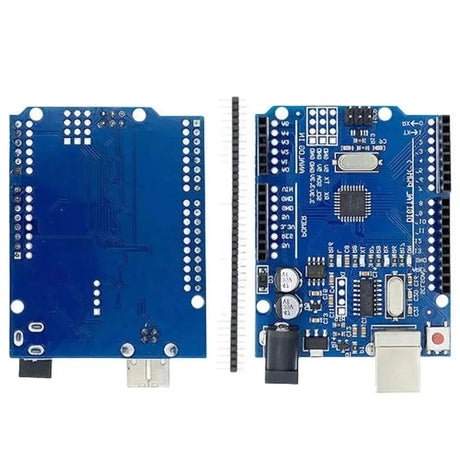
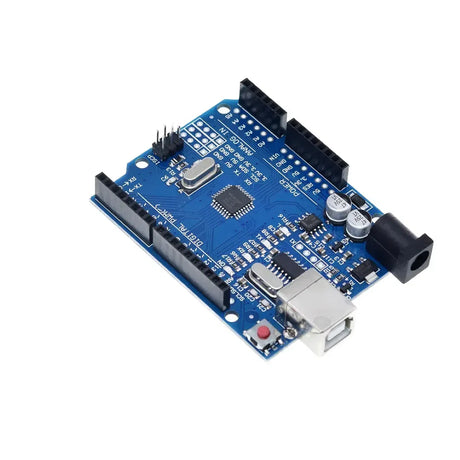
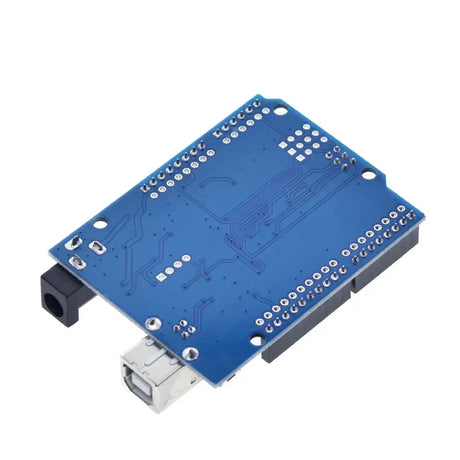
Arduino projects are a fantastic way to bring your ideas to life, whether you're a hobbyist or a seasoned developer. However, one common issue that many Arduino enthusiasts encounter is floating inputs and unstable readings. These problems can lead to erratic behavior in your projects, making it difficult to achieve reliable results. In this blog post, we'll delve into the causes of floating inputs and unstable readings, and provide practical solutions to ensure your Arduino projects run smoothly.
Understanding Floating Inputs
A floating input occurs when an input pin on the Arduino is not connected to a definite voltage source, leaving it in an undefined state. This undefined state causes the input pin to randomly fluctuate between HIGH and LOW states, leading to unstable readings. Floating inputs are particularly problematic when using digital pins for buttons, switches, or other sensors.
Causes of Floating Inputs
- Unconnected Pins: Leaving input pins unconnected allows them to pick up ambient electrical noise, causing unpredictable behavior.
- Improper Wiring: Loose or incorrect wiring can result in intermittent connections, leading to unstable readings.
- Environmental Noise: Electromagnetic interference from nearby devices can induce noise in your circuit, especially in high-impedance states.
Solutions to Fix Floating Inputs
1. Use Pull-Up or Pull-Down Resistors
One of the most effective ways to prevent floating inputs is by using pull-up or pull-down resistors. These resistors ensure that the input pin is always connected to a known voltage level, either HIGH or LOW.
Pull-Up Resistors
A pull-up resistor connects the input pin to the positive voltage supply (VCC). This ensures that the pin reads HIGH when no other input is connected.
// Example of using a pull-up resistor
const int buttonPin = 2;
int buttonState = 0;

void setup() {
  pinMode(buttonPin, INPUT_PULLUP); // Enable internal pull-up resistor
  Serial.begin(9600);
}

void loop() {
  buttonState = digitalRead(buttonPin);
  Serial.println(buttonState);
  delay(500);
}
Pull-Down Resistors
A pull-down resistor connects the input pin to the ground (GND). This ensures that the pin reads LOW when no other input is connected.
// Example of using a pull-down resistor
const int sensorPin = 3;
int sensorValue = 0;

void setup() {
  pinMode(sensorPin, INPUT); // Configure as input
  Serial.begin(9600);
}

void loop() {
  sensorValue = digitalRead(sensorPin);
  Serial.println(sensorValue);
  delay(500);
}
While Arduino boards have internal pull-up resistors that can be enabled via software, pull-down resistors typically need to be added externally as they are not available internally.
2. Check Your Wiring
Loose or incorrect wiring can lead to intermittent connections, causing unstable readings. Ensure that all connections are secure and that wires are properly soldered or seated in breadboard sockets. Using quality jumper wires and components can also reduce the likelihood of connection issues.
3. Shield Your Wires
Environmental noise can interfere with your signal lines, especially in high-impedance states. To minimize noise, use shielded cables for your connections or twist your signal wires with their corresponding ground wires. Additionally, keeping your wires as short as possible reduces the amount of noise they can pick up.
4. Use Capacitors for Debouncing
When working with mechanical switches or buttons, bouncing can cause multiple rapid on/off signals, leading to unstable readings. Using capacitors can help smooth out these signals.
// Example of debouncing with a capacitor
const int buttonPin = 2;
int buttonState = 0;

void setup() {
  pinMode(buttonPin, INPUT_PULLUP);
  Serial.begin(9600);
}

void loop() {
  buttonState = digitalRead(buttonPin);
  Serial.println(buttonState);
  delay(50); // Adjust delay as needed
}
Alternatively, you can implement software debouncing techniques to filter out the noise caused by bouncing.
Additional Tips for Stable Readings
1. Use Stable Power Supply
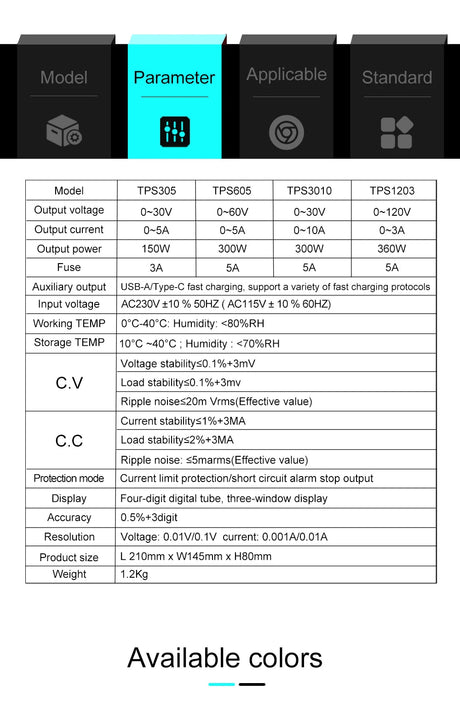
A stable power supply is crucial for consistent sensor readings. Ensure that your Arduino and connected components are receiving a steady voltage. Using capacitors across the power supply lines can help filter out voltage spikes and noise.
2. Ground All Components Properly
Ensure that all components share a common ground. Inconsistent grounding can lead to voltage differences that cause unpredictable behavior in your circuit.
3. Implement Proper Shielding and Layout
For more complex projects, consider the physical layout of your components. Proper shielding and organizing your circuit to minimize interference can make a significant difference in the stability of your readings.
Conclusion
Floating inputs and unstable readings are common challenges in Arduino projects, but with the right techniques, they can be effectively mitigated. By using pull-up or pull-down resistors, ensuring secure wiring, shielding your connections, and implementing debouncing, you can achieve reliable and consistent results in your projects. Additionally, maintaining a stable power supply and proper grounding will further enhance the stability of your Arduino setups.
Remember, understanding the underlying causes of these issues is key to troubleshooting and creating robust Arduino projects. Happy tinkering!

