

Measuring weight accurately is essential in various projects, from digital scales to industrial applications. By interfacing a load cell with an HX711 amplifier and an Arduino, you can create a precise and reliable weight measurement system. This guide will walk you through the components, wiring, coding, and calibration necessary to set up your own weight measurement system.
Materials Needed
- Arduino board (e.g., Uno, Nano)
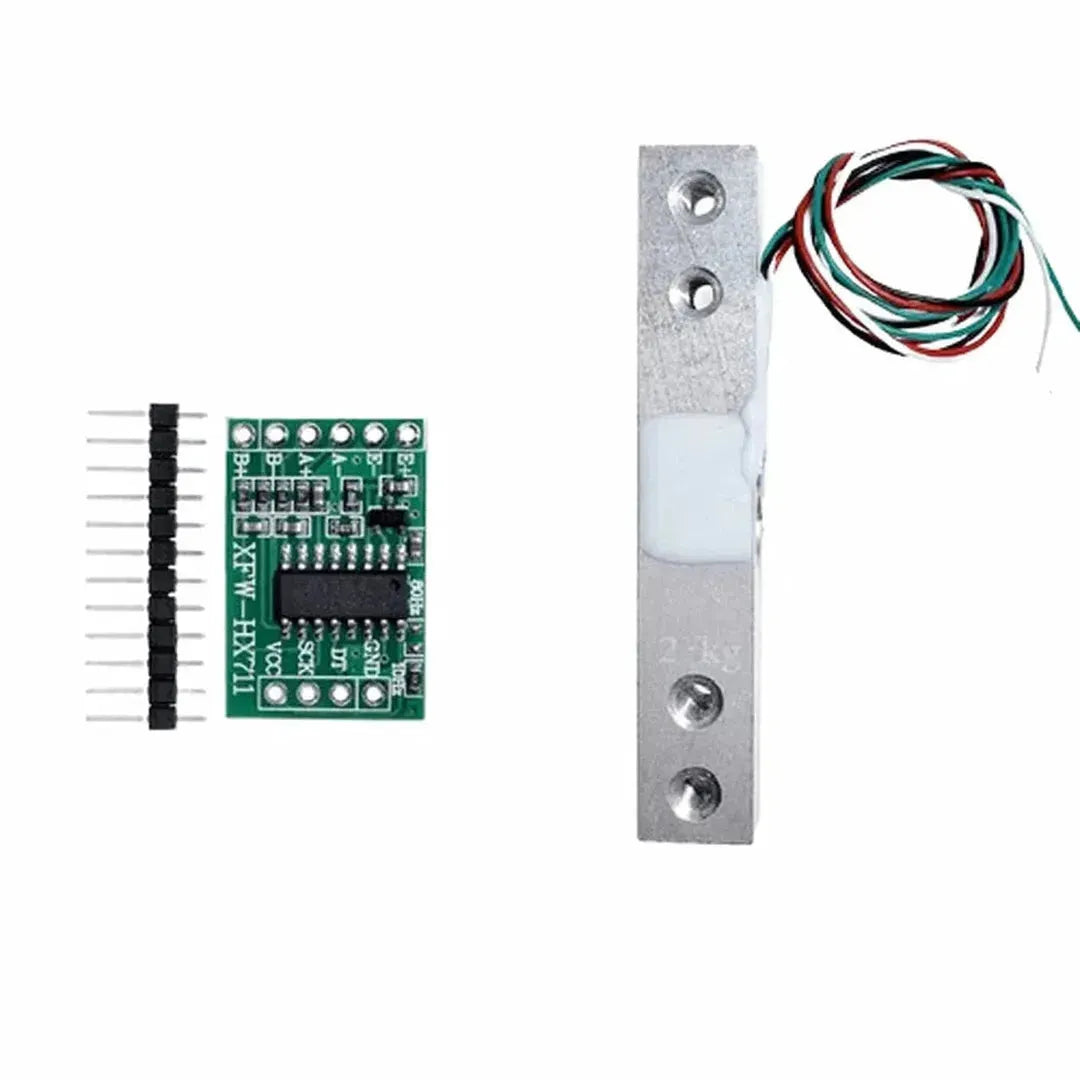
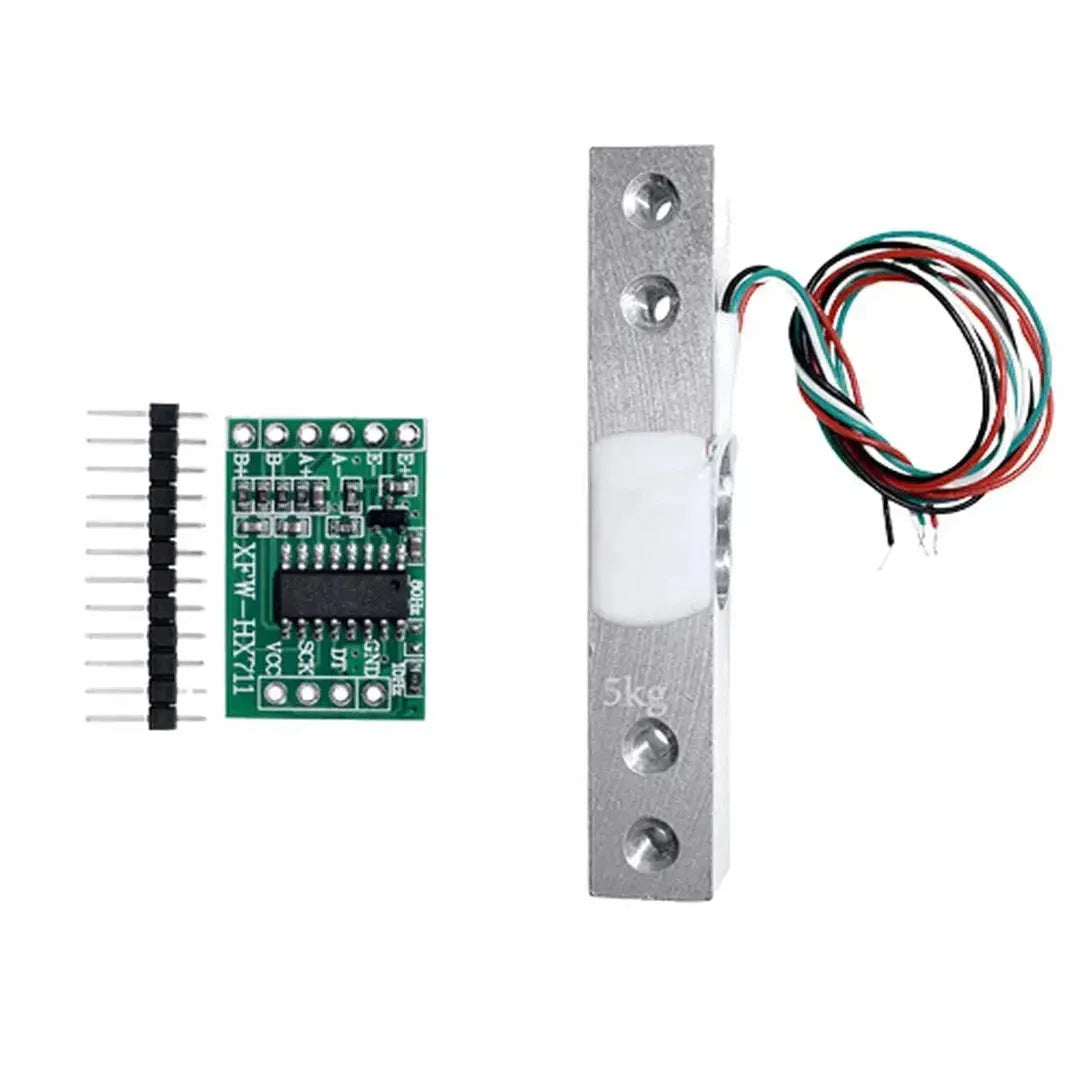
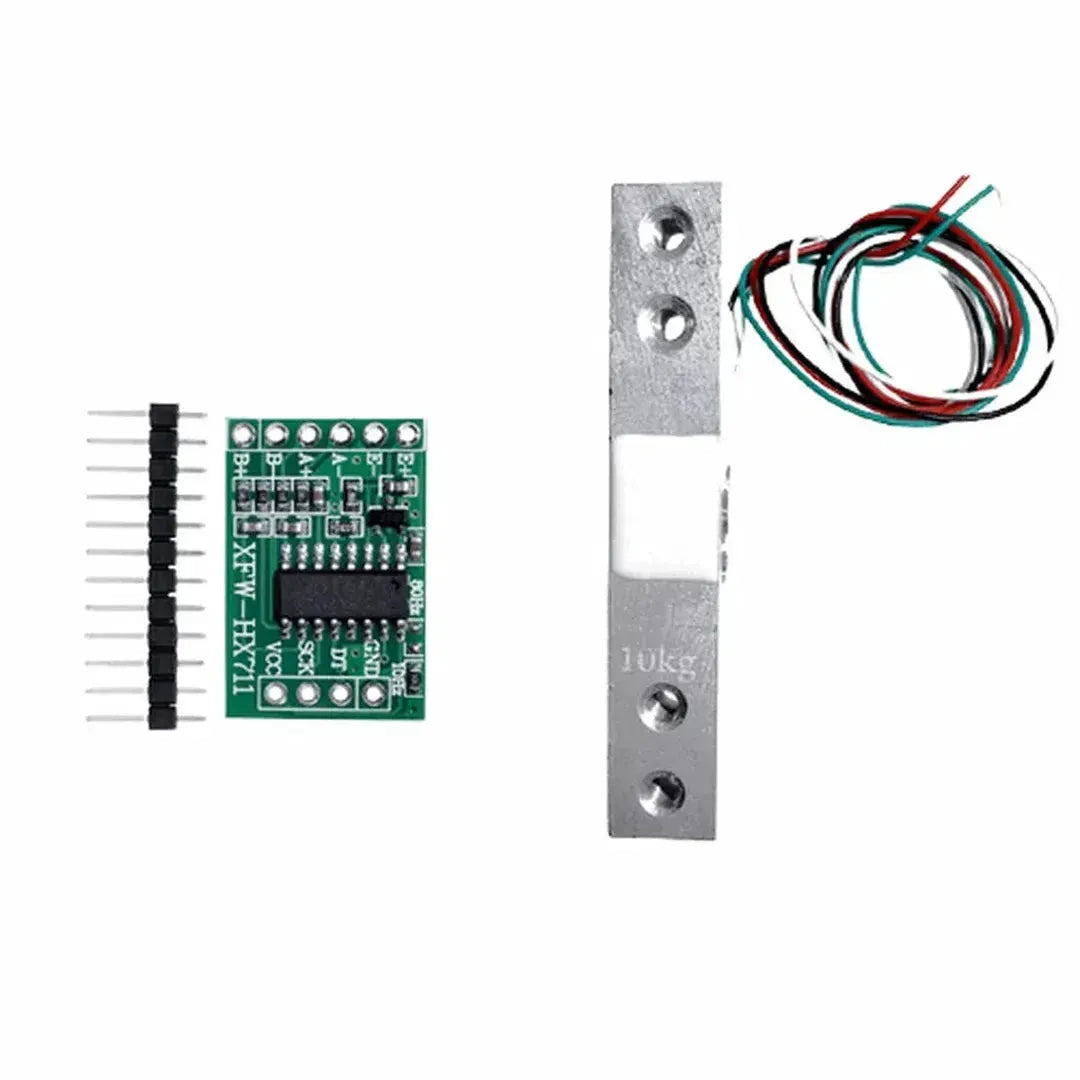
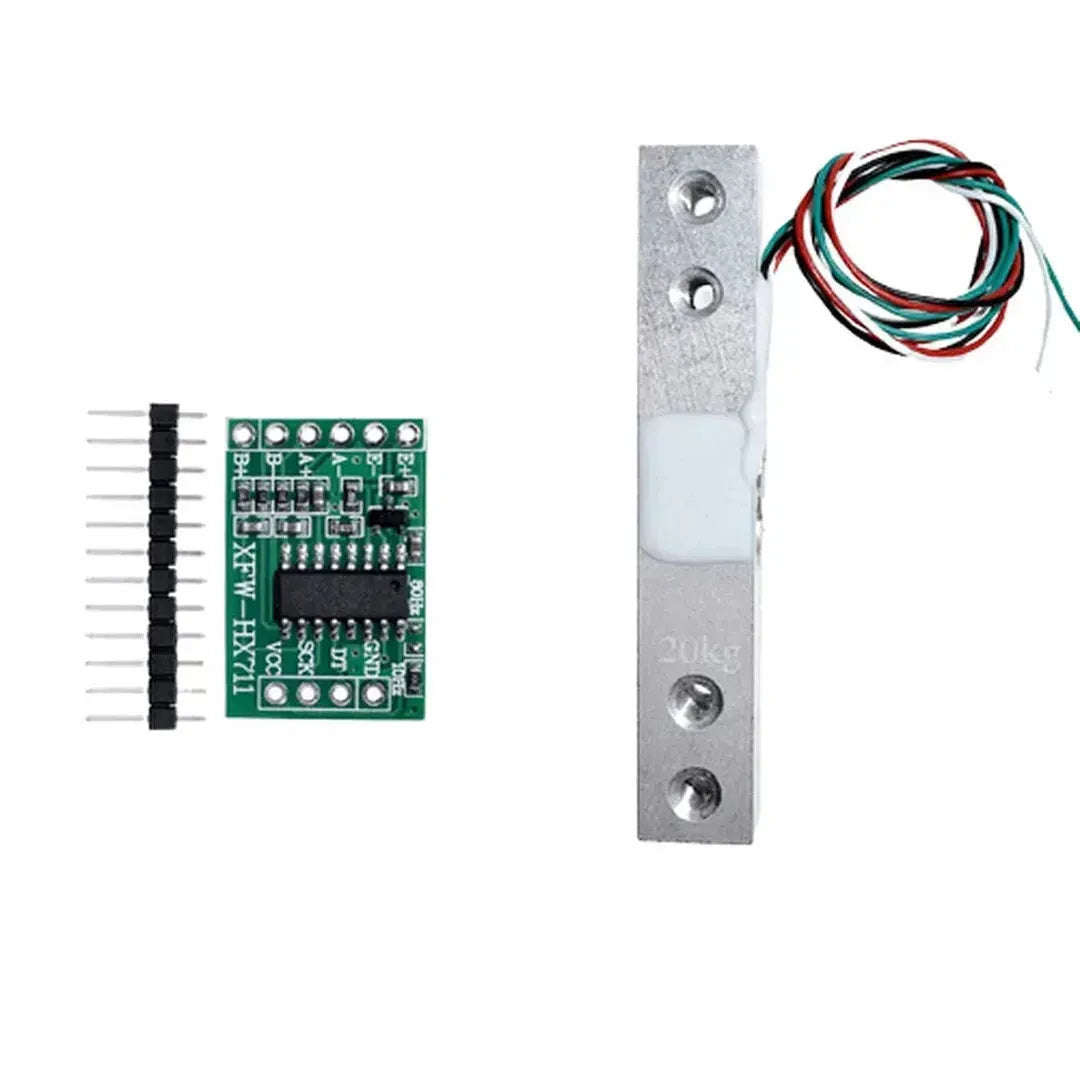
- Load cell (typically a 5kg or 10kg capacity)
- HX711 load cell amplifier module
- Breadboard and jumper wires
- USB cable for programming the Arduino
- Optional: LCD display for showing weight readings
Wiring the Components
Connecting the load cell to the HX711 and then to the Arduino is straightforward. The load cell usually has four wires: red (VCC), black (GND), white (DATA-), and green (DATA+). Follow these steps for wiring:
- Connect the Load Cell to HX711:
- Red wire to E+ on HX711
- Black wire to E- on HX711
- White wire to A- on HX711
- Green wire to A+ on HX711
- Connect HX711 to Arduino:
Coding the Arduino
To communicate with the HX711, you'll need to use a library that simplifies interactions. The HX711 library by Bogdan Necula is a popular choice. Install it via the Arduino Library Manager before proceeding.
Here is a sample code to get you started:
#include <HX711.h>

// Define HX711 circuit connections
const int LOADCELL_DOUT_PIN = 2;
const int LOADCELL_SCK_PIN = 3;

HX711 scale;

void setup() {
  Serial.begin(9600);
  scale.begin(LOADCELL_DOUT_PIN, LOADCELL_SCK_PIN);
  Serial.println("HX711 Calibration");

  // Optional: tare the scale to zero
  scale.tare();
}

void loop() {
  if (scale.is_ready()) {
    long reading = scale.read();
    Serial.print("Raw reading: ");
    Serial.println(reading);

    // Convert reading to weight
    float weight = scale.get_units(10); // 10 readings averaged
    Serial.print("Weight: ");
    Serial.print(weight);
    Serial.println(" kg");
  } else {
    Serial.println("HX711 not found.");
  }
  delay(500);
}
Calibration
Accurate measurements require calibrating the scale to account for any discrepancies. Here's how you can calibrate your load cell:
- Upload the above code to your Arduino and open the Serial Monitor.
- With no weight on the load cell, note the raw reading. This is your tare value.
- Place a known weight on the load cell and note the new raw reading.
- Calculate the calibration factor using the formula:
Calibration Factor = (Raw Reading - Tare) / Known Weight
Once you have the calibration factor, update your code to use it:
#define CALIBRATION_FACTOR  -7050 // Example value

void setup() {
  Serial.begin(9600);
  scale.begin(LOADCELL_DOUT_PIN, LOADCELL_SCK_PIN);
  scale.set_scale(CALIBRATION_FACTOR);
  scale.tare();
  Serial.println("HX711 Calibration");
}

void loop() {
  if (scale.is_ready()) {
    float weight = scale.get_units(10);
    Serial.print("Weight: ");
    Serial.print(weight);
    Serial.println(" kg");
  } else {
    Serial.println("HX711 not found.");
  }
  delay(500);
}
Testing Your Setup
After calibration, perform several tests with different known weights to ensure accuracy. If discrepancies exist, adjust the calibration factor accordingly. It's essential to ensure that the load cell is placed on a stable surface and that the wiring is secure to prevent fluctuating readings.
Enhancing Your Project
To make your weight measurement system more user-friendly, consider adding an LCD display to show the weight in real-time. You can also integrate features like data logging, wireless transmission, or interfacing with other sensors for more comprehensive measurements.
Conclusion
Interfacing a load cell and HX711 with an Arduino is a manageable project that yields precise weight measurements suitable for various applications. By following the steps outlined in this guide, you can set up your own digital scale or integrate weight sensing into more complex projects. With proper calibration and stable connections, your system will provide reliable data for your needs.