Arduino boards are the heart of countless DIY electronics projects, providing a versatile platform for creativity and innovation. However, like any electronic device, they can occasionally encounter issues that render them unresponsive or "bricked." A bricked Arduino board is one that no longer functions as intended, often failing to execute any code or communicate with your computer. Fortunately, there are several methods to revive a bricked Arduino board. In this blog post, we'll explore the common causes of a bricked Arduino and provide step-by-step instructions to recover your board.
Understanding What It Means to Brick an Arduino
Bricking an Arduino typically means that the board is no longer responding to programming commands, effectively rendering it useless for your projects. This can happen due to various reasons, such as uploading faulty code, power surges, incorrect connections, or issues during firmware updates. Before diving into recovery methods, it's essential to diagnose the problem accurately.
Common Causes of a Bricked Arduino
- Faulty Code Upload: Uploading a sketch with infinite loops, heavy memory usage, or improper configurations can cause the Arduino to become unresponsive.
- Incorrect Power Supply: Providing incorrect voltage levels or inconsistent power can damage the board's components.
- Wrong Board Selection: Selecting the wrong board type in the Arduino IDE can lead to failed uploads and potential bricking.
- Firmware Corruption: Interruptions during firmware updates can corrupt the bootloader, making the board unable to communicate.
Step-by-Step Guide to Recovering a Bricked Arduino
1. Perform a Hardware Reset
Sometimes, a simple reset can revive your Arduino board:
Note: This code is a conceptual representation. To physically reset your Arduino, press the reset button on the board or momentarily connect the reset pin to GND.
2. Re-upload a Simple Sketch
If the board is still responsive, try uploading a simple sketch like the Blink example:
/**
 * Blink
 * Turns an LED on for one second, then off for one second, repeatedly.
 */

void setup() {
  pinMode(LED_BUILTIN, OUTPUT); // Initialize the LED pin as an output
}

void loop() {
  digitalWrite(LED_BUILTIN, HIGH); // Turn the LED on
  delay(1000);                     // Wait for a second
  digitalWrite(LED_BUILTIN, LOW);  // Turn the LED off
  delay(1000);                     // Wait for a second
}
Open the Arduino IDE, select the correct board and port, then upload the Blink sketch. If successful, this indicates that the board's bootloader is intact.
3. Reinstall the Bootloader
If uploading sketches fails, the bootloader might be corrupted. Reinstalling the bootloader can often restore functionality:
Requirements:
- Another functioning Arduino board (acting as an ISP)
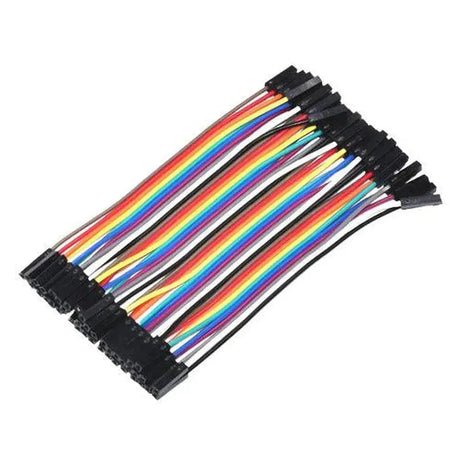
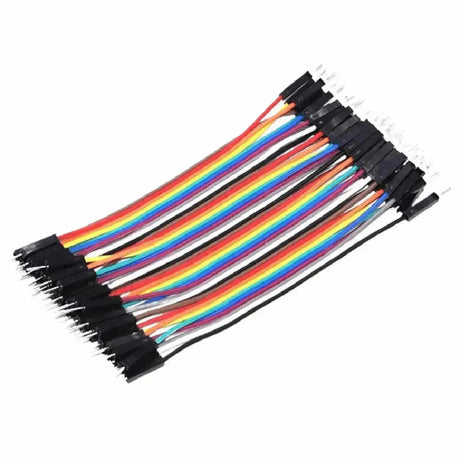
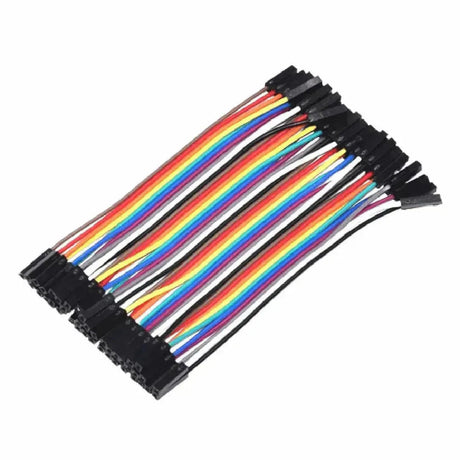
- Jumper wires
Steps:
-
Set Up the ISP:
Connect the working Arduino to your computer and upload the ArduinoISP sketch from the IDE (File > Examples > 11.ArduinoISP > ArduinoISP).
-
Connect the Bricked Arduino to the ISP:
- Connect RESET to 10
- Connect GND to GND
- Connect VCC to 5V
- Connect MISO to MISO
- Connect MOSI to MOSI
- Connect SCK to SCK
-
Burn the Bootloader:
In the Arduino IDE, go to Tools > Programmer and select Arduino as ISP. Then, choose Tools > Burn Bootloader.
This process reinstalls the bootloader, enabling the Arduino to accept new sketches.
4. Use an External Programmer
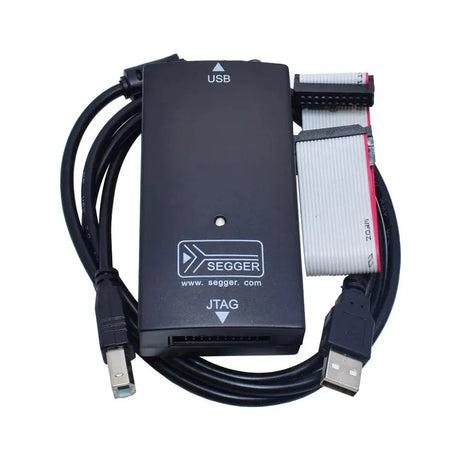
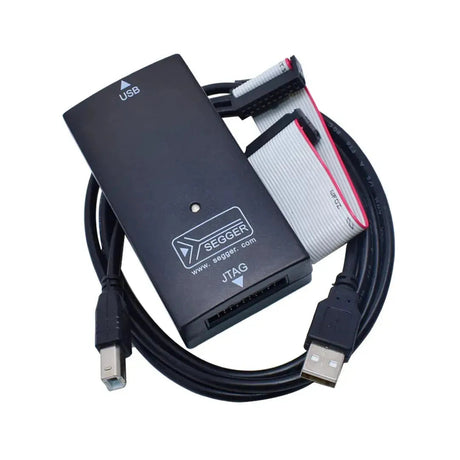
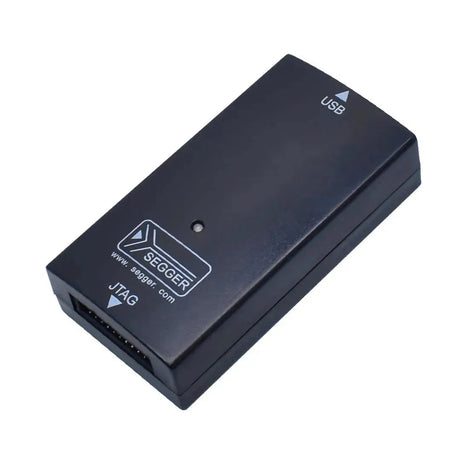
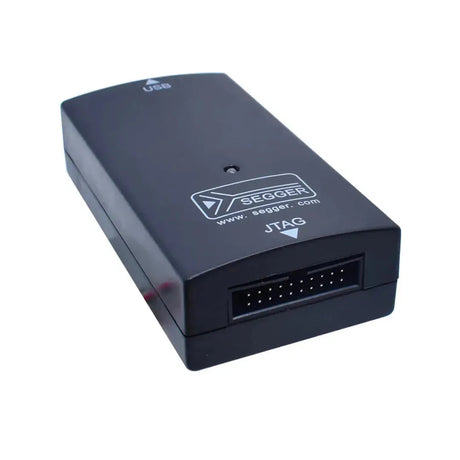
If you don't have a second Arduino, you can use an external ISP programmer. Popular options include the USBtinyISP or USBasp. Connect the programmer to your bricked Arduino following the manufacturer's instructions and use the Arduino IDE to burn the bootloader as described in the previous step.
5. Check Hardware Connections
Sometimes, the issue might be with faulty connections or damaged components:
- Inspect the board for any visible damage, such as burnt components or broken traces.
- Ensure all wires and peripherals are correctly connected and not causing shorts.
- Remove any shields or modules and try programming the board standalone.
6. Update or Reinstall Arduino IDE Drivers
Driver issues on your computer can prevent successful communication with the Arduino:
- Uninstall the existing Arduino drivers.
- Download the latest version of the Arduino IDE from the official website.
- Install the IDE, ensuring that all necessary drivers are included during installation.
After reinstalling the drivers, reconnect your Arduino and attempt to upload a sketch again.
Preventing Future Bricking of Your Arduino
To minimize the risk of bricking your Arduino in future projects, consider the following tips:
- Double-Check Connections: Ensure all connections are correct before powering the board.
- Select the Correct Board: Always choose the appropriate board model in the Arduino IDE.
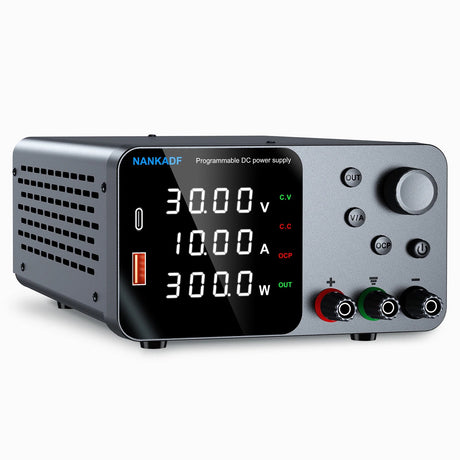
- Use Stable Power Sources: Avoid power fluctuations by using regulated power supplies.
- Backup Bootloader: Keep a copy of the bootloader firmware for easy restoration.
- Test Incrementally: Upload and test your code in small sections to catch errors early.
Conclusion
Encountering a bricked Arduino board can be frustrating, but with the right tools and knowledge, recovery is often possible. By following the steps outlined in this guide—performing a hardware reset, re-uploading simple sketches, reinstalling the bootloader, and ensuring proper hardware connections—you can restore your Arduino to working condition. Additionally, adopting preventive measures will help safeguard your board against future issues, ensuring that your projects continue to thrive without interruption.

































1 comment
If “bricking” an Arduino—rendering it unresponsive to programming commands—can stem from anything from a corrupted bootloader to physical wiring errors, then how might this common rite of passage for hobbyists and educators actually embody a deeper lesson in embedded systems literacy? The recovery process (whether re-flashing the bootloader via ICSP, checking power rails, or verifying crystal oscillators) forces a shift from abstract coding to hardware-aware debugging, revealing that microcontrollers aren’t just “mini-computers” but tightly coupled electro-digital artifacts where software and circuitry co-determine functionality. In this light, a “bricked” board isn’t just a failure—it’s an invitation to understand the fragile, beautiful boundary between code and silicon, where resilience is built not by avoiding mistakes, but by learning to listen to what a silent device is trying to tell you.
dce