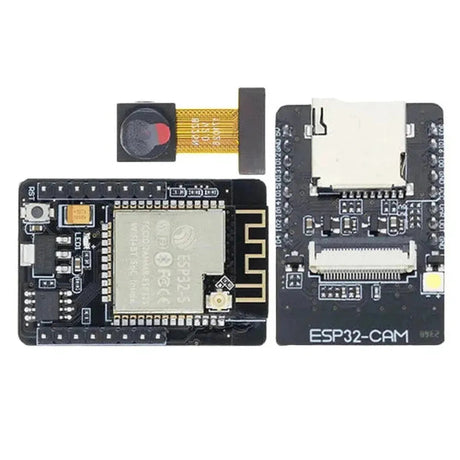
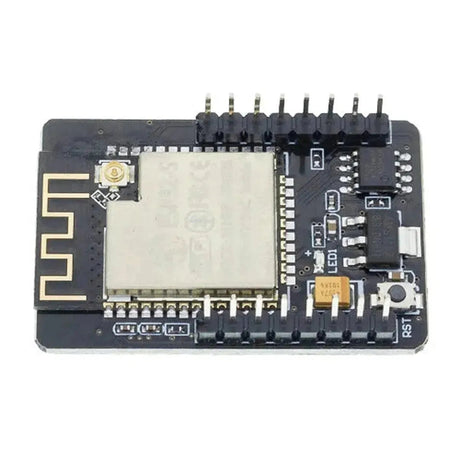
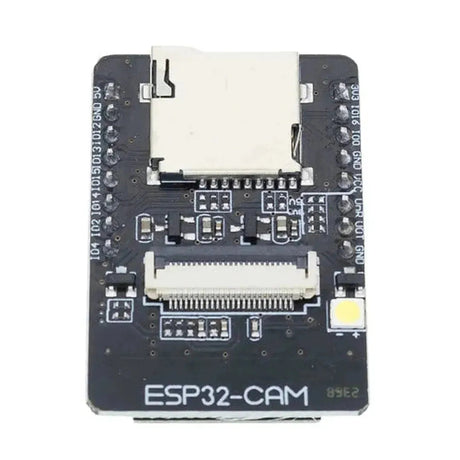
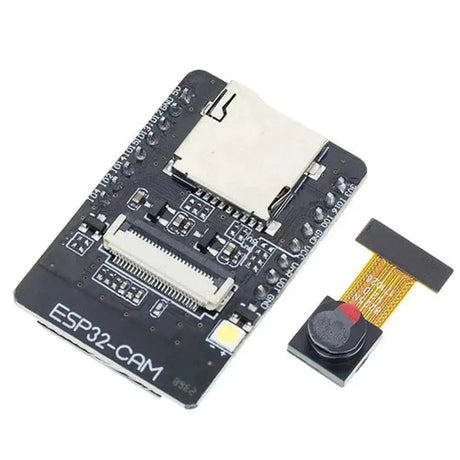
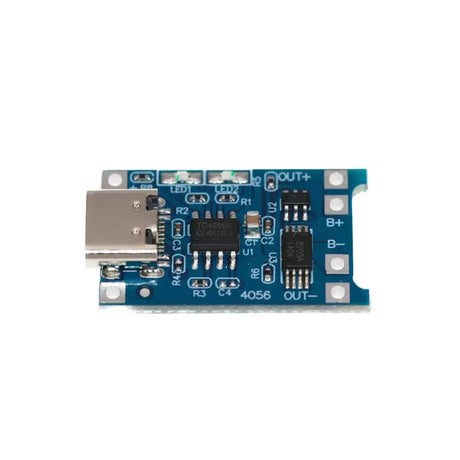
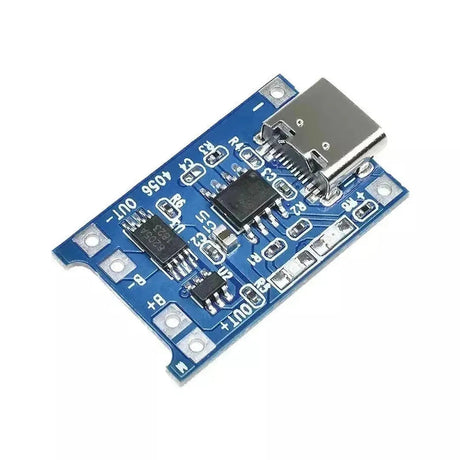
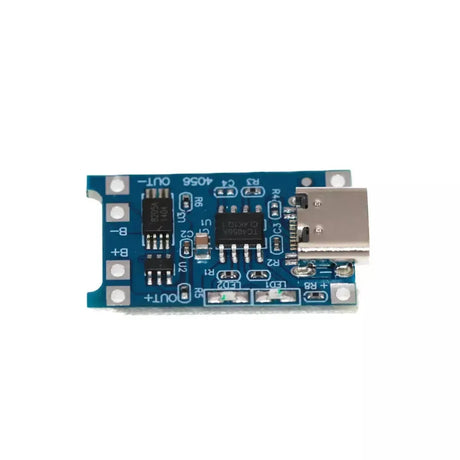
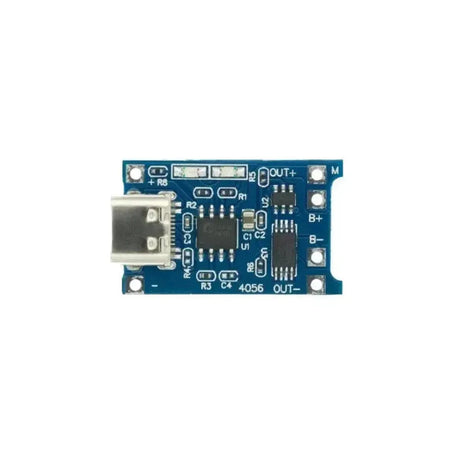
Printed Circuit Boards (PCBs) are the backbone of modern electronics, connecting various components to create functional devices. However, one common issue that can plague PCBs is bad solder joints. These faulty connections can lead to intermittent problems, device malfunction, or complete failure. In this guide, we'll explore how to check for bad solder joints on your PCB and provide step-by-step instructions on how to fix them.
Tools You’ll Need
- Soldering iron with a fine tip
- Solder
- Desoldering braid or a desoldering pump
- Multimeter
- Flux
- Magnifying glass or microscope
- Safety glasses
- ESD (Electrostatic Discharge) protection, such as an anti-static wrist strap
How to Check for Bad Solder Joints
1. Visual Inspection
The first step in identifying bad solder joints is a thorough visual inspection. Use a magnifying glass or microscope to examine each solder joint on the PCB. Look for the following common issues:
- Cold Joints: These appear dull or grainy instead of shiny. Cold joints occur when the solder doesn't properly flow, leading to poor electrical connections.
- Bridging: Excess solder can create unintended connections between adjacent pads or pins.
- Insufficient Solder: Not enough solder can result in weak connections that are prone to failure.
- Cracked or Lifted Pads: Physical damage to the pads can disrupt the connection.
2. Physical Testing
Sometimes, bad solder joints can be detected through physical manipulation. Gently wiggle the component leads while observing the circuit's behavior. If the device exhibits intermittent issues or fails to operate, a bad solder joint might be the culprit.
3. Using a Multimeter
A multimeter is an essential tool for accurately identifying bad solder joints. Here's how to use it:
1. Set your multimeter to the continuity or resistance (ohms) setting.
2. Place one probe on the component lead and the other on the corresponding pad on the PCB.
3. A good connection will show continuity (a beep or low resistance).
4. If there's no continuity or the resistance is unusually high, the solder joint may be faulty.
How to Fix Bad Solder Joints
1. Reflowing the Joint
Reflowing involves heating the existing solder to re-establish a good connection. Here's how:
- Heat your soldering iron to the appropriate temperature (typically around 350°C).
- Apply the soldering iron to the faulty joint for a few seconds to melt the existing solder.
- Feed a small amount of fresh solder into the joint while heating to ensure proper flow.
- Remove the soldering iron and allow the joint to cool undisturbed.
This process can often resolve cold joints and improve electrical connections.
2. Removing and Re-Soldering
If reflowing doesn't work, you may need to remove the bad solder entirely and start fresh:
- Use a desoldering braid or a desoldering pump to remove the existing solder from the joint.
- Clean the pad and component lead with isopropyl alcohol to remove any flux residue.
- Apply flux to the cleaned area to help the new solder flow properly.
- Heat the joint with the soldering iron and apply fresh solder, ensuring it flows smoothly around the pad and lead.
- Allow the joint to cool naturally and inspect it for proper formation.
3. Cleaning the Joint
After soldering, it's essential to clean the joint to prevent future issues:
- Use isopropyl alcohol and a brush to remove any remaining flux.
- Ensure the joint is free of debris and oxidization.
- Inspect the joint again under magnification to confirm its quality.
Preventive Measures
Preventing bad solder joints is better than fixing them. Here are some tips to ensure high-quality soldering:
- Use the Right Soldering Iron: Ensure your iron has the correct temperature and a suitable tip for the job.
- Apply Adequate Flux: Flux helps clean the surfaces and improve solder flow.
- Use Quality Solder: High-quality solder with the correct composition reduces the chances of cold joints.
- Proper Technique: Heat the joint adequately and avoid moving the component until the solder solidifies.
- Inspect Regularly: Regular inspections can catch issues early before they escalate.
Conclusion
Bad solder joints can severely impact the performance and reliability of your PCB. By following the steps outlined in this guide, you can effectively identify and remedy faulty connections, ensuring your electronic projects function as intended. Remember, practice makes perfect—refining your soldering skills will lead to better and more durable solder joints in your future endeavors.

