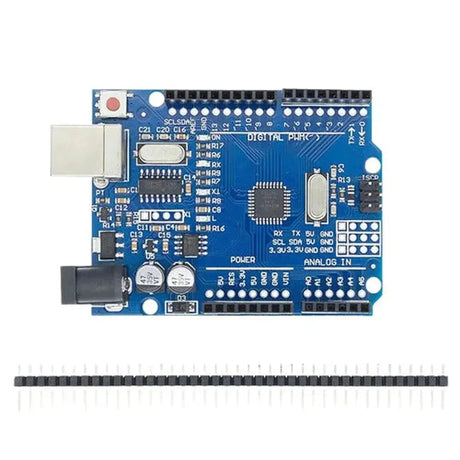
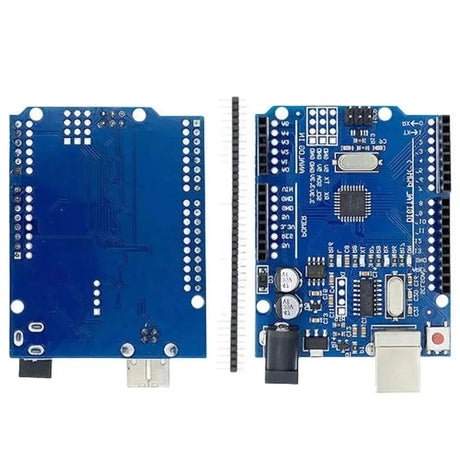
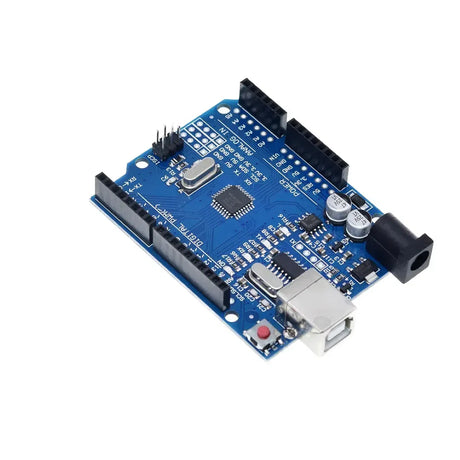
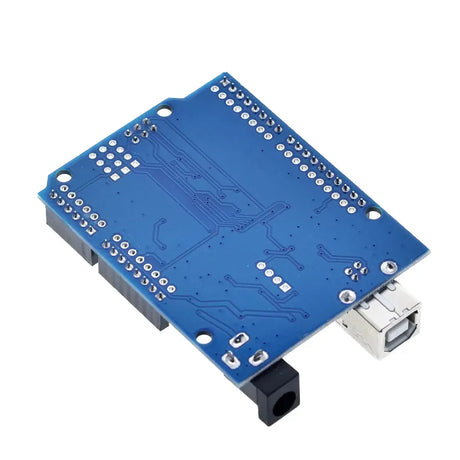
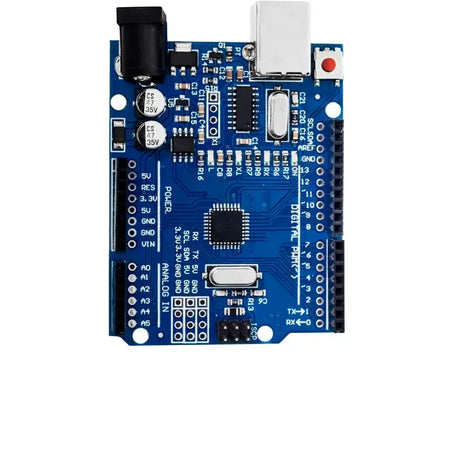
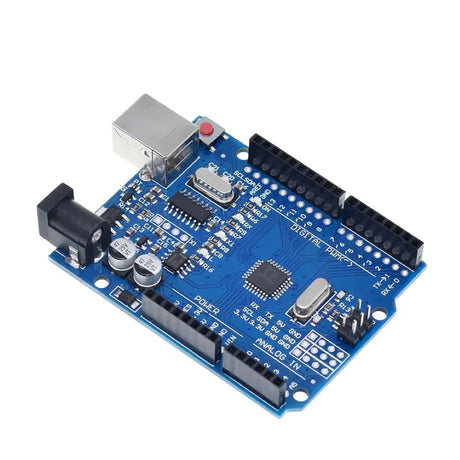
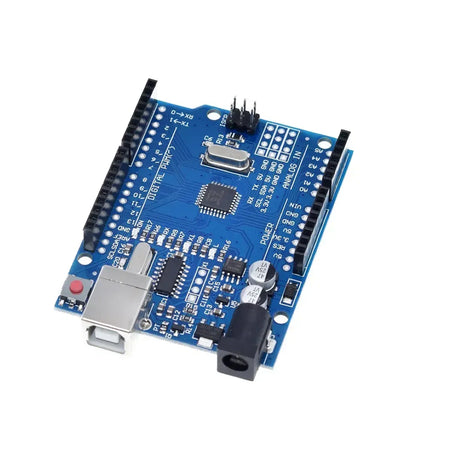
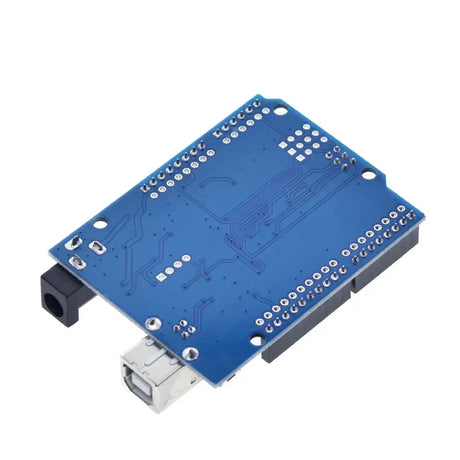
Arduino boards are the heart of countless DIY electronics projects, from simple LED blinkers to complex IoT devices. However, one of the most common frustrations Arduino enthusiasts face is the board not being detected by the computer. This issue can halt your projects in their tracks, but fortunately, there are several solutions to get your Arduino up and running again. In this guide, we'll explore the common reasons why your Arduino might not be detected and provide step-by-step instructions to resolve USB connection issues.
Common Reasons Why Arduino is Not Detected
1. Faulty USB Cable
One of the simplest yet most overlooked reasons is a faulty USB cable. Not all USB cables are created equal; some are power-only and do not support data transfer. Using such a cable will prevent your computer from recognizing the Arduino.
2. Incorrect Drivers
Arduino boards require specific drivers to communicate with your computer. Missing or outdated drivers can cause detection issues, especially with clone boards that use different USB-to-serial converters.
3. Incorrect COM Port Selection
Sometimes, the issue lies in the Arduino IDE not pointing to the correct COM port where the board is connected. This misconfiguration can prevent your board from being recognized.
4. Arduino Board Issues
There might be hardware issues with the Arduino board itself, such as a damaged USB port or faulty components, which can impede its detection.
5. Operating System Specific Issues
Different operating systems have unique ways of handling USB devices. Compatibility issues or bugs within the OS can sometimes prevent the Arduino from being detected.
Step-by-Step Solutions
1. Check the USB Cable and Connection
Start by ensuring that your USB cable is functional. Try using a different cable that is known to support data transfer. Also, connect the cable to a different USB port on your computer to rule out port-specific issues.
2. Install or Update Drivers
For Windows users, you might need to install drivers manually. Here's how you can do it:
sudo apt-get update
sudo apt-get install arduino
For clone boards using the CH340 USB-to-serial converter, download and install the appropriate drivers from the manufacturer’s website.
3. Select the Correct COM Port in Arduino IDE
Open the Arduino IDE and navigate to Tools > Port. Ensure that the correct COM port is selected. If you're unsure which port your Arduino is connected to, disconnect the board and check which port disappears from the list.
4. Reset the Arduino Board
Sometimes, simply resetting the board can resolve detection issues. Press the reset button on the Arduino board and watch the onboard LED; it should blink, indicating that the reset was successful.
5. Try a Different USB Port or Computer
If the problem persists, try connecting your Arduino to a different USB port or even a different computer. This can help determine if the issue lies with the computer’s USB ports or the Arduino board itself.
6. Update or Reinstall the Arduino IDE
Ensure you're using the latest version of the Arduino IDE. Outdated software can have bugs that prevent proper detection of Arduino boards. Download the latest version from the official Arduino website and install it.
Advanced Troubleshooting
1. Check Device Manager (Windows) or System Information (Mac)
For Windows users, open the Device Manager and look for your Arduino under the "Ports (COM & LPT)" section. If you see an exclamation mark, it indicates a driver issue. On Mac, use the System Information app to check USB devices.
2. Install CH340 Drivers for Clone Boards
Clone Arduino boards often use the CH340 USB-to-serial adapter, which requires specific drivers. You can download the CH340 driver from here and follow the installation instructions.
3. Use Verbose Output for Debugging
Enable verbose output in the Arduino IDE to get detailed information during the upload process. Go to File > Preferences and check the "Show verbose output during: upload" option. This information can help identify where the process is failing.
[AVR] Processing board: Arduino Uno, Port: COM3
[AVR] Executing command: "C:\Program Files (x86)\Arduino\arduino_debug.exe" ...
Conclusion
Facing USB connection issues with your Arduino can be frustrating, but with systematic troubleshooting, you can quickly identify and resolve the problem. Start with the simplest solutions, like checking your USB cable, and progressively move to more advanced steps if necessary. Ensuring that your drivers are up to date and that the correct COM port is selected are often the key steps to getting your Arduino detected and back to powering your innovative projects.
If you've tried all these steps and your Arduino is still not detected, it might be time to seek help from the community or consider that the board itself may be faulty. The Arduino community is vast and supportive, so don't hesitate to reach out on forums or social media groups for additional assistance.

