Working with Arduino is an exciting journey into the world of electronics and programming. However, one common obstacle that both beginners and seasoned enthusiasts encounter is power-related issues. It’s frustrating when your Arduino board refuses to power up, leaving your project at a standstill. Understanding the potential causes and knowing how to troubleshoot them can save you time and ensure your projects run smoothly. In this blog post, we’ll delve into the common power issues that might prevent your Arduino board from turning on and provide solutions to get you back on track.
Common Power Problems
1. Incorrect Power Supply
One of the most frequent reasons an Arduino board won’t power on is using an inappropriate power source. Arduino boards typically require a stable voltage supply within specific ranges. For example, the Arduino Uno operates optimally with a voltage between 7-12V when using the VIN pin or the barrel jack. Supplying a voltage outside this range can prevent the board from powering up or even cause permanent damage.
2. Over or Undervoltage
Overvoltage occurs when the supplied voltage exceeds the board’s maximum rating, potentially damaging the voltage regulators or other components. Conversely, undervoltage might result in the board not receiving enough power to operate correctly. It’s crucial to use a regulated power supply to ensure that the voltage remains within the acceptable range for your specific Arduino model.
3. Faulty USB Cable or Port
When powering your Arduino via USB, a faulty USB cable or a malfunctioning USB port on your computer can prevent the board from receiving power. USB cables not only transfer data but also supply power, so any breakage or poor connection can disrupt the power flow.
4. Bad or Loose Connections
Loose or improperly connected power wires can lead to intermittent power issues. Ensuring that all connections are secure and that wires are properly seated in headers or connectors is essential for a stable power supply.
5. Short Circuits
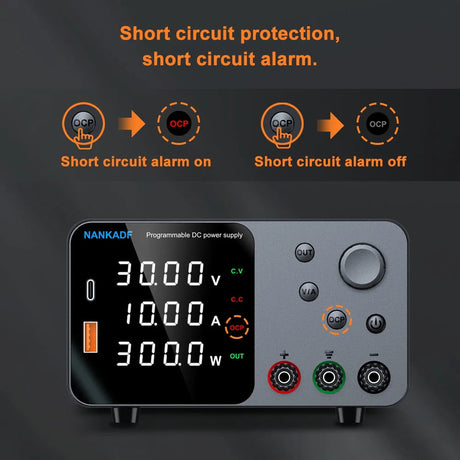
A short circuit occurs when unintended connections between power and ground create a path of low resistance, causing excessive current flow. This can trigger the Arduino’s protective mechanisms, such as fuses or resettable polyfuses, cutting off power to prevent damage.
Diagnosing the Issue
1. Checking the Power Supply
Always start by verifying that your power supply is functioning correctly. Use a multimeter to measure the output voltage and ensure it matches the required specifications for your Arduino board. For instance, if you’re using a 9V adapter, confirm that it consistently provides 9V.
2. Measuring Voltage with a Multimeter
A multimeter is an invaluable tool for diagnosing power issues. Here’s how you can use it to check the voltage being supplied to your Arduino:
1. Set the multimeter to measure DC voltage.
2. Connect the black probe to the GND (ground) pin on the Arduino.
3. Connect the red probe to the VIN pin or the positive terminal of your power source.
4. Read the voltage displayed on the multimeter.
Ensure that the voltage is within the acceptable range for your board.
3. Inspecting the Board
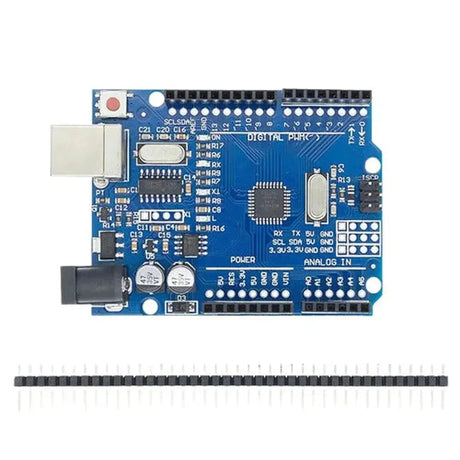
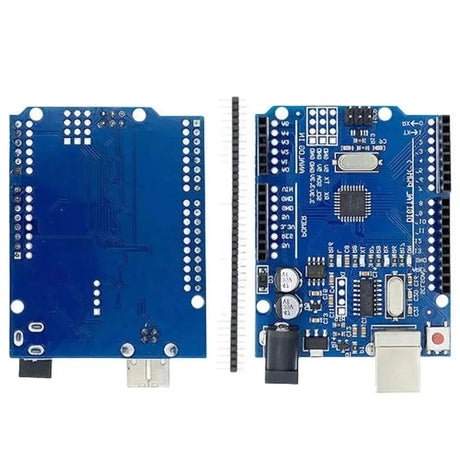
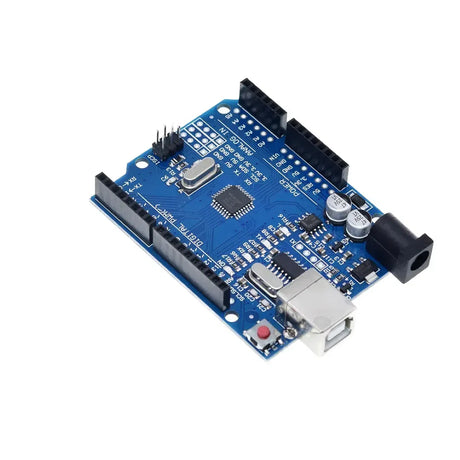
Visually inspect your Arduino board for any signs of damage, such as burnt components, damaged traces, or discolored areas. Look for any loose components or solder joints that might be causing poor connections.
Solutions and Preventive Measures
1. Using a Reliable Power Source
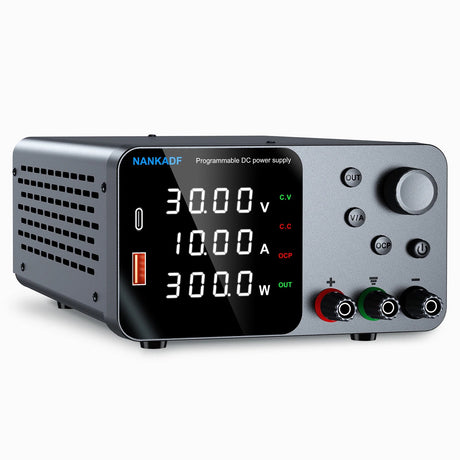
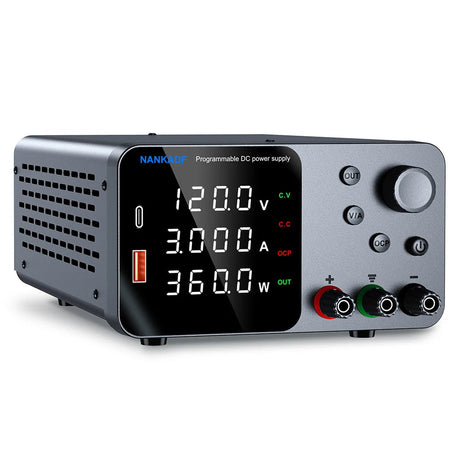
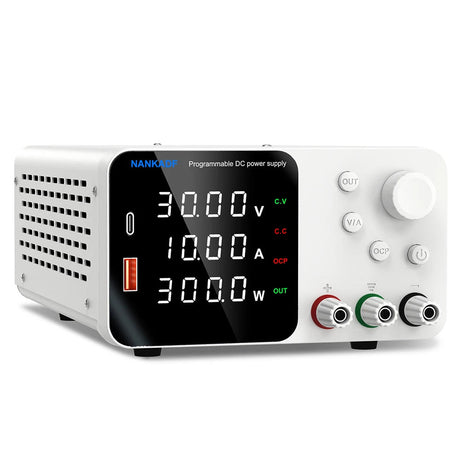
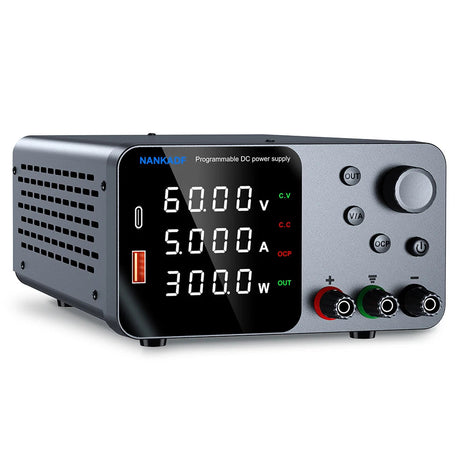
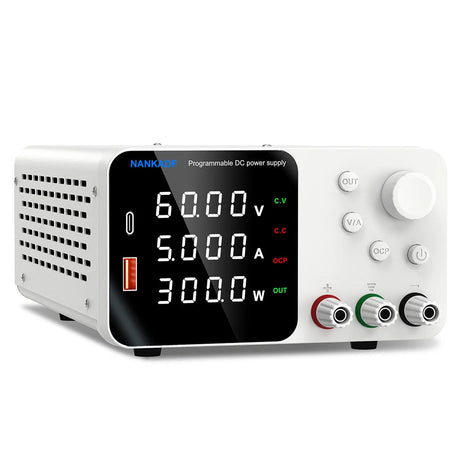
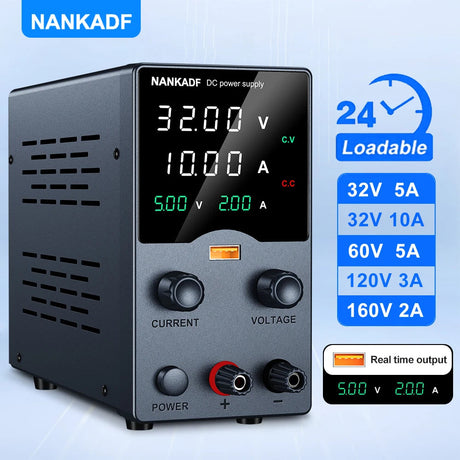
Invest in a quality power supply that matches your Arduino’s requirements. Avoid using power sources that are unregulated or have fluctuating voltages, as they can cause instability or damage your board.
2. Proper Voltage Regulation
If you need to supply a specific voltage, use a voltage regulator to ensure consistency. For example, if your project requires 5V, using a 5V regulator can help maintain a steady voltage level regardless of variations in the input supply.
3. Ensuring Good Connections
Double-check all connections to ensure they are secure. Use reliable connectors and avoid excessive bending or stress on wires, which can lead to breaks or intermittent connections over time.
4. Avoiding Short Circuits
Be mindful of your wiring and component placement to prevent accidental short circuits. Use insulating materials like heat shrink tubing or electrical tape where necessary, and organize your wires to minimize the risk of unintended connections.
5. Using Protective Components
Incorporate protective components such as fuses, diodes, or polyfuses into your projects. These components can help safeguard your Arduino by limiting current flow and preventing damage from accidental shorts or overcurrent conditions.
Example: Implementing a Fuse in Your Arduino Project
Adding a fuse to your power supply can protect your Arduino from overcurrent situations. Here’s a simple example of how to include a fuse in your power setup:
+9V Adapter
     |
  +--|>|--+
  |       |
 [Fuse]  Arduino VIN
  |       |
 GND----- GND
In this diagram:
- The positive terminal of the 9V adapter connects to a diode (to prevent reverse polarity).
- The diode is connected to a fuse rated slightly above the maximum current your project requires (e.g., 500mA).
- The other end of the fuse connects to the VIN pin on the Arduino.
- The ground is connected directly from the adapter to the Arduino’s GND pin.
Using a fuse ensures that if your project tries to draw more current than intended, the fuse will blow, cutting off power and protecting your Arduino.
Conclusion
Power issues can be a significant hurdle when working with Arduino boards, but with the right knowledge and tools, they are usually straightforward to diagnose and fix. By understanding the common causes—such as incorrect power supply, faulty cables, or short circuits—you can implement effective solutions to ensure your Arduino powers up reliably. Always double-check your connections, use appropriate power sources, and consider incorporating protective components to safeguard your projects. With these practices in place, you can focus more on building and less on troubleshooting, making your Arduino experience more enjoyable and productive.

