
In the realm of automotive and industrial applications, reliable communication between multiple microcontrollers is paramount. The Controller Area Network (CAN) Bus protocol has emerged as a robust solution for such needs. This blog post delves into the fundamentals of the CAN Bus protocol and demonstrates how to integrate the MCP2515 CAN controller with an Arduino, enabling seamless communication in your projects.
What is CAN Bus Protocol?
The Controller Area Network (CAN) Bus is a robust vehicle bus standard designed to allow microcontrollers and devices to communicate with each other without a host computer. Developed by Bosch in the 1980s, CAN Bus has become a standard in automotive systems but is also widely used in industrial automation and other embedded systems.
Key features of the CAN Bus protocol include:
- Multi-Master Configuration: Multiple nodes can communicate on the same bus without a central controller.
- Message Prioritization: Messages are prioritized based on their identifier, ensuring critical data is transmitted first.
- Error Detection: Robust error detection mechanisms, including CRC checks and acknowledgment bits, enhance reliability.
- High-Speed Communication: Supports data rates up to 1 Mbps, suitable for real-time applications.
These features make CAN Bus ideal for scenarios where multiple devices need to communicate efficiently and reliably, such as in vehicle engine management systems, industrial automation, and robotics.
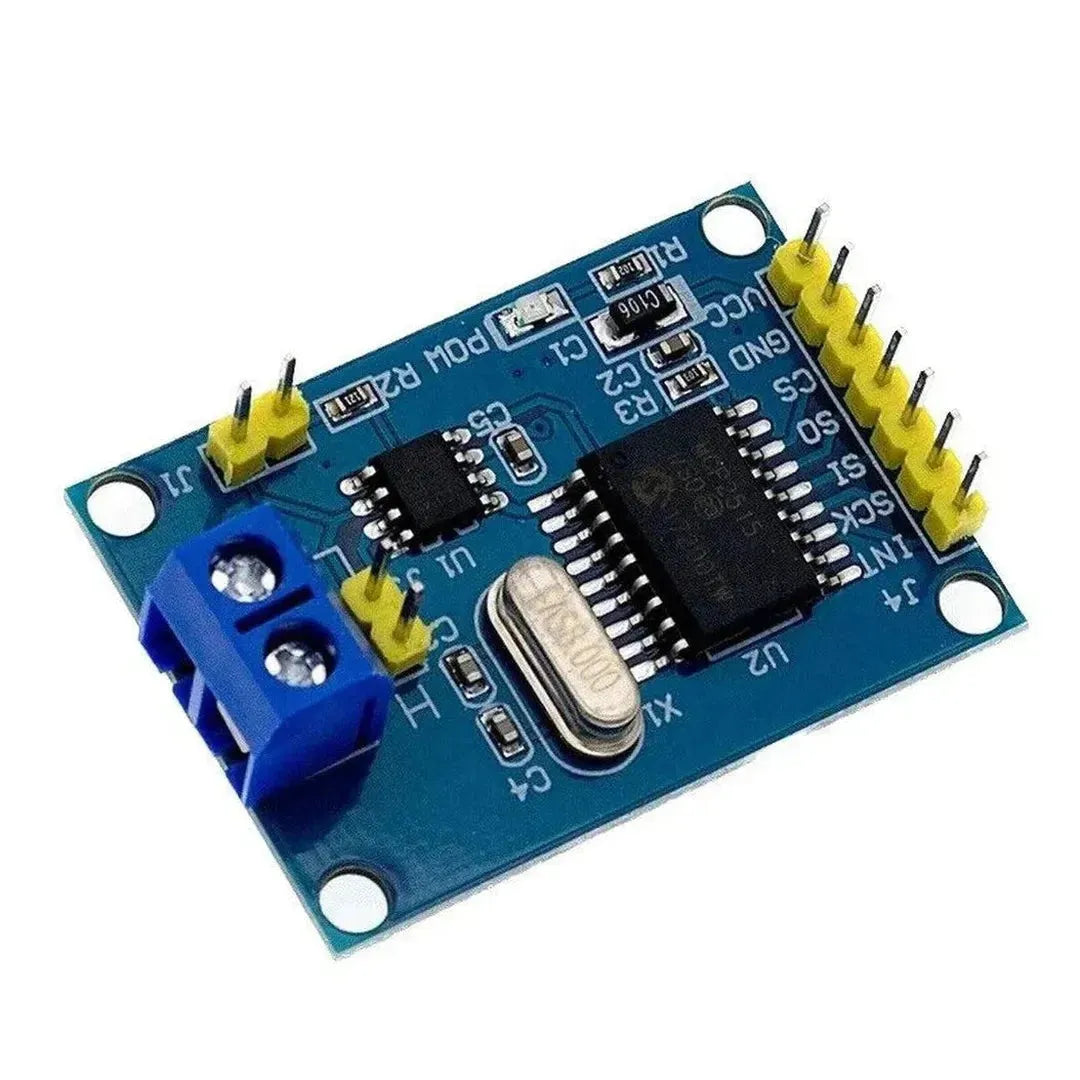
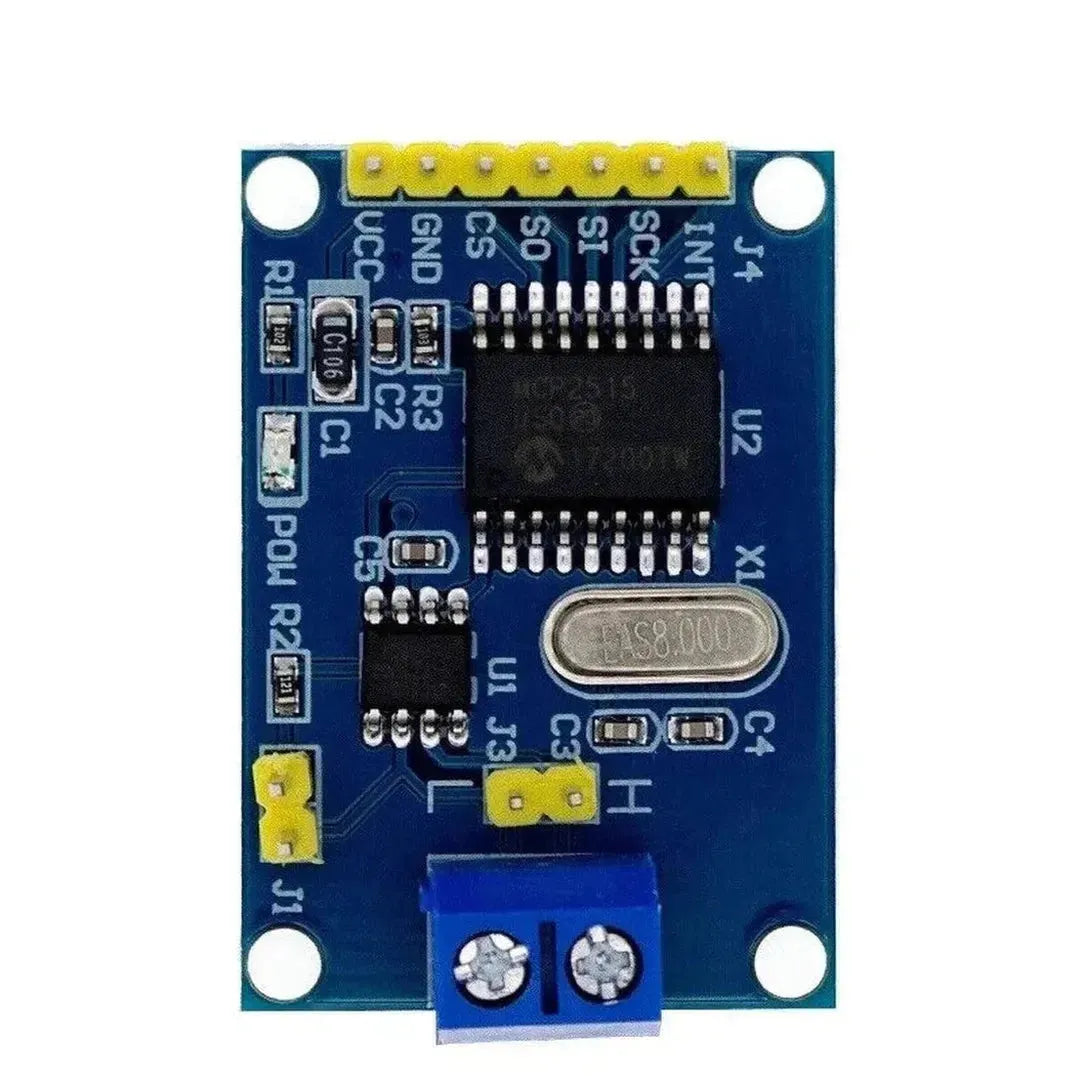
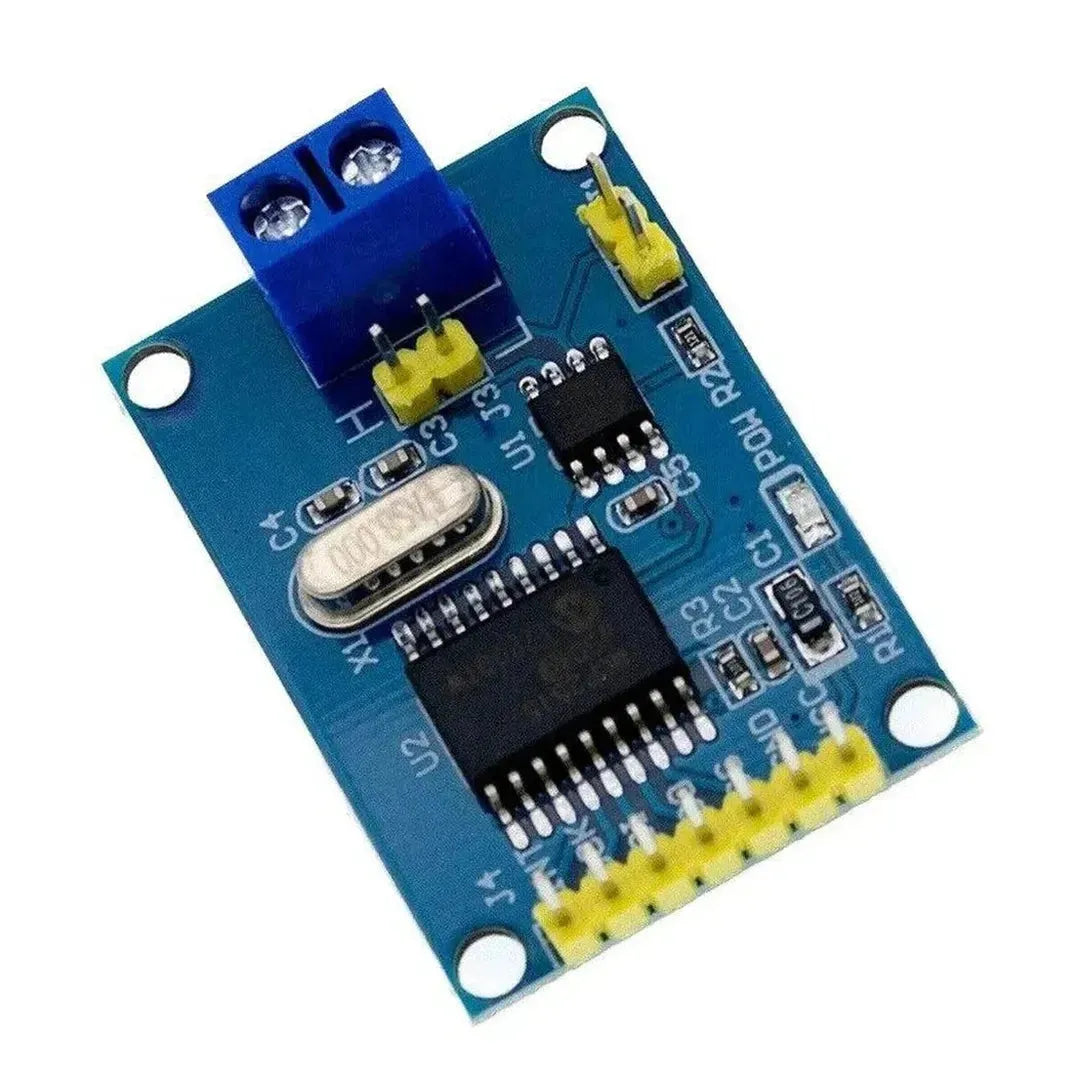
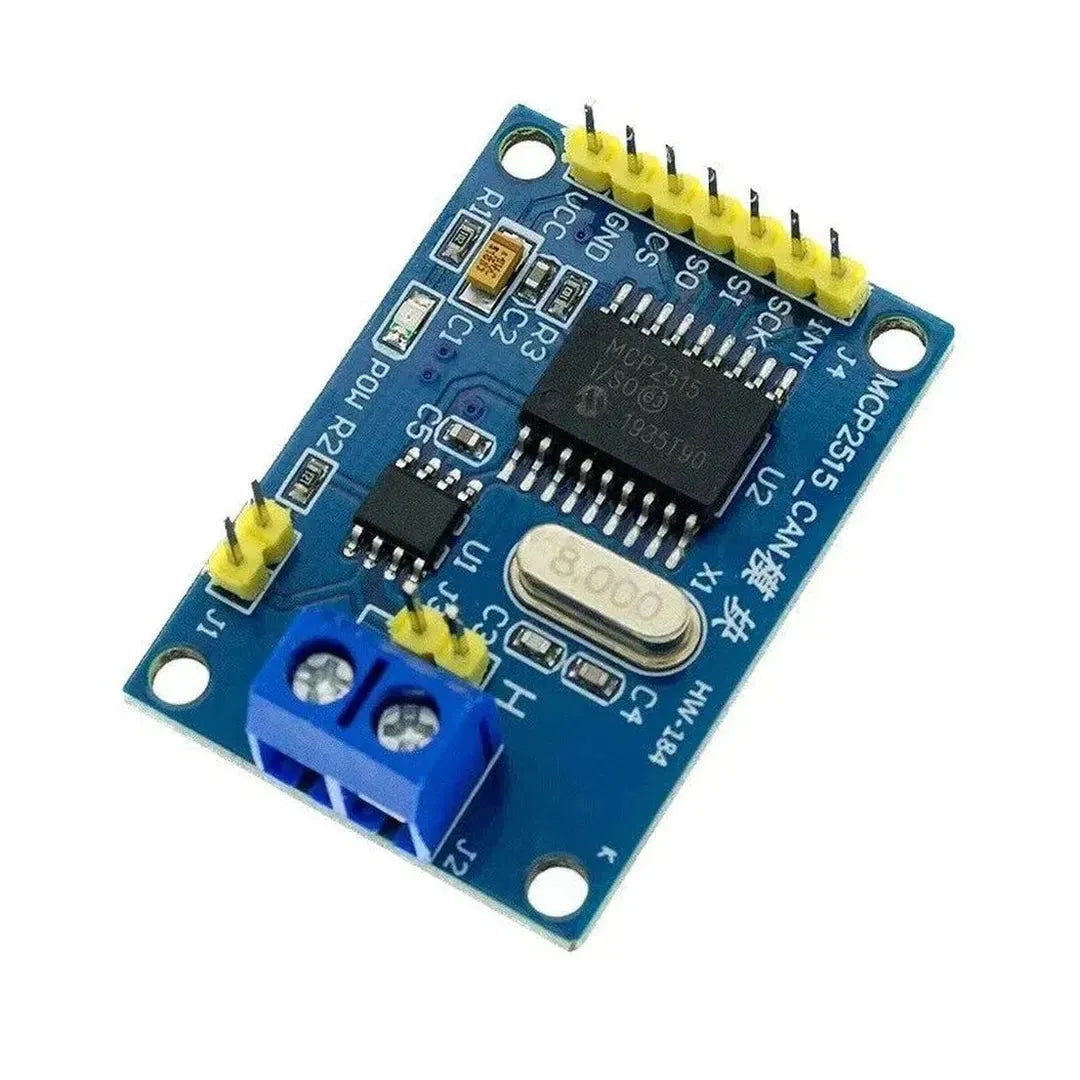
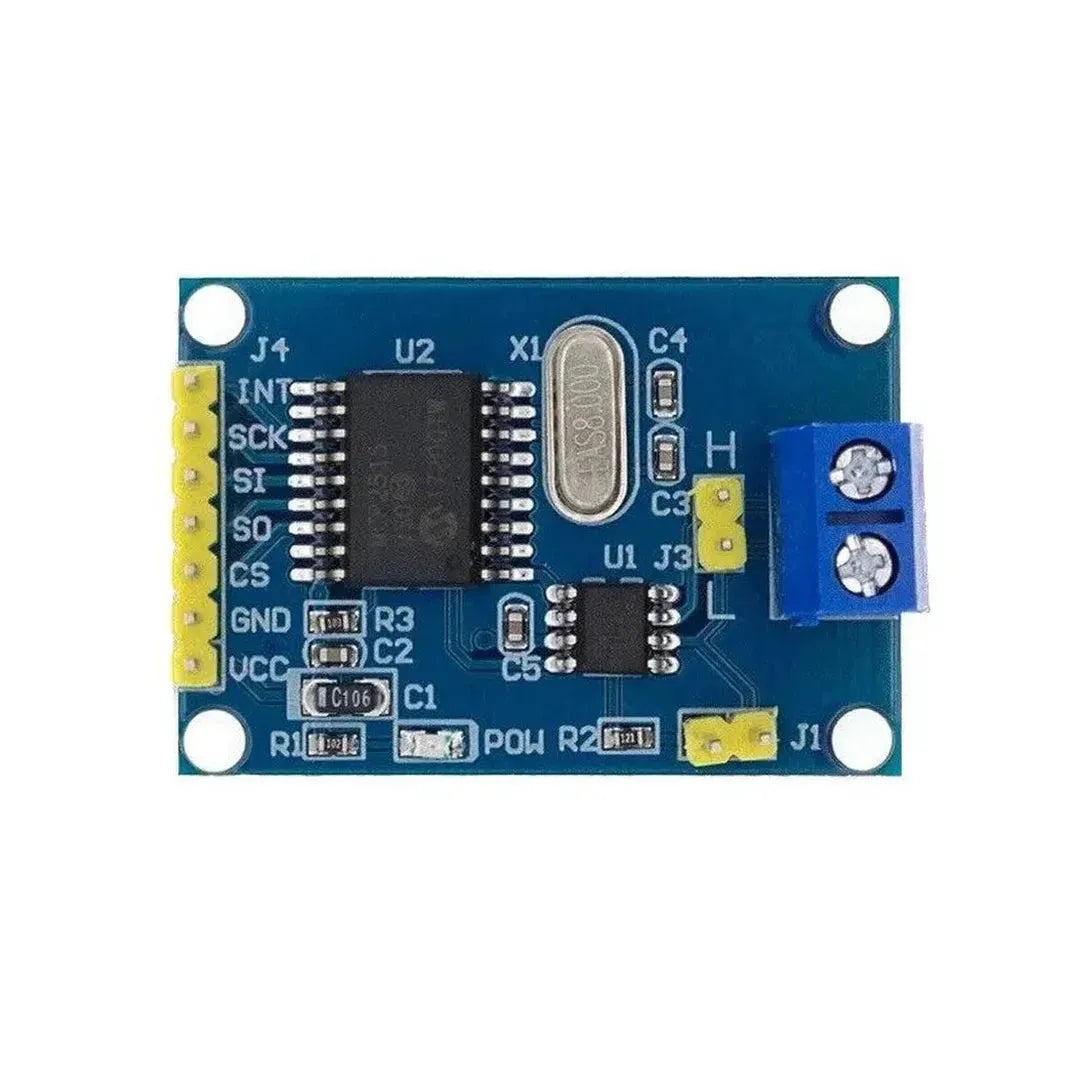
Introducing the MCP2515 CAN Controller
The MCP2515 is a stand-alone Controller Area Network (CAN) controller that interfaces with microcontrollers via the Serial Peripheral Interface (SPI). It handles the intricate CAN protocol, allowing developers to focus on higher-level application logic. Key features of the MCP2515 include:
- Support for standard and extended CAN frames.
- Built-in error handling and filtering mechanisms.
- Compatibility with various microcontrollers, including Arduino.
- Low power consumption, making it suitable for embedded systems.
By integrating the MCP2515 with an Arduino, you can add CAN Bus capabilities to your projects, enabling communication with other CAN-enabled devices or networks.
Setting Up the MCP2515 with Arduino
To get started, you'll need the following components:
- Arduino board (e.g., Arduino Uno)
- MCP2515 CAN module (often comes with a TJA1050 CAN transceiver)
- Jumper wires
- Breadboard (optional)
Here's a step-by-step guide to setting up the MCP2515 with your Arduino:
1. Wiring the MCP2515 to Arduino
Connect the MCP2515 module to the Arduino as follows:
- VCC to 5V on Arduino
- GND to GND on Arduino
- CS to Pin 10 on Arduino
- SCK to Pin 13 on Arduino
- SI (MOSI) to Pin 11 on Arduino
- SO (MISO) to Pin 12 on Arduino
- INT to Pin 2 on Arduino
     Arduino          MCP2515
     -------          -------
     5V       ------>  VCC
     GND      ------>  GND
     Pin 10   ------>  CS
     Pin 13   ------>  SCK
     Pin 11   ------>  SI (MOSI)
     Pin 12   ------>  SO (MISO)
     Pin 2    ------>  INT
2. Installing the Required Libraries
To communicate with the MCP2515, you'll need the mcp_can library. Install it via the Arduino Library Manager:
- Open the Arduino IDE.
- Navigate to Sketch > Include Library > Manage Libraries...
- Search for mcp_can and install the mcp_can library by Cory J. Fowler.
3. Uploading the Example Code
Here's a basic example to send and receive CAN messages using the MCP2515 and Arduino:
Sending a CAN Message
// Include the necessary libraries
#include
#include "mcp_can.h"

// Define the CS pin
#define CAN0_CS 10

// Initialize the CAN controller
MCP_CAN CAN0(CAN0_CS);

void setup() {
    Serial.begin(115200);
    while (CAN0.begin(MCP_ANY, CAN_500KBPS, MCP_8MHZ) != CAN_OK) {
        Serial.println("CAN BUS Shield init fail");
        Serial.println(" Init CAN BUS Shield again");
        delay(100);
    }
    Serial.println("CAN BUS Shield init ok!");
    CAN0.setMode(MCP_NORMAL);
}

void loop() {
    byte data[] = {0x00, 0xFF, 0xAA, 0x55, 0x33, 0x66, 0x99, 0xCC};
    // Send data: CAN ID = 0x100, data length = 8
    if (CAN0.sendMsgBuf(0x100, 0, 8, data) == CAN_OK) {
        Serial.println("Message Sent Successfully!");
    } else {
        Serial.println("Error Sending Message...");
    }
    delay(1000);
}
Receiving a CAN Message
// Include the necessary libraries
#include
#include "mcp_can.h"

// Define the CS pin
#define CAN0_CS 10

// Initialize the CAN controller
MCP_CAN CAN0(CAN0_CS);

void setup() {
    Serial.begin(115200);
    while (CAN0.begin(MCP_ANY, CAN_500KBPS, MCP_8MHZ) != CAN_OK) {
        Serial.println("CAN BUS Shield init fail");
        Serial.println(" Init CAN BUS Shield again");
        delay(100);
    }
    Serial.println("CAN BUS Shield init ok!");
    CAN0.setMode(MCP_NORMAL);
}

void loop() {
    unsigned long canId;
    byte len = 0;
    byte buf[8];

    // Check if data has been received
    if (CAN0.checkReceive() == CAN_MSGAVAIL) {
        CAN0.readMsgBuf(&canId, &len, buf);
        Serial.print("CAN ID: 0x");
        Serial.println(canId, HEX);
        Serial.print("Data: ");
        for (int i = 0; i < len; i++) {
            Serial.print(buf[i], HEX);
            Serial.print(" ");
        }
        Serial.println();
    }
}
In the sending sketch, the Arduino transmits a CAN message with ID 0x100 every second. The receiving sketch listens for incoming CAN messages and prints the ID and data to the Serial Monitor.
Applications of CAN Bus with Arduino
Integrating CAN Bus with Arduino opens up a multitude of applications beyond automotive systems. Some popular use cases include:
- Robotics: Enable communication between multiple motor controllers and sensors.
- Industrial Automation: Facilitate data exchange between different machinery and control units.
- Home Automation: Connect various smart devices within a unified network.
- Data Acquisition Systems: Collect and process data from multiple sensors efficiently.
Conclusion
The CAN Bus protocol, with its reliability and efficiency, serves as a backbone for communication in numerous embedded systems. By utilizing the MCP2515 CAN controller with an Arduino, developers can effortlessly integrate CAN Bus capabilities into their projects. Whether you're working on automotive systems, industrial automation, or complex robotics, understanding and leveraging CAN Bus can significantly enhance your system’s communication framework.
With the comprehensive guides and examples provided, you're well-equipped to embark on integrating CAN Bus into your next Arduino project. Happy coding!