


Push button switches are commonly used in electronics to control devices or trigger specific actions. With an Arduino, you can easily read the state of a push button and use it in your projects. This tutorial will guide you through setting up and using a push button switch with the Arduino, along with examples of how to incorporate it into your code.
What You Will Need
- Arduino Board (e.g., Uno, Mega, Nano)
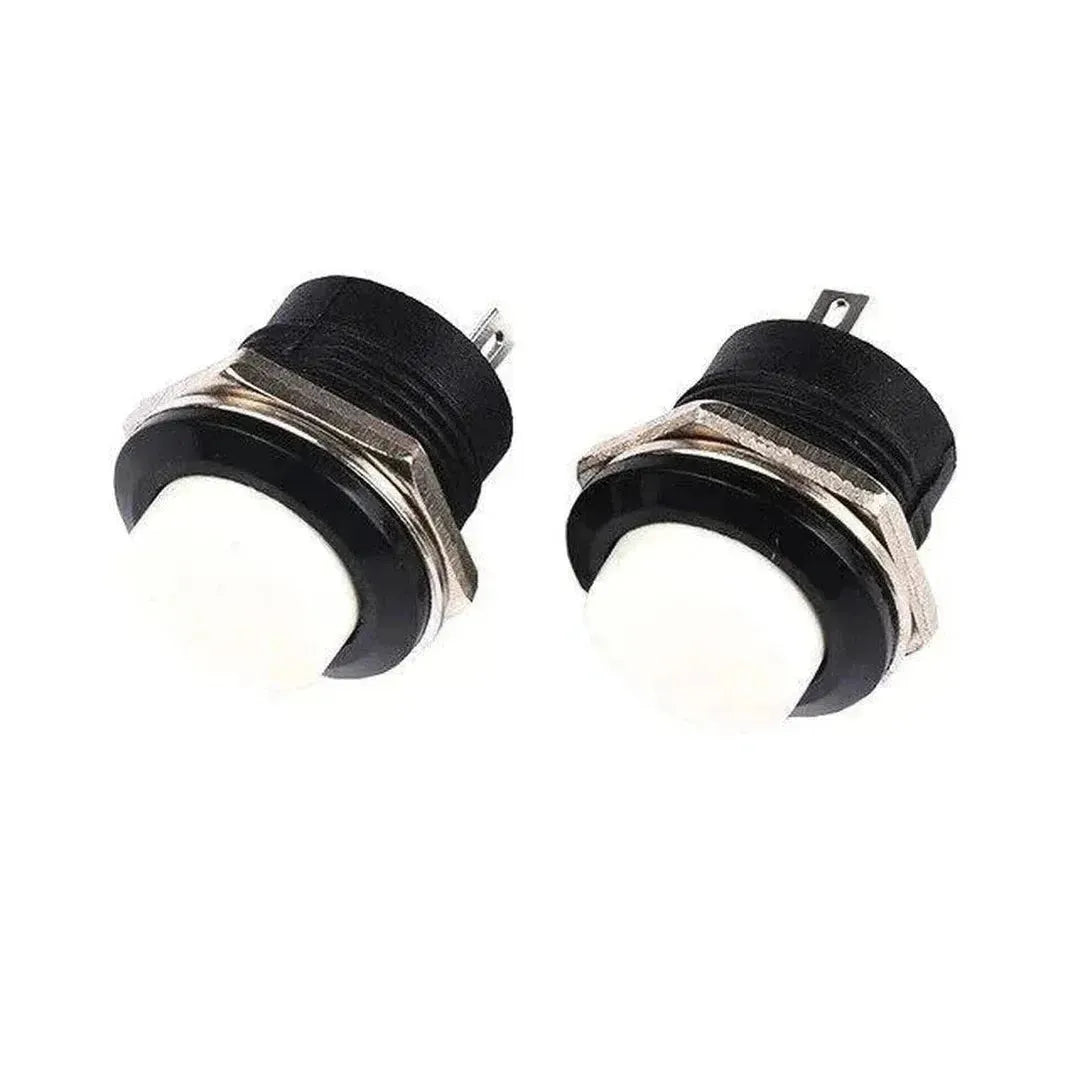
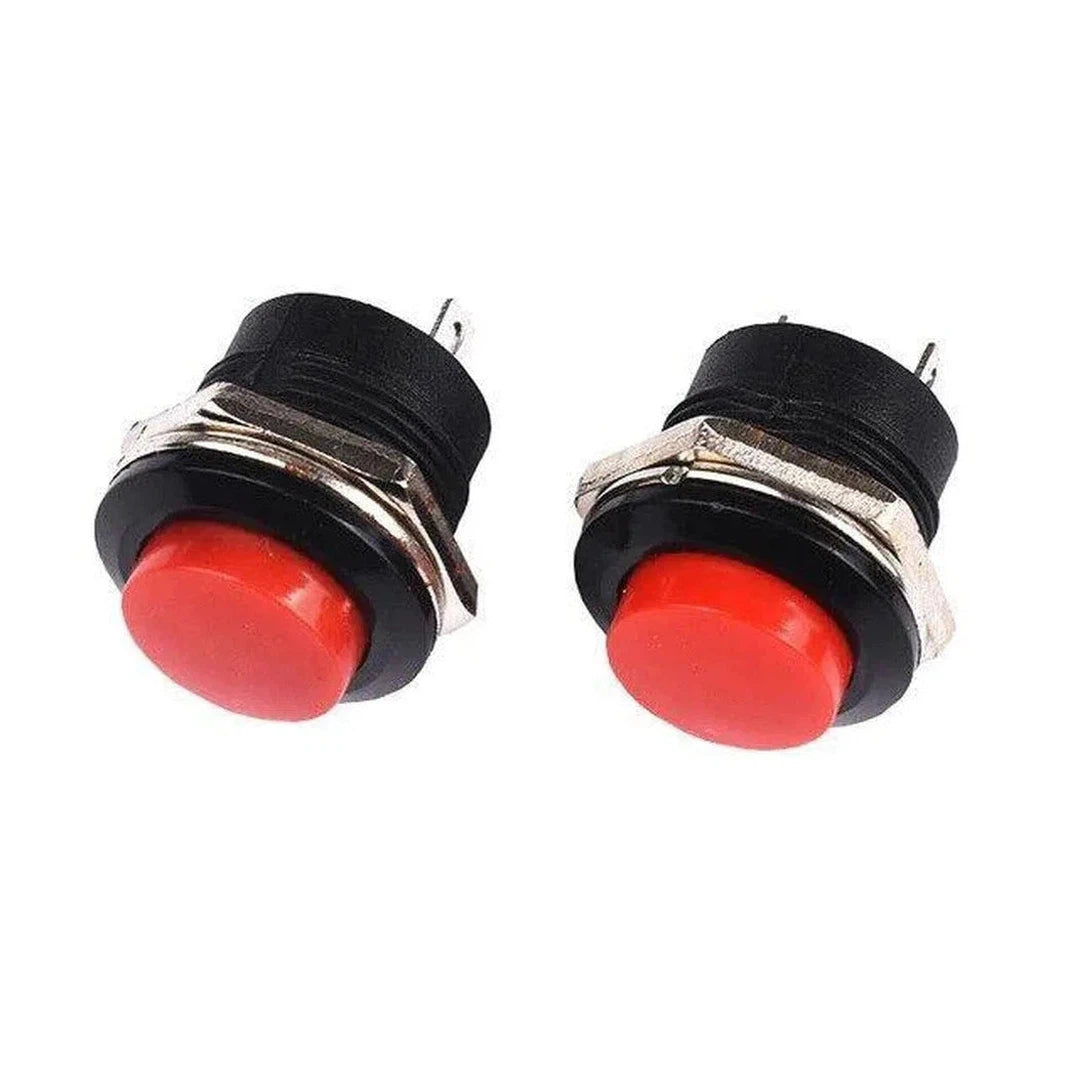
- Push Button Switch
- 10k-ohm Resistor (for pull-down configuration)
- Breadboard and Jumper Wires
- A computer with the Arduino IDE installed
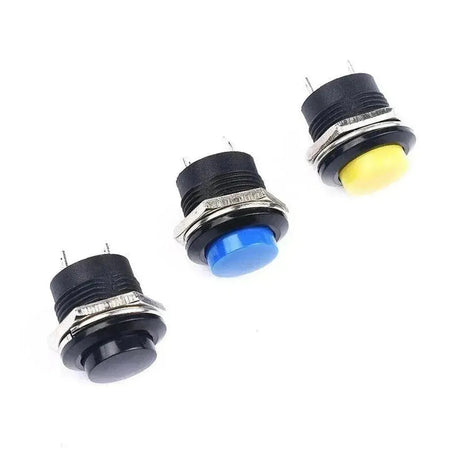
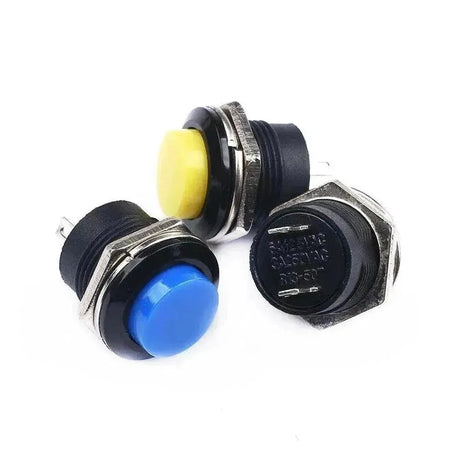
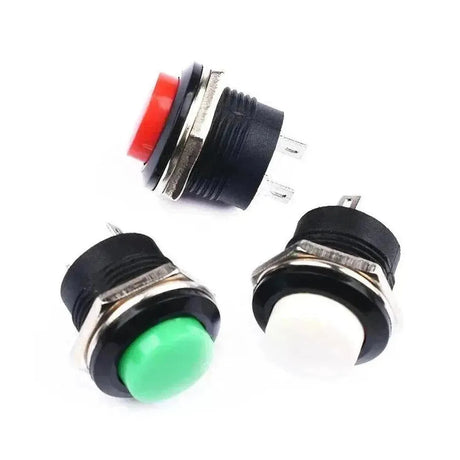
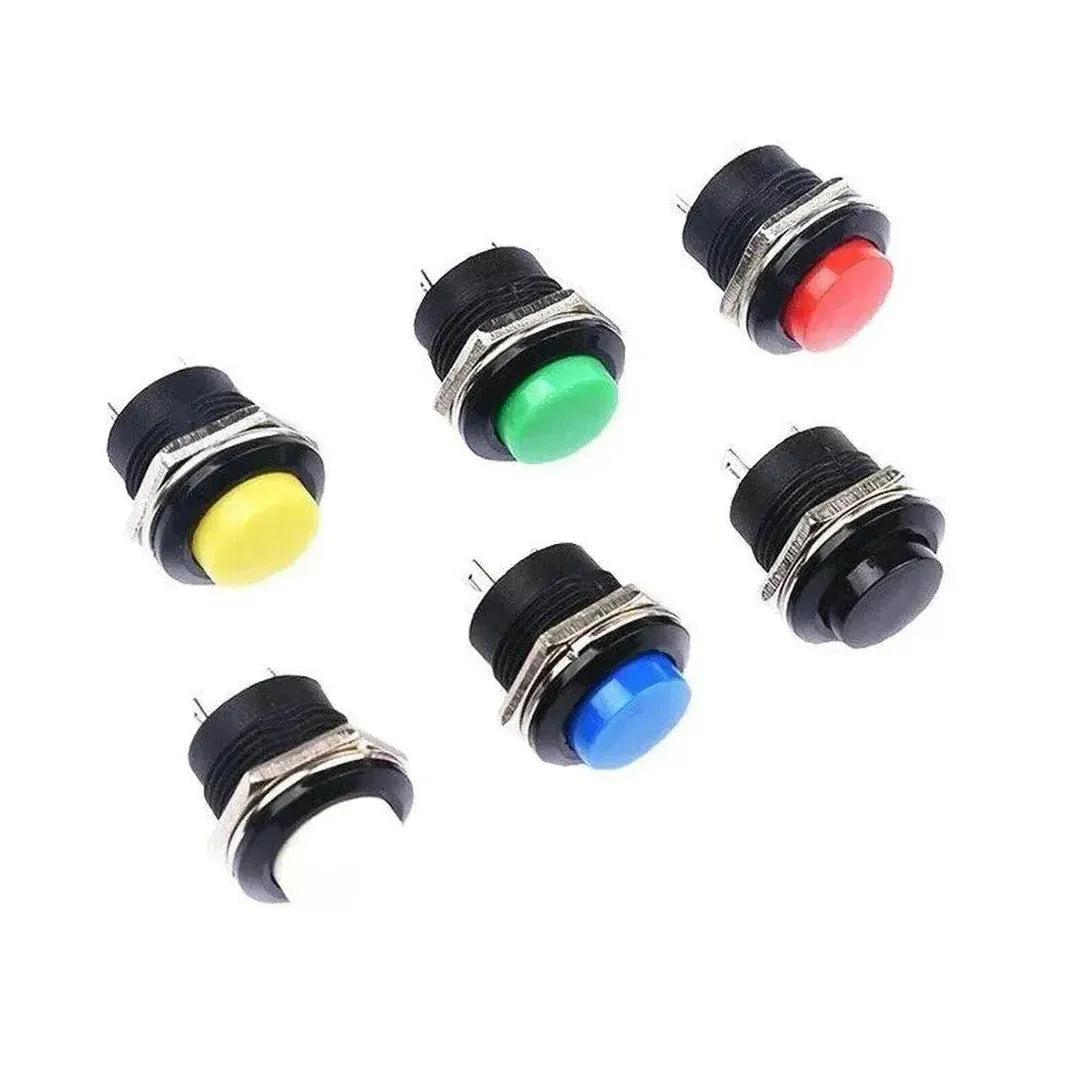
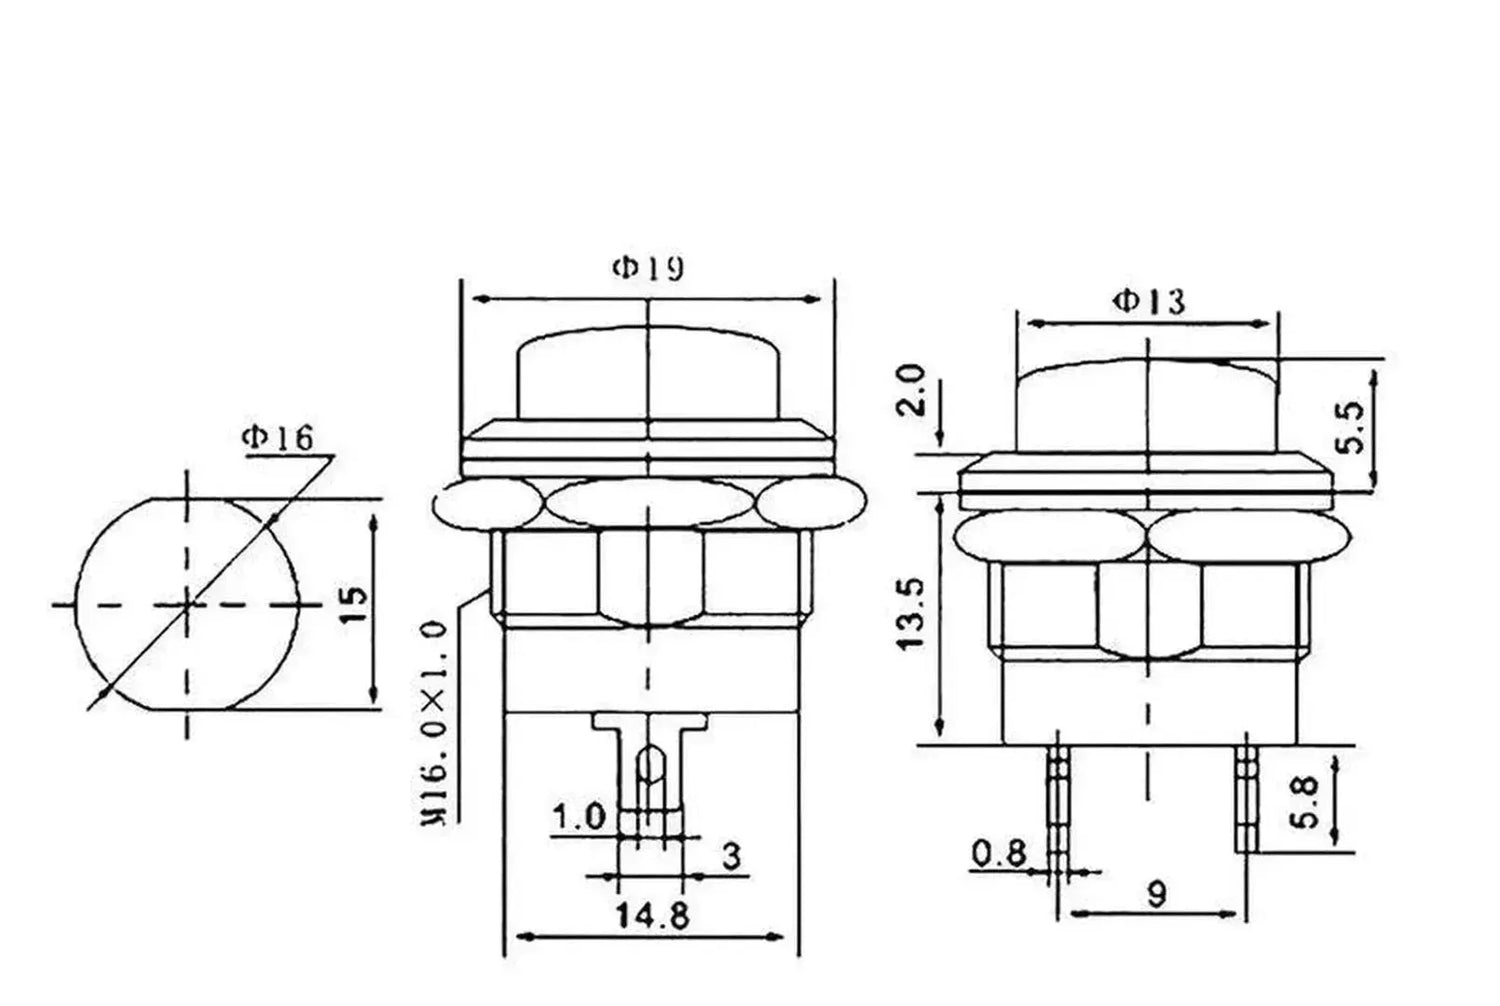
Step 1: Understanding Push Button Switches
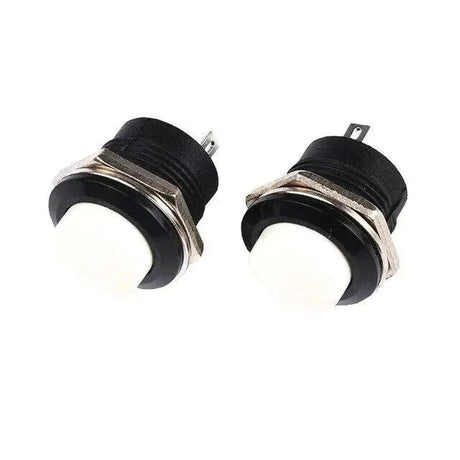
A push button switch is a simple device that connects or disconnects a circuit when pressed. It typically has four pins, two of which are internally connected, forming a single switch.
Common Configurations
- Pull-Down Resistor: Ensures the input pin reads LOW when the button is not pressed.
- Pull-Up Resistor: Ensures the input pin reads HIGH when the button is not pressed (can use Arduino’s internal pull-up resistor).
Step 2: Wiring the Push Button to Arduino
Pull-Down Resistor Configuration
| Button Pin | Connection |
|---|---|
| One side | Arduino Pin 2 |
| Other side | 5V |
| Resistor (10k) | Arduino Pin 2 to GND |
Step 3: Reading the Button State
Use the digitalRead() function to determine whether the button is pressed (HIGH) or not (LOW).
Example Code: Basic Button Read
#define buttonPin 2 // Button connected to pin 2

void setup() {
  pinMode(buttonPin, INPUT); // Set pin 2 as input
  Serial.begin(9600);
  Serial.println("Button Test");
}

void loop() {
  int buttonState = digitalRead(buttonPin); // Read the button state

  if (buttonState == HIGH) {
    Serial.println("Button Pressed");
  } else {
    Serial.println("Button Released");
  }

  delay(100); // Small delay for readability
}
Step 4: Using the Internal Pull-Up Resistor
The Arduino has built-in pull-up resistors that can simplify wiring by eliminating the need for an external resistor.
Wiring for Internal Pull-Up
| Button Pin | Connection |
|---|---|
| One side | Arduino Pin 2 |
| Other side | GND |
Example Code: Using Internal Pull-Up
#define buttonPin 2 // Button connected to pin 2

void setup() {
  pinMode(buttonPin, INPUT_PULLUP); // Enable internal pull-up resistor
  Serial.begin(9600);
  Serial.println("Button Test with Pull-Up");
}

void loop() {
  int buttonState = digitalRead(buttonPin); // Read the button state

  if (buttonState == LOW) { // LOW means button is pressed
    Serial.println("Button Pressed");
  } else {
    Serial.println("Button Released");
  }

  delay(100); // Small delay for readability
}
Step 5: Debouncing the Button
Mechanical buttons often produce noise or "bouncing" when pressed, causing multiple readings. Debouncing ensures stable readings.
Example Code: Debouncing a Button
#define buttonPin 2 // Button connected to pin 2

unsigned long lastDebounceTime = 0;
unsigned long debounceDelay = 50; // 50ms debounce time
int lastButtonState = HIGH;
int buttonState;

void setup() {
  pinMode(buttonPin, INPUT_PULLUP);
  Serial.begin(9600);
}

void loop() {
  int reading = digitalRead(buttonPin);

  // If the button state has changed, reset the debounce timer
  if (reading != lastButtonState) {
    lastDebounceTime = millis();
  }

  // Check if the debounce time has passed
  if ((millis() - lastDebounceTime) > debounceDelay) {
    if (reading != buttonState) {
      buttonState = reading;

      if (buttonState == LOW) {
        Serial.println("Button Pressed");
      }
    }
  }

  lastButtonState = reading;
}
Step 6: Controlling an LED with the Button
You can use the button to control an LED. For example, toggle the LED state with each button press.
Example Code: Button Toggles LED
#define buttonPin 2 // Button connected to pin 2
#define ledPin 13   // LED connected to pin 13

bool ledState = false;
bool lastButtonState = HIGH;

void setup() {
  pinMode(buttonPin, INPUT_PULLUP);
  pinMode(ledPin, OUTPUT);
  digitalWrite(ledPin, LOW);
}

void loop() {
  int buttonState = digitalRead(buttonPin);

  if (buttonState == LOW && lastButtonState == HIGH) {
    ledState = !ledState; // Toggle LED state
    digitalWrite(ledPin, ledState ? HIGH : LOW);
    delay(200); // Debounce delay
  }

  lastButtonState = buttonState;
}
Applications of Push Buttons
- Start/stop switches
- User input for selecting modes
- Reset buttons in circuits
- Control lighting or appliances
Troubleshooting
- Button not responding: Check wiring and ensure the correct pinMode is used.
- Unstable readings: Add debounce logic or use a pull-up/pull-down resistor.
- LED not lighting: Confirm the LED orientation and use a resistor to limit current.
Conclusion
You’ve learned how to use a push button switch with the Arduino, including reading its state, debouncing, and controlling devices like LEDs. Push buttons are a fundamental component in electronics, and mastering their use will open up endless po