Monitoring environmental conditions like temperature and humidity is essential for various applications, from home automation to greenhouse management. With the versatile Arduino platform and sensors like the DHT11 or DHT22, creating a reliable temperature and humidity monitor is both affordable and straightforward. In this guide, we'll walk you through the components needed, the setup process, and the coding required to bring your monitor to life.
Components You'll Need
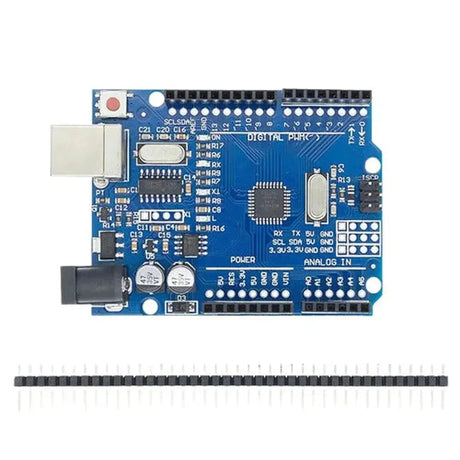
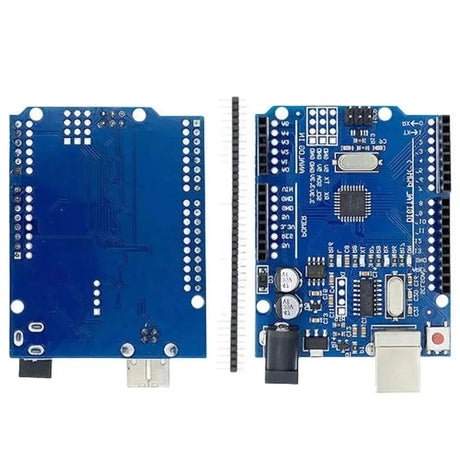
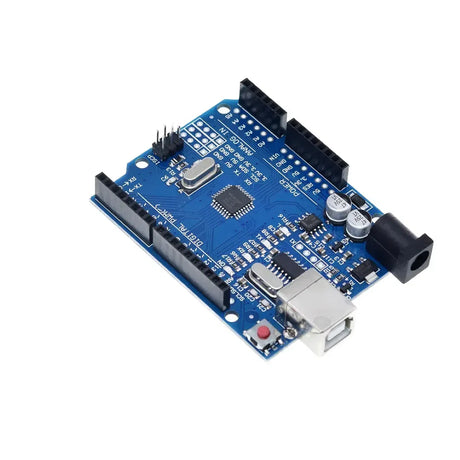
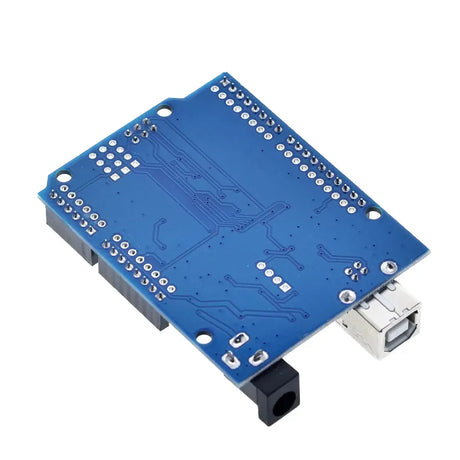
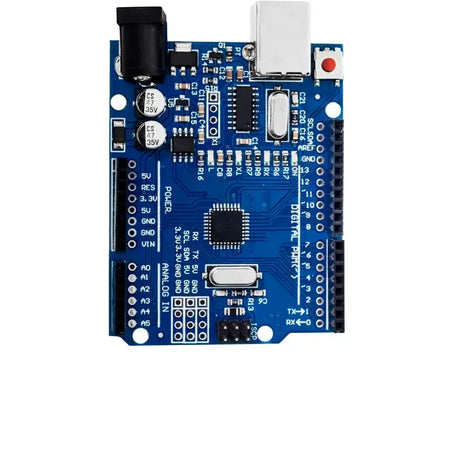
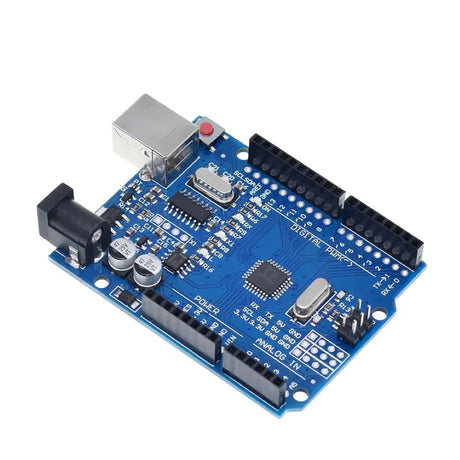
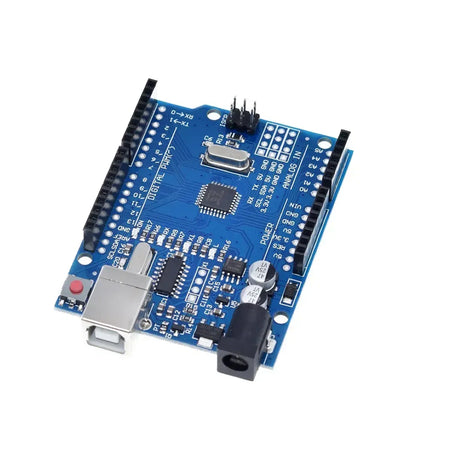
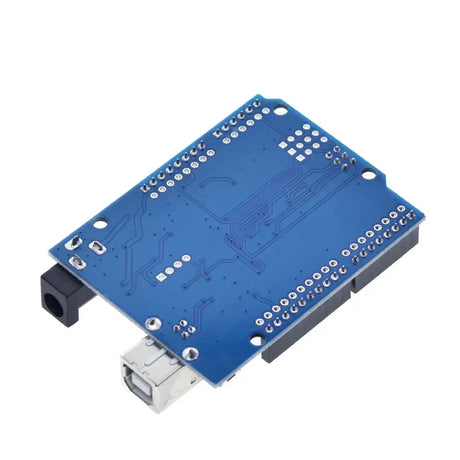
- Arduino Uno
- DHT11 or DHT22 Sensor
- 10k Ohm Resistor
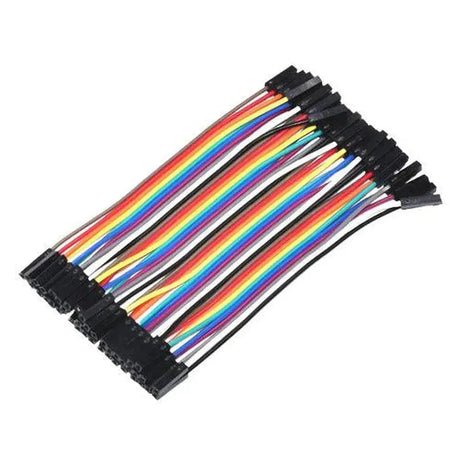
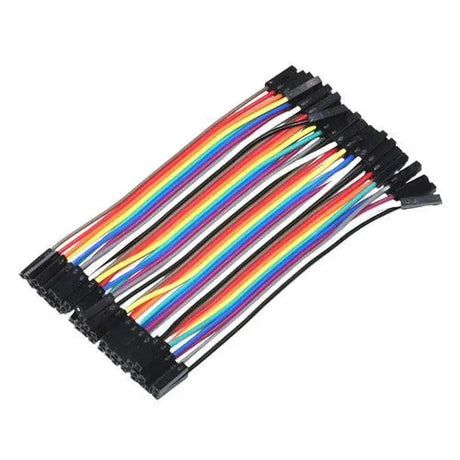
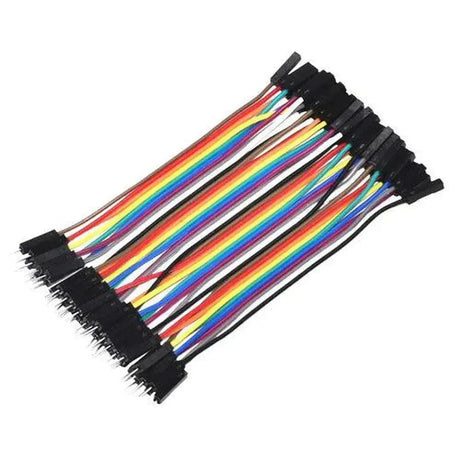
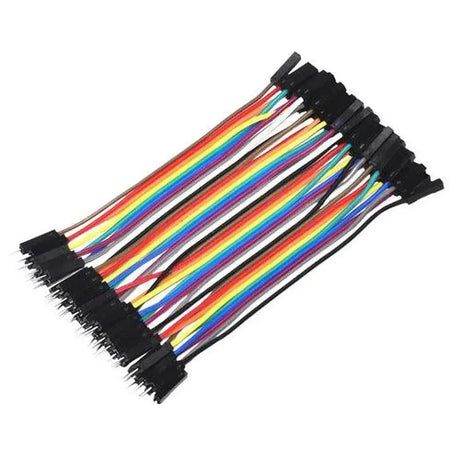
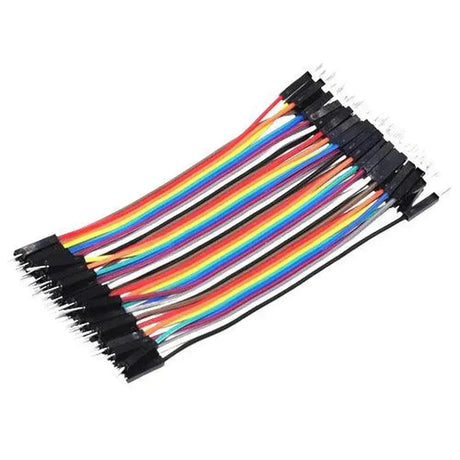
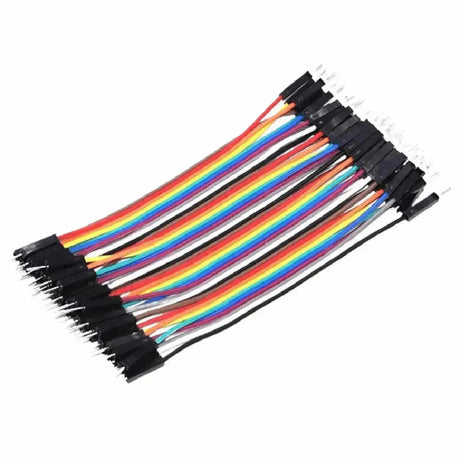
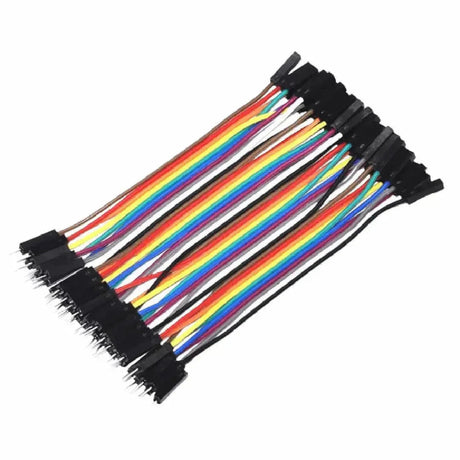
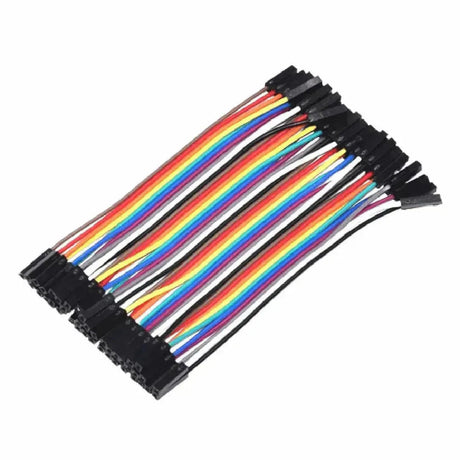
- Breadboard and Jumper Wires
- LCD Display (optional)
- USB Cable
Understanding the DHT11/DHT22 Sensors
The DHT11 and DHT22 are popular sensors for measuring temperature and humidity. The DHT11 is cost-effective and suitable for basic applications, offering a temperature range of 0-50°C with ±2°C accuracy and humidity range of 20-80% with ±5% accuracy. The DHT22, on the other hand, provides a wider temperature range of -40 to 80°C with ±0.5°C accuracy and humidity range of 0-100% with ±2-5% accuracy, making it ideal for more demanding projects.
Wiring the Sensor to Arduino
Follow these steps to connect your DHT sensor to the Arduino:
- Power Connections: Connect the VCC pin of the DHT sensor to the 5V pin on the Arduino and the GND pin to the ground (GND).
- Data Pin: Connect the data pin of the DHT sensor to a digital input pin on the Arduino (commonly pin 2).
- Pull-Up Resistor: Place a 10k Ohm resistor between the VCC and data pin to ensure stable data transmission.
- LCD Display (Optional): If using an LCD, connect it to the appropriate Arduino pins for displaying the readings.
Programming the Arduino
To read data from the DHT sensor, we’ll use the DHT.h library, which simplifies the process. Below is a sample code snippet to get you started:
// Include the DHT library
#include <DHT.h>

// Define the sensor type and the pin it's connected to
#define DHTPIN 2
#define DHTTYPE DHT22 // Change to DHT11 if you're using that model

// Initialize the DHT sensor
DHT dht(DHTPIN, DHTTYPE);

void setup() {
  // Start serial communication
  Serial.begin(9600);
  // Initialize the DHT sensor
  dht.begin();
}

void loop() {
  // Wait a few seconds between measurements
  delay(2000);

  // Read humidity and temperature
  float humidity = dht.readHumidity();
  float temperature = dht.readTemperature();

  // Check if any reads failed
  if (isnan(humidity) || isnan(temperature)) {
    Serial.println("Failed to read from DHT sensor!");
    return;
  }

  // Print the results to the Serial Monitor
  Serial.print("Humidity: ");
  Serial.print(humidity);
  Serial.print(" %\t");
  Serial.print("Temperature: ");
  Serial.print(temperature);
  Serial.println(" *C");
}
Explanation of the Code:
- The
DHT.hlibrary is included to facilitate communication with the sensor. - We define the data pin and sensor type using
#define. - In the
setup()function, we initialize serial communication and the DHT sensor. - The
loop()function reads the humidity and temperature every two seconds and prints them to the Serial Monitor.
Displaying the Data
For a more user-friendly setup, you can display the readings on an LCD. Modify the code to send data to the LCD instead of the Serial Monitor. Ensure you have the appropriate LCD library installed and configure the pins accordingly.
Sample Code for LCD Display:
// Include necessary libraries
#include <DHT.h>
#include <LiquidCrystal.h>

// Define sensor and LCD pins
#define DHTPIN 2
#define DHTTYPE DHT22
DHT dht(DHTPIN, DHTTYPE);

// Initialize the LCD (adjust pin numbers as needed)
LiquidCrystal lcd(12, 11, 5, 4, 3, 6);

void setup() {
  // Start serial communication
  Serial.begin(9600);
  dht.begin();
  // Initialize the LCD
  lcd.begin(16, 2);
  lcd.print("Temp & Humidity");
}

void loop() {
  delay(2000);

  float humidity = dht.readHumidity();
  float temperature = dht.readTemperature();

  if (isnan(humidity) || isnan(temperature)) {
    lcd.clear();
    lcd.print("Sensor Error");
    return;
  }

  // Display on LCD
  lcd.clear();
  lcd.setCursor(0, 0);
  lcd.print("Temp: ");
  lcd.print(temperature);
  lcd.print(" C");
  lcd.setCursor(0, 1);
  lcd.print("Humidity: ");
  lcd.print(humidity);
  lcd.print(" %");
}
Testing Your Setup
After uploading the code to your Arduino, open the Serial Monitor (if using serial output) or observe the LCD display. You should see real-time temperature and humidity readings. Ensure your connections are secure, and the sensor is functioning correctly. If you encounter issues, double-check the wiring and verify that the correct sensor type is defined in your code.
Enhancements and Next Steps
Now that you have a basic temperature and humidity monitor, consider the following enhancements:
- Data Logging: Connect your Arduino to an SD card module to log data over time for analysis.
- Wireless Monitoring: Use modules like ESP8266 or Bluetooth to send data to your smartphone or cloud services.
- Alerts: Implement threshold-based alerts using LEDs or buzzers to notify you of extreme conditions.
- Multiple Sensors: Expand your setup to include additional sensors for parameters like air quality or light intensity.
Conclusion
Building a temperature and humidity monitor with the DHT11/DHT22 and Arduino is an excellent project for beginners and enthusiasts alike. It provides hands-on experience with sensor integration, data processing, and display techniques. Whether for personal use or as a foundation for more complex systems, this project showcases the power and flexibility of the Arduino ecosystem. Happy building!

