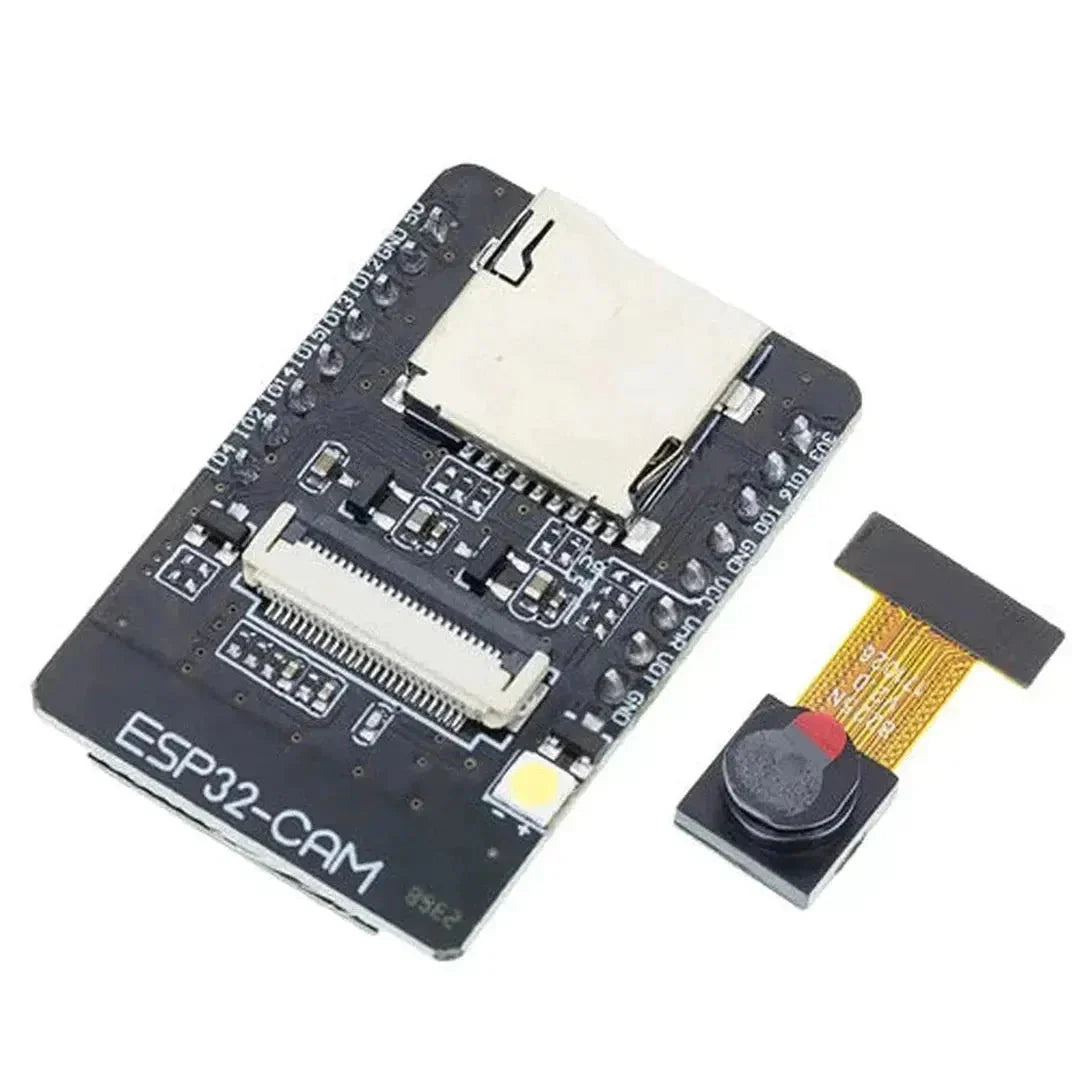
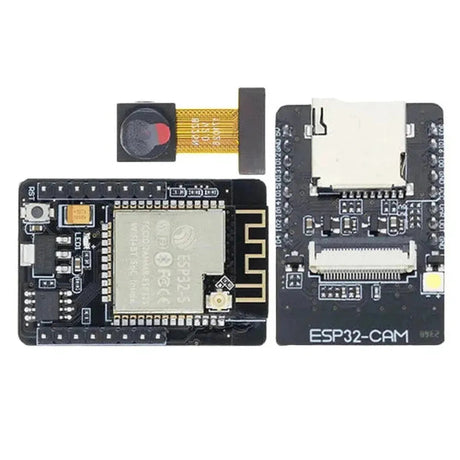
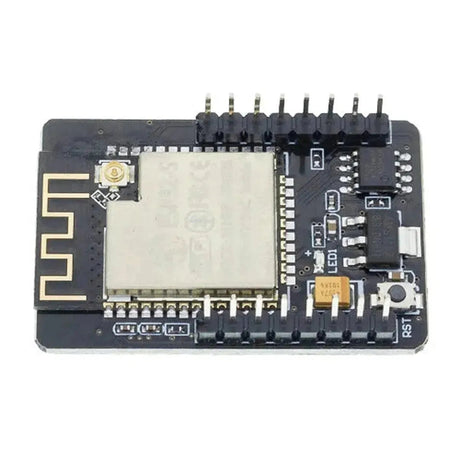
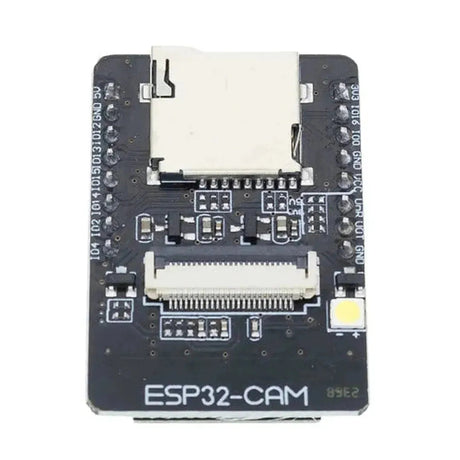
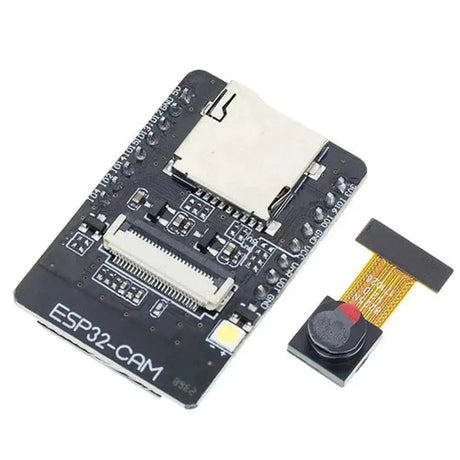
The ESP32-CAM is a versatile, low-cost microcontroller with a built-in camera, capable of capturing images and streaming video. When combined with Python’s powerful image processing libraries, you can implement object detection for a variety of applications such as surveillance, home automation, and robotics. This tutorial will guide you through using the ESP32-CAM with Python to perform object detection.
What You Will Need
- ESP32-CAM Module
- FTDI Programmer (USB-to-Serial adapter)
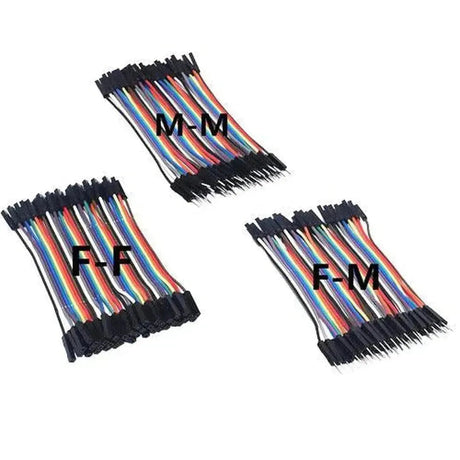
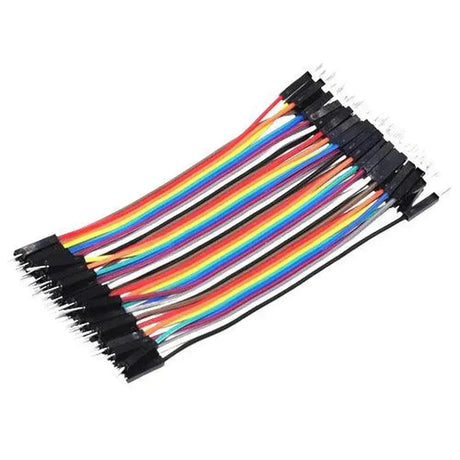
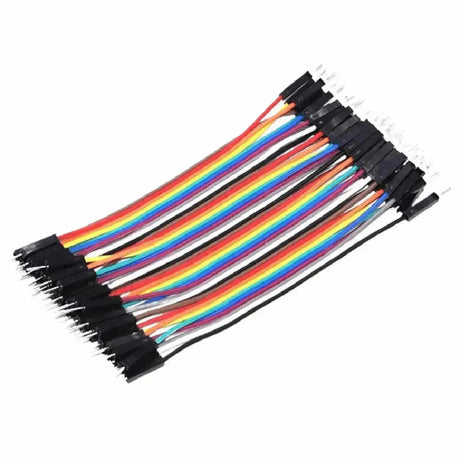
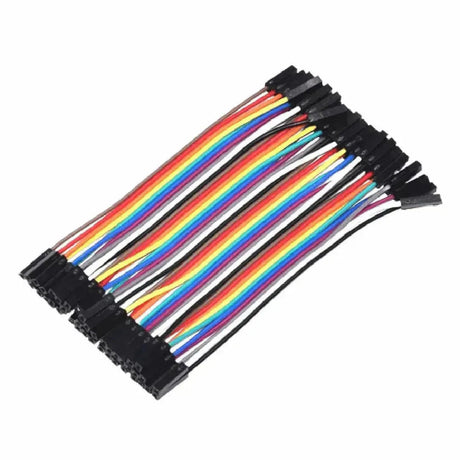
- Breadboard and Jumper Wires
- Python Installed on your computer (Version 3.6 or later)
- Libraries: OpenCV, NumPy, and Requests
- A Trained Model (e.g., YOLOv5, TensorFlow Lite)
Step 1: Setting Up the ESP32-CAM
1. Flash the ESP32-CAM with CameraWebServer
-
Connect the ESP32-CAM to your FTDI programmer:
- GND to GND
- 5V to VCC
- U0T to RX
- U0R to TX
- IO0 to GND (for flashing mode)
-
Open the Arduino IDE and install the ESP32 board package:
- Go to File > Preferences and add the URL:
https://dl.espressif.com/dl/package_esp32_index.json - Go to Tools > Board > Boards Manager, search for ESP32, and install the package.
- Go to File > Preferences and add the URL:
-
Load the CameraWebServer example:
- Go to File > Examples > ESP32 > Camera > CameraWebServer.
- Update the
ssidandpasswordvariables with your Wi-Fi credentials:const char* ssid = "Your_SSID"; const char* password = "Your_PASSWORD"; - Select AI-Thinker ESP32-CAM under Tools > Board.
-
Upload the code to the ESP32-CAM. Disconnect IO0 from GND and press the reset button.
2. Access the ESP32-CAM Video Stream
- Open the Serial Monitor and set the baud rate to
115200. - Find the ESP32-CAM’s IP address in the Serial Monitor output (e.g.,
http://192.168.1.100). - Open the IP address in a browser to verify the live stream.
Step 2: Setting Up Python Environment
1. Install Required Libraries
Install the necessary Python libraries using pip:
pip install opencv-python numpy requests
2. Verify OpenCV Installation
Run the following code to ensure OpenCV is installed:
import cv2
print(cv2.__version__)
Step 3: Capturing the Video Stream
Use Python to capture frames from the ESP32-CAM video stream.
Example Code: Capturing Frames
import cv2
import requests
import numpy as np

# ESP32-CAM URL
url = "http://192.168.1.100/capture"

while True:
    # Capture image from ESP32-CAM
    img_resp = requests.get(url)
    img_array = np.array(bytearray(img_resp.content), dtype=np.uint8)
    frame = cv2.imdecode(img_array, -1)

    # Display the frame
    cv2.imshow("ESP32-CAM", frame)

    # Exit on pressing 'q'
    if cv2.waitKey(1) & 0xFF == ord('q'):
        break

cv2.destroyAllWindows()
Step 4: Adding Object Detection
Integrate object detection into the captured video stream using a pre-trained model, such as YOLOv5.
1. Download a Pre-trained Model
You can use a pre-trained YOLOv5 model:
- Download it from the YOLOv5 GitHub repository.
2. Example Code: Object Detection with YOLOv5
import cv2
import requests
import numpy as np
import torch

# Load YOLOv5 model
model = torch.hub.load('ultralytics/yolov5', 'yolov5s', pretrained=True)

# ESP32-CAM URL
url = "http://192.168.1.100/capture"

while True:
    # Capture image from ESP32-CAM
    img_resp = requests.get(url)
    img_array = np.array(bytearray(img_resp.content), dtype=np.uint8)
    frame = cv2.imdecode(img_array, -1)

    # Perform object detection
    results = model(frame)
    detections = results.xyxy[0]  # Bounding boxes

    # Draw bounding boxes
    for *xyxy, conf, cls in detections:
        label = f"{model.names[int(cls)]} {conf:.2f}"
        cv2.rectangle(frame, (int(xyxy[0]), int(xyxy[1])), (int(xyxy[2]), int(xyxy[3])), (255, 0, 0), 2)
        cv2.putText(frame, label, (int(xyxy[0]), int(xyxy[1]) - 10), cv2.FONT_HERSHEY_SIMPLEX, 0.5, (255, 0, 0), 2)

    # Display the frame
    cv2.imshow("ESP32-CAM Object Detection", frame)

    # Exit on pressing 'q'
    if cv2.waitKey(1) & 0xFF == ord('q'):
        break

cv2.destroyAllWindows()
Step 5: Enhancing Object Detection
- Custom Models: Train your own YOLOv5 model for specific objects using platforms like Roboflow or Google Colab.
- Edge Processing: Deploy lightweight models like TensorFlow Lite for on-device processing.
- Integration: Send detection results to a server or trigger actions in IoT systems.
Applications of ESP32-CAM Object Detection
- Home security and surveillance systems
- Wildlife monitoring and tracking
- Factory automation and quality control
- Interactive robotics projects
- Smart doorbell with facial recognition
Troubleshooting
- Stream Latency: Reduce resolution or frame rate for smoother streaming.
- Connection Issues: Ensure the ESP32-CAM and your computer are on the same network.
- Model Accuracy: Fine-tune the pre-trained model for better results on your dataset.
Conclusion
Combining the ESP32-CAM with Python opens up powerful possibilities for object detection and real-time video processing. By following this guide, you can integrate object detection into your projects for smart applications. Experiment with different models and optimizations to create advanced and efficient systems!

