The GY-302 is a breakout board featuring the BH1750 light intensity sensor, which measures light levels in lux. It communicates with microcontrollers via the I2C protocol, making it an excellent choice for light-dependent projects like smart lighting, solar trackers, and photography applications. This tutorial will guide you through connecting and using the GY-302 module with Arduino.
What You Will Need
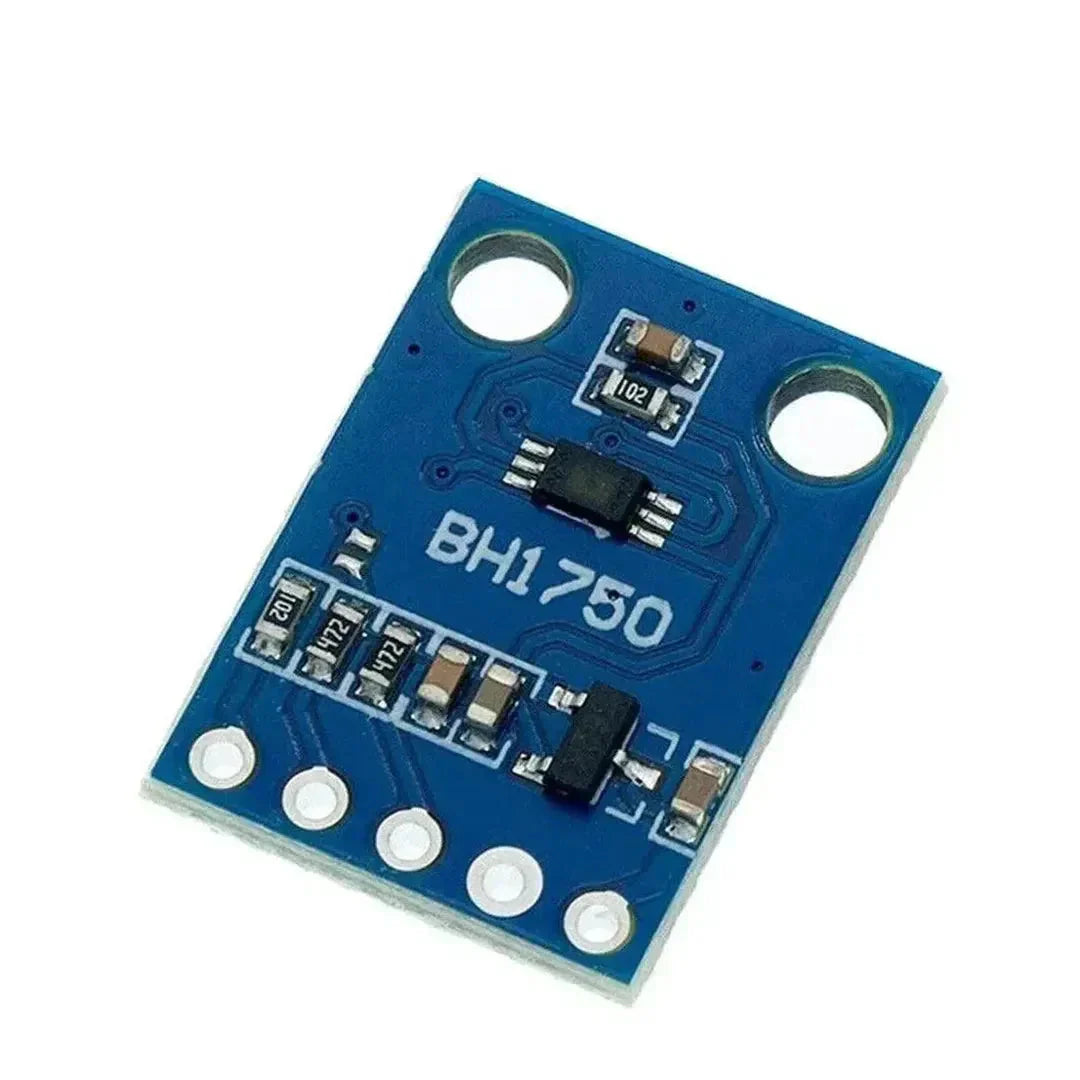
- GY-302 BH1750 Light Sensor Module
- Arduino Board (e.g., Uno, Mega, Nano)
- Breadboard and Jumper Wires
- A computer with the Arduino IDE installed
Step 1: Understanding the GY-302 Module
The GY-302 uses the BH1750 sensor to measure light intensity. It outputs the results in lux, which is the standard unit for measuring illuminance.
GY-302 Pinout
| Pin | Function |
|---|---|
| VCC | Power Supply (3.3V/5V) |
| GND | Ground |
| SDA | I2C Data Line |
| SCL | I2C Clock Line |
I2C Address
- Default Address:
0x23 - Alternate Address:
0x5C(set by pulling the ADDR pin HIGH on some modules)
Step 2: Wiring the GY-302 to Arduino
Connect the GY-302 module to your Arduino as follows:
| GY-302 Pin | Arduino Pin |
|---|---|
| VCC | 5V |
| GND | GND |
| SDA | A4 |
| SCL | A5 |
Note: Ensure the correct I2C pins are used for your Arduino board (e.g.,
SDAandSCLon Arduino Mega are pins 20 and 21).
Step 3: Install the Required Library
To simplify communication with the BH1750 sensor, install the "BH1750" library.
Steps to Install:
- Open the Arduino IDE.
- Go to Sketch > Include Library > Manage Libraries.
- Search for "BH1750" and click Install.
Step 4: Upload the Code
Here’s an example sketch to read light intensity data from the GY-302:
#include <Wire.h>
#include <BH1750.h>

BH1750 lightMeter;

void setup() {
  Serial.begin(9600);
  while (!Serial);

  Serial.println("Initializing BH1750...");

  if (!lightMeter.begin()) {
    Serial.println("BH1750 not detected. Check wiring.");
    while (1);
  }

  Serial.println("BH1750 ready.");
}

void loop() {
  float lux = lightMeter.readLightLevel(); // Read light level in lux

  Serial.print("Light Intensity: ");
  Serial.print(lux);
  Serial.println(" lx");

  delay(1000); // Wait 1 second before the next reading
}
Step 5: Test the Setup
- Connect the Arduino to your computer via USB.
- Open the Arduino IDE and select the correct Board and Port under the Tools menu.
- Upload the code by clicking Upload.
- Open the Serial Monitor (Tools > Serial Monitor) and set the baud rate to
9600. - Observe the light intensity readings displayed in lux.
Optional: Adjusting I2C Address
If the default I2C address (0x23) does not work, check the module's ADDR pin configuration. Some modules allow you to switch to an alternate address (0x5C) by connecting the ADDR pin to VCC.
Applications of the GY-302
- Smart lighting systems
- Solar panel tracking
- Light intensity measurement in photography
- Indoor and outdoor light monitoring
Troubleshooting
- No response from the sensor: Verify the I2C wiring and check the module’s I2C address.
- Incorrect readings: Ensure the sensor is not obstructed or receiving light reflections.
- Library errors: Confirm that the BH1750 library is correctly installed.
Conclusion
You’ve successfully interfaced the GY-302 BH1750 light sensor with Arduino. This versatile sensor provides accurate light intensity measurements in lux, making it an excellent tool for a variety of light-sensitive projects. Experiment further by integrating it with other components or systems!


