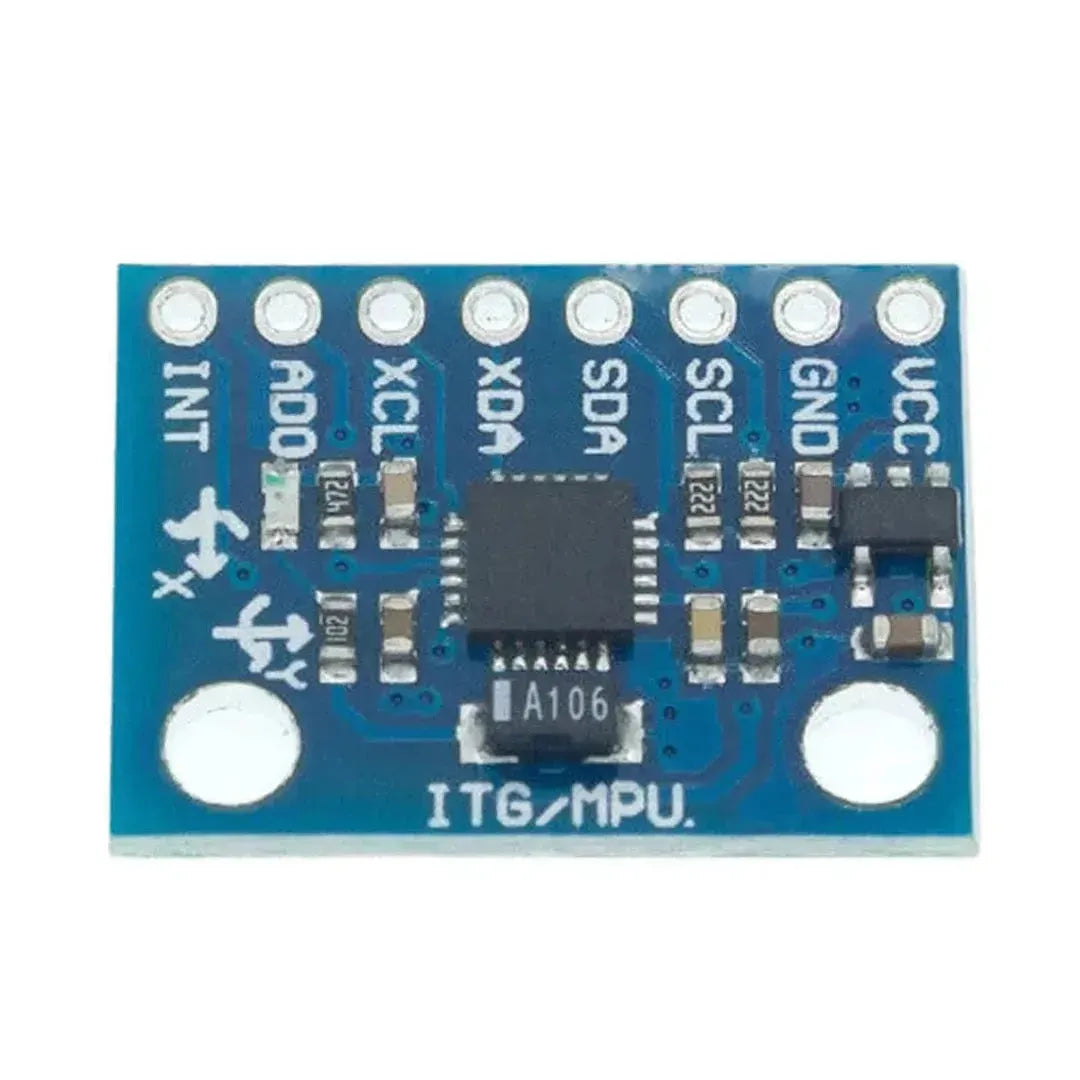

The MPU-6050 is a 6-axis motion tracking device with a gyroscope and accelerometer, making it ideal for motion-sensing applications like robotics, drones, and IoT projects. In this guide, you will learn how to connect and use the MPU-6050 with a Raspberry Pi to capture motion and orientation data.
What You Will Need
- Raspberry Pi (any model with GPIO support, e.g., Pi 3, Pi 4)
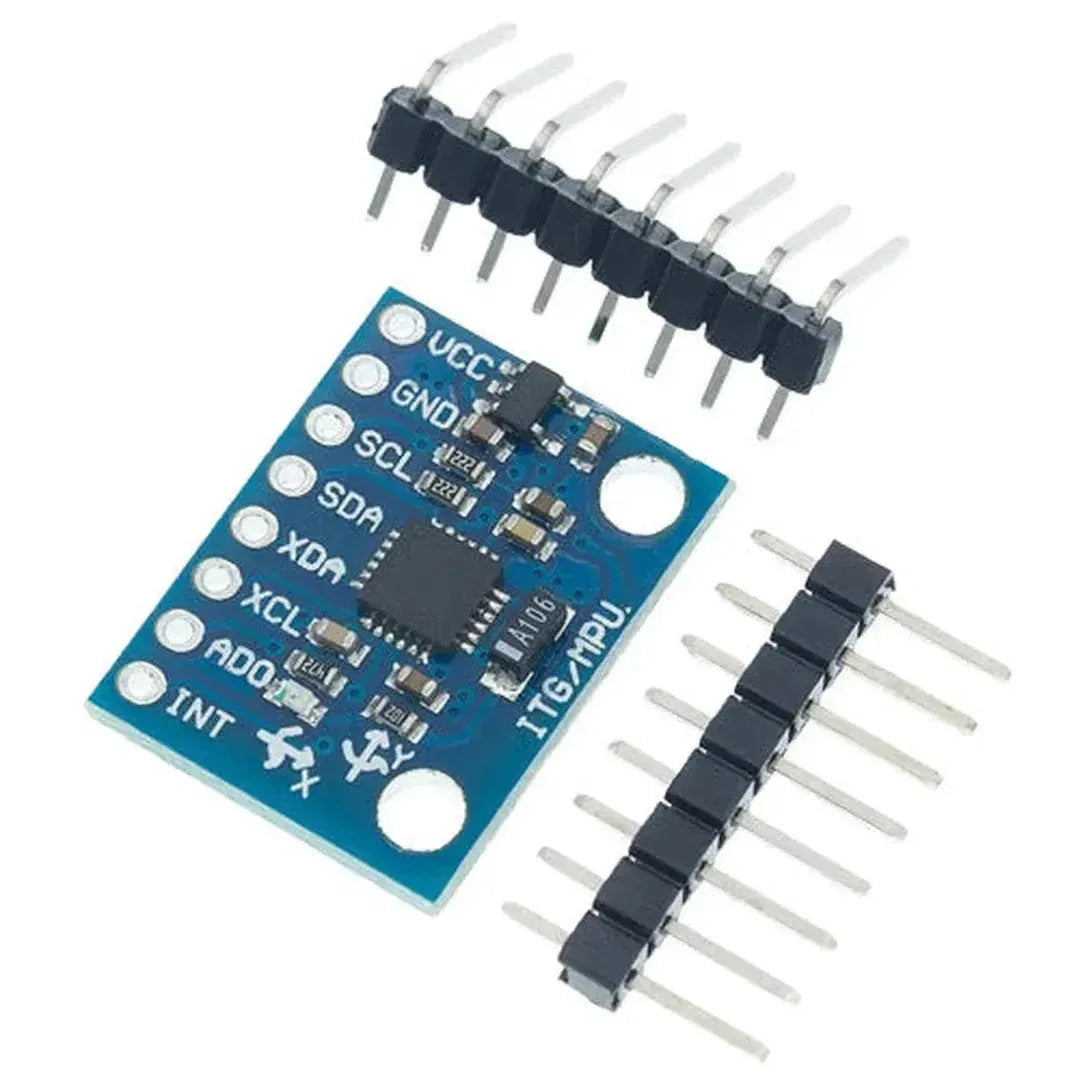
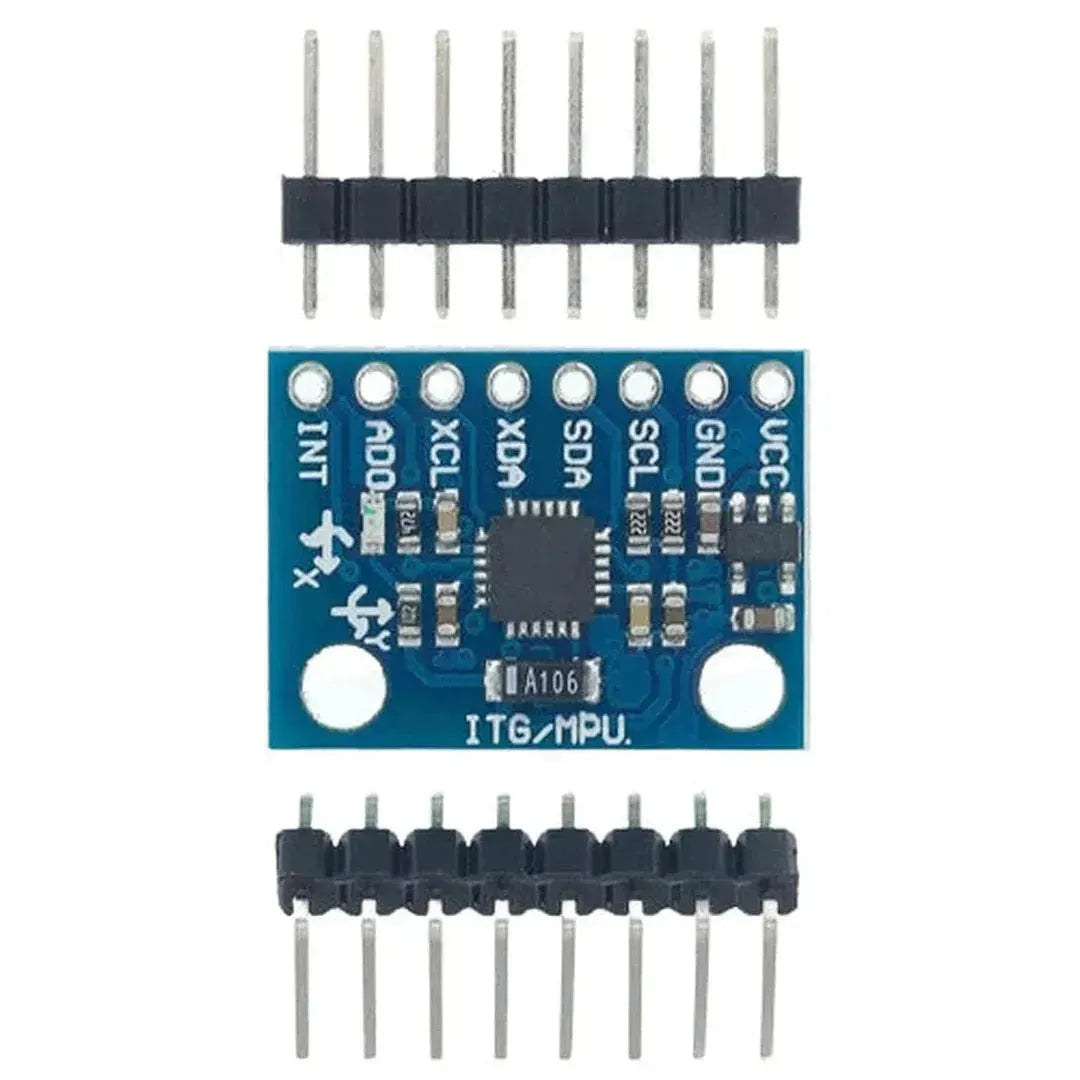
- MPU-6050 Module
- Breadboard and Jumper Wires
- A computer with SSH access to the Raspberry Pi or a connected keyboard and monitor
- Python installed on the Raspberry Pi
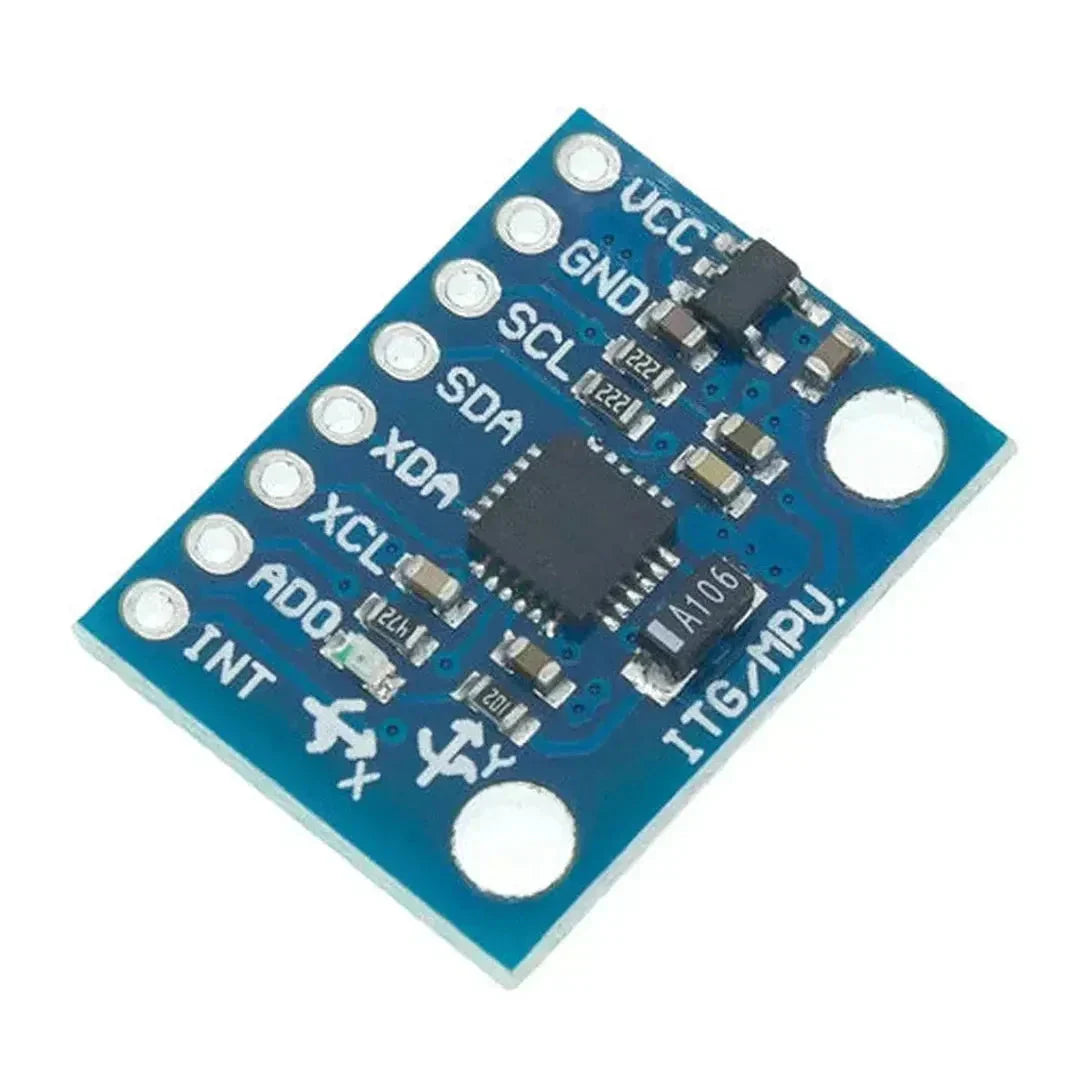
Step 1: Wiring the MPU-6050 to the Raspberry Pi
The MPU-6050 communicates with the Raspberry Pi using the I2C protocol.
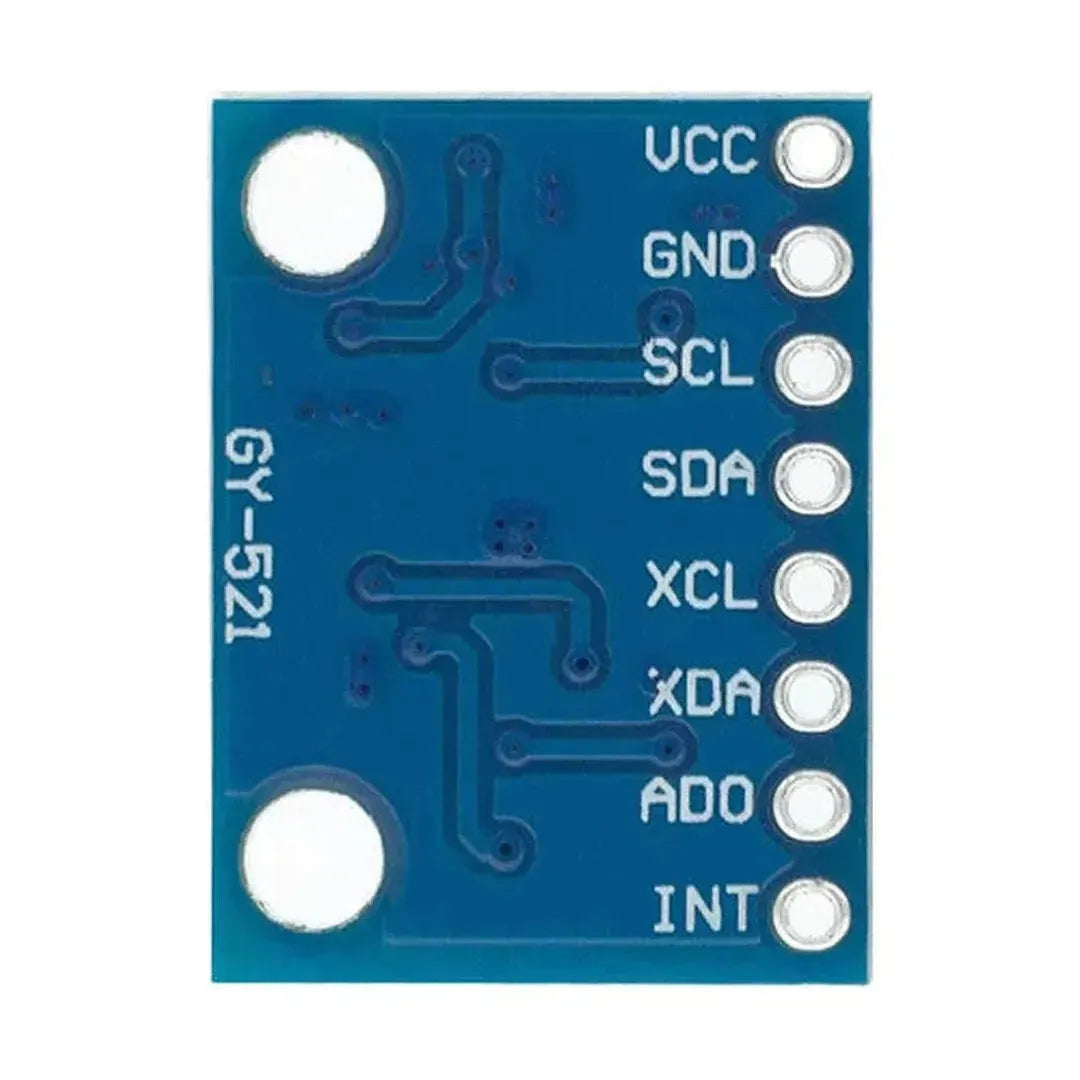
Connections
| MPU-6050 Pin | Raspberry Pi Pin |
|---|---|
| VCC | 3.3V (Pin 1) |
| GND | Ground (Pin 6) |
| SDA | SDA (Pin 3, GPIO2) |
| SCL | SCL (Pin 5, GPIO3) |
Note: Ensure the MPU-6050 module operates at 3.3V. Most modules include a voltage regulator, allowing them to be powered with 5V.
Step 2: Enable the I2C Interface on the Raspberry Pi
- Open the Raspberry Pi configuration tool:
sudo raspi-config - Navigate to Interface Options > I2C and enable it.
- Reboot the Raspberry Pi:
sudo reboot
Step 3: Install Required Tools and Libraries
- Update your Raspberry Pi:
sudo apt update && sudo apt upgrade -y - Install the I2C tools:
sudo apt install -y i2c-tools - Install Python libraries for I2C communication and data processing:
pip install smbus2
Step 4: Verify the Connection
- Use
i2cdetectto verify the MPU-6050 is detected on the I2C bus:sudo i2cdetect -y 1 - You should see the MPU-6050 at address
0x68(or0x69if the AD0 pin is pulled high). If not:- Check your wiring.
- Ensure the MPU-6050 is powered.
Step 5: Reading Data from the MPU-6050
The following Python script reads accelerometer and gyroscope data from the MPU-6050.
Python Code Example
import smbus2
import time

# MPU-6050 Registers and Address
MPU6050_ADDR = 0x68
PWR_MGMT_1 = 0x6B
ACCEL_XOUT_H = 0x3B
GYRO_XOUT_H = 0x43

# Initialize I2C bus
bus = smbus2.SMBus(1)

# Wake up the MPU-6050
bus.write_byte_data(MPU6050_ADDR, PWR_MGMT_1, 0)

def read_raw_data(addr):
    # Read two bytes of data from the given address
    high = bus.read_byte_data(MPU6050_ADDR, addr)
    low = bus.read_byte_data(MPU6050_ADDR, addr+1)
    value = (high << 8) | low
    # Convert to signed value
    if value > 32767:
        value -= 65536
    return value

try:
    while True:
        # Read accelerometer data
        accel_x = read_raw_data(ACCEL_XOUT_H)
        accel_y = read_raw_data(ACCEL_XOUT_H + 2)
        accel_z = read_raw_data(ACCEL_XOUT_H + 4)

        # Read gyroscope data
        gyro_x = read_raw_data(GYRO_XOUT_H)
        gyro_y = read_raw_data(GYRO_XOUT_H + 2)
        gyro_z = read_raw_data(GYRO_XOUT_H + 4)

        # Convert raw data to meaningful values (optional scaling may be needed)
        accel_x_scaled = accel_x / 16384.0
        accel_y_scaled = accel_y / 16384.0
        accel_z_scaled = accel_z / 16384.0

        gyro_x_scaled = gyro_x / 131.0
        gyro_y_scaled = gyro_y / 131.0
        gyro_z_scaled = gyro_z / 131.0

        print(f"Accelerometer: X={accel_x_scaled:.2f}, Y={accel_y_scaled:.2f}, Z={accel_z_scaled:.2f}")
        print(f"Gyroscope: X={gyro_x_scaled:.2f}, Y={gyro_y_scaled:.2f}, Z={gyro_z_scaled:.2f}")

        time.sleep(1)

except KeyboardInterrupt:
    print("Exiting...")
Step 6: Applications of the MPU-6050
- Motion Tracking: Track movement and orientation in robotics or wearables.
- Stabilization Systems: Implement gyroscopic stabilization for drones or gimbals.
- Gaming: Create motion-based game controllers.
- IoT Projects: Use motion data to trigger automation events.
Troubleshooting
-
Device Not Detected:
- Verify SDA and SCL connections.
- Ensure the I2C interface is enabled on the Raspberry Pi.
- Check the power supply to the MPU-6050.
-
Inaccurate Readings:
- Calibrate the sensor by implementing an offset for each axis.
- Ensure the sensor is placed on a stable surface.
-
I2C Errors:
- Ensure there are no conflicting devices on the I2C bus.
Conclusion
The MPU-6050 is a versatile motion sensor that can add precise motion tracking capabilities to your Raspberry Pi projects. By following this guide, you can set up and use the MPU-6050 for applications like robotics, stabilization systems, and IoT automation. Experiment with scaling and filtering data to fine-tune the sensor for your needs!


