The 0.96" OLED display is a compact, energy-efficient screen that is perfect for displaying text, graphics, and sensor data in Arduino projects. This tutorial will guide you through setting up and using a 0.96" OLED display with an Arduino.
What You Will Need
- Arduino Board (e.g., Uno, Mega, Nano)
- 0.96" OLED Display Module (with I2C or SPI interface)
- Breadboard and Jumper Wires
- A computer with the Arduino IDE installed
- Libraries: Adafruit SSD1306 and Adafruit GFX Library
Step 1: Understanding the OLED Display
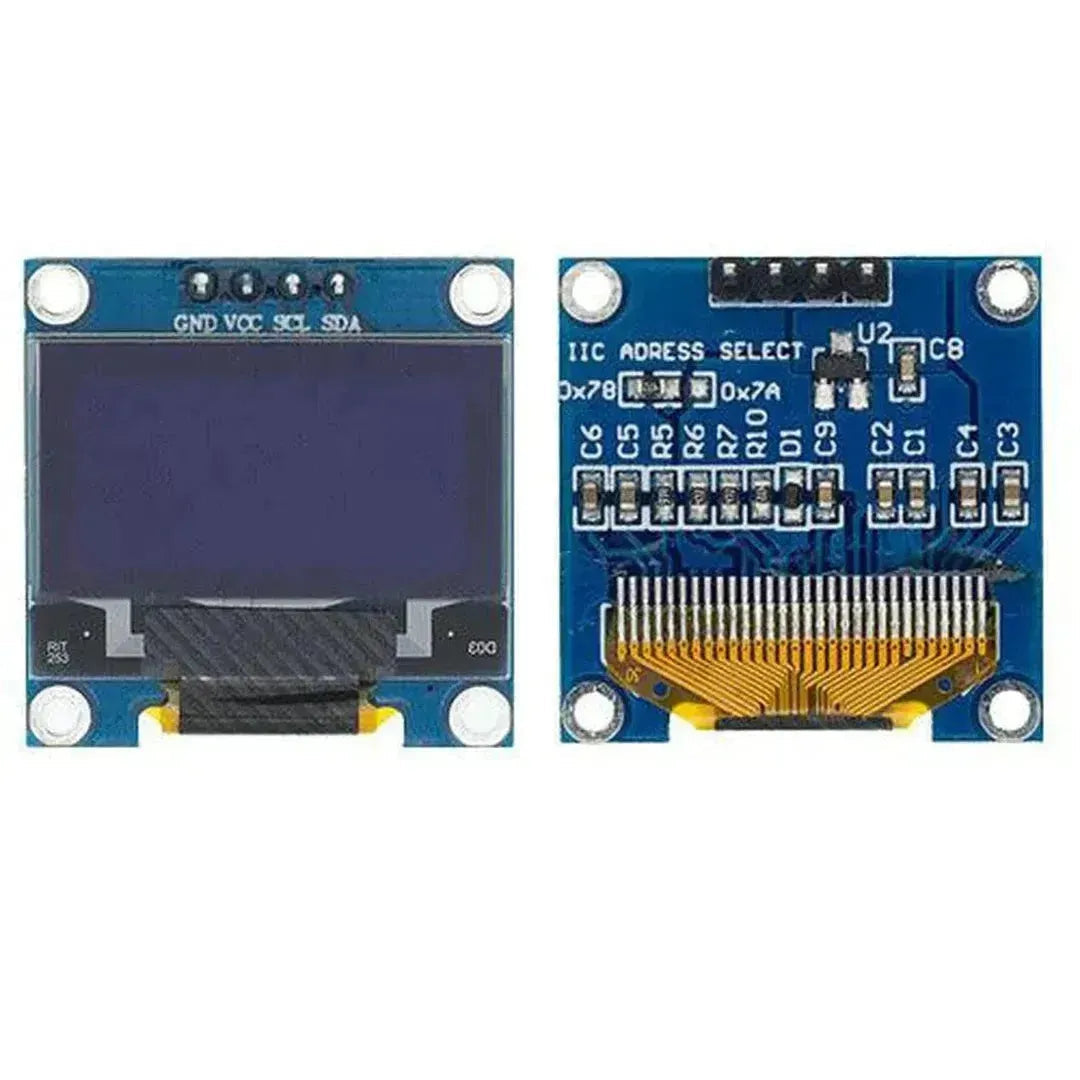
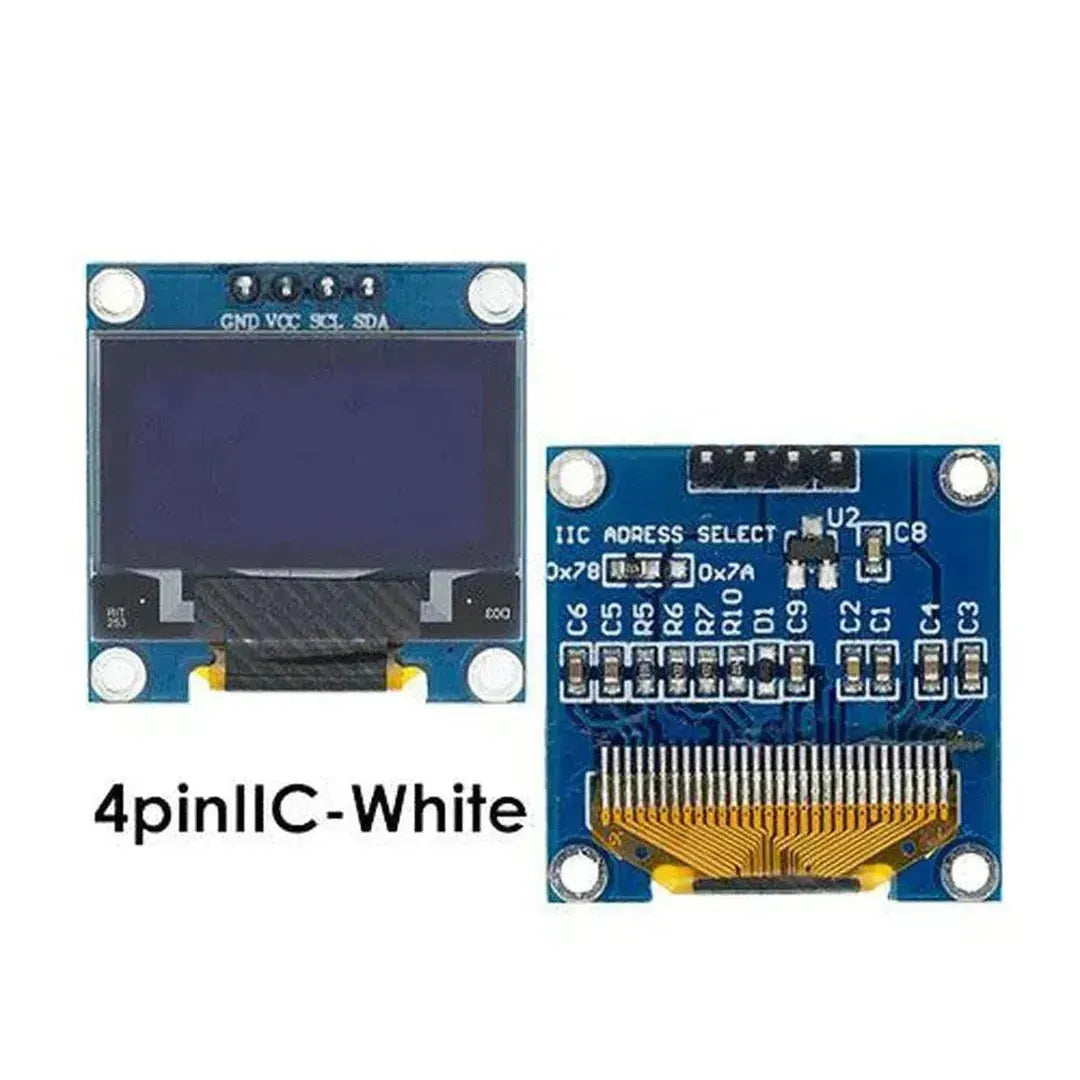
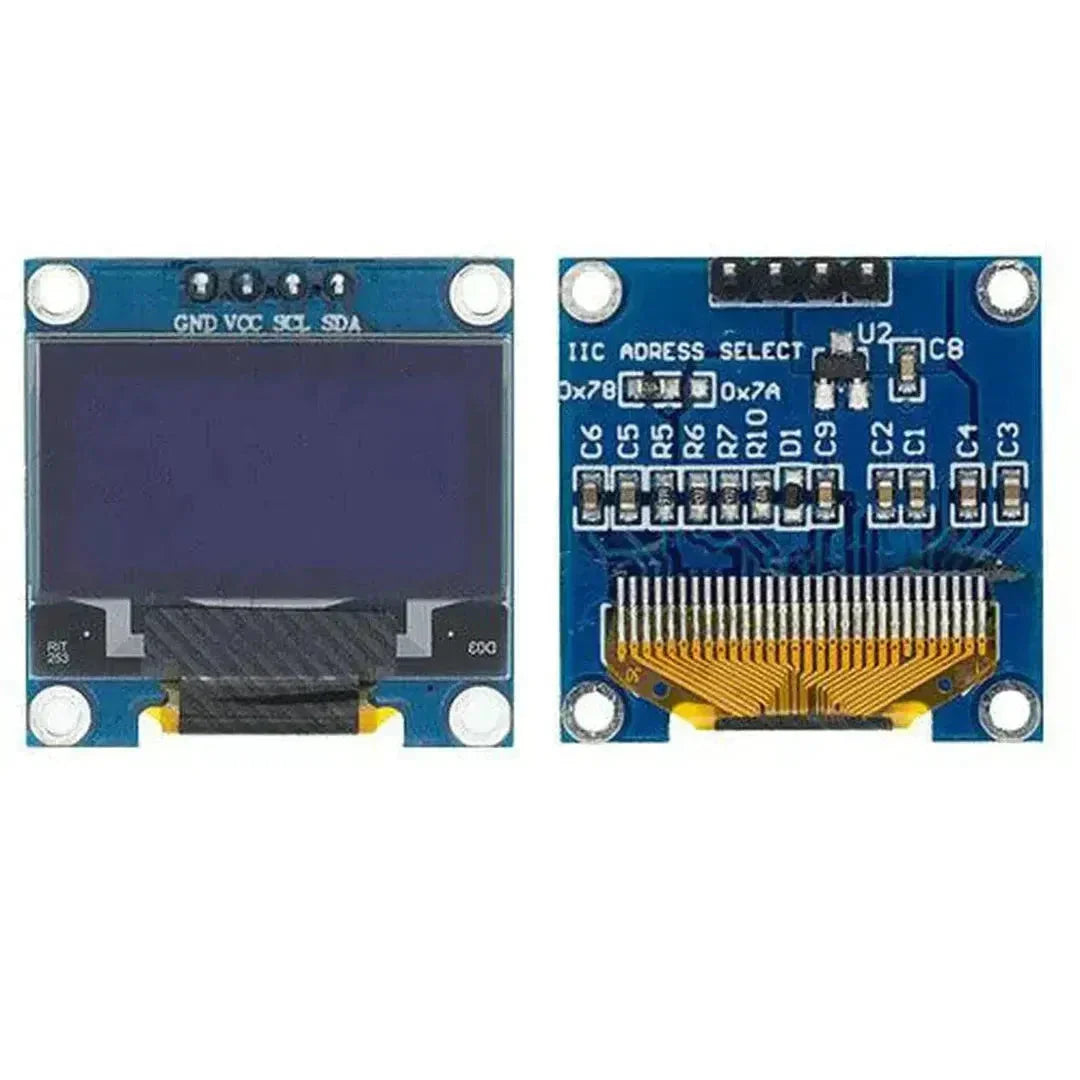
The 0.96" OLED display typically uses the SSD1306 driver and supports either I2C or SPI communication. Most commonly, it operates via the I2C protocol, requiring only two data pins (SDA and SCL).
I2C Pinout
| OLED Pin | Function | Arduino Uno Pin |
|---|---|---|
| VCC | Power Supply (3.3V or 5V) | 5V |
| GND | Ground | GND |
| SDA | Data Line | A4 |
| SCL | Clock Line | A5 |
Note: Check your OLED module’s datasheet to confirm the pinout.
Step 2: Installing Required Libraries
To work with the OLED display, you need the following libraries:
- Adafruit SSD1306 Library
- Adafruit GFX Library
Steps to Install Libraries
- Open the Arduino IDE.
- Go to Sketch > Include Library > Manage Libraries.
- Search for "Adafruit SSD1306" and click Install.
- Search for "Adafruit GFX Library" and click Install.
Step 3: Wiring the OLED Display
Connect the OLED to the Arduino as follows:
| OLED Pin | Arduino Pin |
|---|---|
| VCC | 5V |
| GND | GND |
| SDA | A4 |
| SCL | A5 |
Step 4: Uploading the Code
Here’s a sample sketch to display text and graphics on the OLED screen:
Example Code: Basic OLED Setup
#include <Wire.h>
#include <Adafruit_GFX.h>
#include <Adafruit_SSD1306.h>

#define SCREEN_WIDTH 128 // OLED display width, in pixels
#define SCREEN_HEIGHT 64 // OLED display height, in pixels

// Declaration for an SSD1306 display connected to I2C (SDA, SCL pins)
#define OLED_RESET    -1 // Reset pin not used
Adafruit_SSD1306 display(SCREEN_WIDTH, SCREEN_HEIGHT, &Wire, OLED_RESET);

void setup() {
  // Initialize the display
  if (!display.begin(SSD1306_I2C_ADDRESS, 0x3C)) { // Address 0x3C for most modules
    Serial.println(F("SSD1306 allocation failed"));
    for (;;);
  }

  display.clearDisplay(); // Clear the buffer

  // Display Welcome Message
  display.setTextSize(1);      // Set text size (1 = small)
  display.setTextColor(SSD1306_WHITE); // Set text color
  display.setCursor(0, 10);    // Set cursor position (x, y)
  display.println(F("Hello, OLED!"));
  display.display();           // Display the message
  delay(2000);

  // Draw a rectangle
  display.clearDisplay();
  display.drawRect(10, 10, 50, 30, SSD1306_WHITE); // x, y, width, height, color
  display.display();
  delay(2000);
}

void loop() {
  // Update screen with dynamic content if needed
}
Step 5: Exploring Additional Functions
The Adafruit GFX library provides a wide range of functions for graphics and text. Here are a few examples:
1. Displaying Text
  display.setTextSize(2); // Larger text size
  display.setTextColor(SSD1306_WHITE);
  display.setCursor(0, 0);
  display.println("Arduino");
  display.display();
2. Drawing Shapes
-
Rectangle:
display.drawRect(x, y, width, height, color); -
Circle:
display.drawCircle(x, y, radius, color); -
Line:
display.drawLine(x1, y1, x2, y2, color);
3. Inverting Colors
  display.invertDisplay(true); // Invert colors
  delay(1000);
  display.invertDisplay(false); // Revert colors
Common Issues and Troubleshooting
-
OLED Not Displaying:
- Ensure the correct I2C address (0x3C or 0x3D) is used in the code.
- Check the wiring and connections.
-
Library Errors:
- Ensure the Adafruit SSD1306 and GFX libraries are installed.
-
Flickering Display:
- Use
display.clearDisplay()only when necessary to minimize flicker.
- Use
-
Incorrect Pinout:
- Verify the module’s datasheet for correct SDA and SCL pin connections.
Applications of OLED Displays
- Displaying sensor data (e.g., temperature, humidity)
- User interfaces for embedded systems
- Visual feedback for IoT devices
- Graphical displays for portable electronics
Conclusion
The 0.96" OLED display is a versatile and visually appealing addition to Arduino projects. By following this guide, you can display text, graphics, and real-time data on your OLED screen. Experiment with different functions and libraries to create dynamic and interactive displays for your projects!


